How to Organize Under a Bathroom Sink in 10 Simple Steps
Empty the cabinet completely, check the pipe joints for leaks, then measure around the P-trap before you buy a single container. That curved pipe is the constraint the whole cabinet has to work around, and organisers bought before measuring are the reason most under-sink projects get redone. Line the base, build around the trap, and label what goes back.
Under-sink cabinets fail in a specific way. Nothing is really lost in them, it is just stacked in front of something else, so every search means moving three things to reach the fourth.
Most advice starts with containers. That is the wrong end of the problem, because the shape of your cabinet was decided by a plumber, not a designer.
The ten steps of under sink organization below work in the order they are written. The first four take an evening and cost almost nothing, and the rest is fitting storage to the space you actually have.
This post contains affiliate links. If you buy through them, I may earn a small commission at no extra cost to you.
Table of Contents
Step 1: Empty it completely, then look for the leak
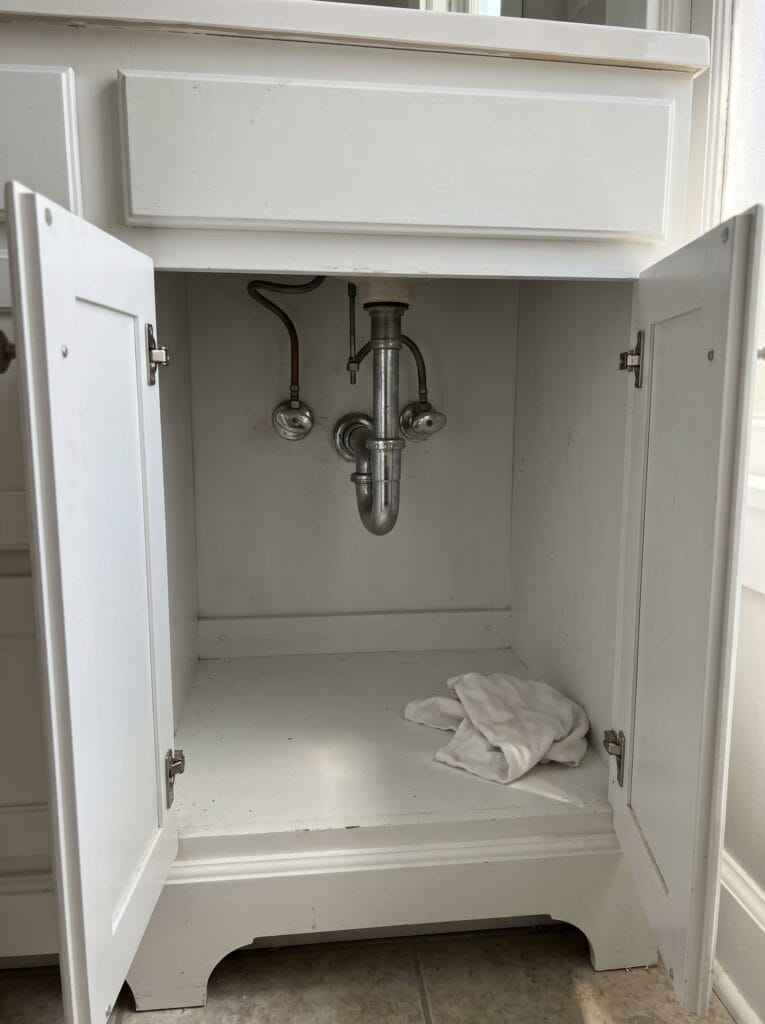
Take everything out, and I mean everything rather than most things. You cannot judge the shape of the cabinet or the condition of its base while objects are still sitting in it, and half-emptying it only hides the problem behind whatever you left in place. This is the one moment you get a genuinely clear view of what you are working with.
With the cabinet bare, lay a dry cloth under each pipe joint and under both shut-off valves, then run the tap for a full minute and come back to check them. A slow weep at a compression fitting is by far the most common thing people uncover at this stage, and it is much better found now than discovered in six months through a box of ruined stock.
Check the cabinet base while you are down there, because dark patches, soft spots or a chalky white bloom all mean water has been sitting on it, and every one of those is worth fixing before anything goes back in.
Step 2: Sort into categories and bin anything past its date
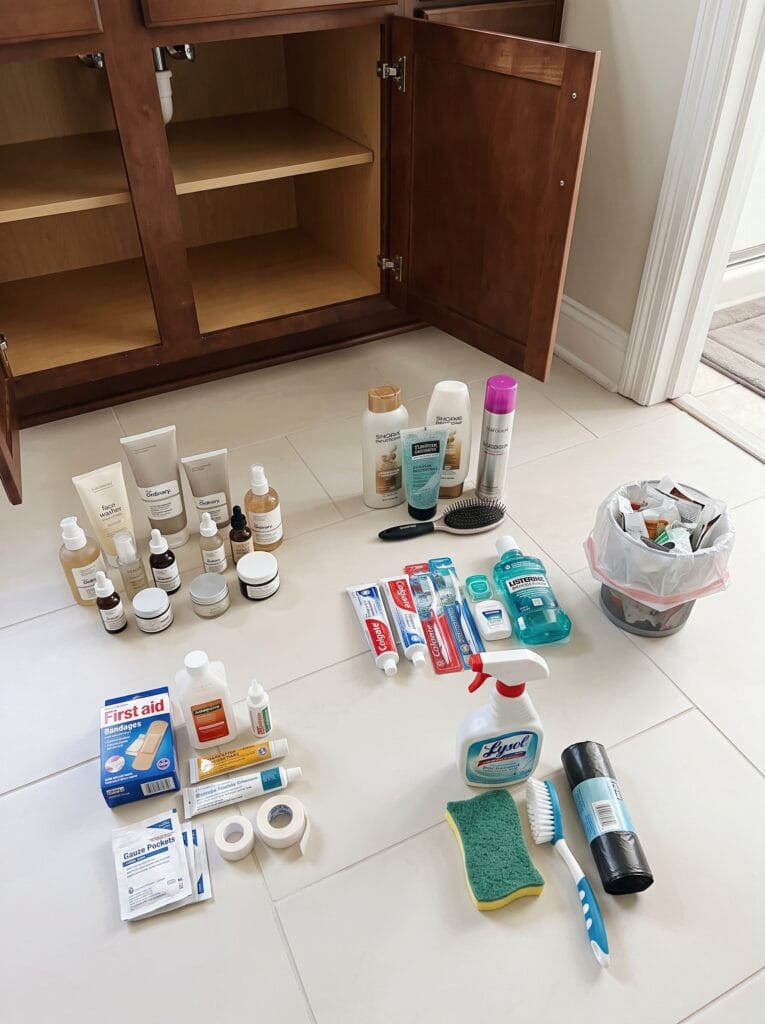
Sort what came out into five or six groups that your household actually thinks in, rather than groups that merely sound tidy on paper. Skincare, hair, dental, first aid and cleaning covers most homes, and the exact names matter far less than whether you would instinctively reach for that group when you need something from it.
Check expiry dates as you go, because this is the only time you will have the entire contents laid out in front of you at once. Sunscreen, hydrogen peroxide and anything intended for treating a cut all degrade well before they look like they have, and a warm damp cabinet accelerates every one of them.
Be decisive about duplicates, since three half-empty bottles of the same conditioner is really one bottle and two decisions you will keep making every time you open the door.
Step 3: Measure around the P-trap before you buy anything
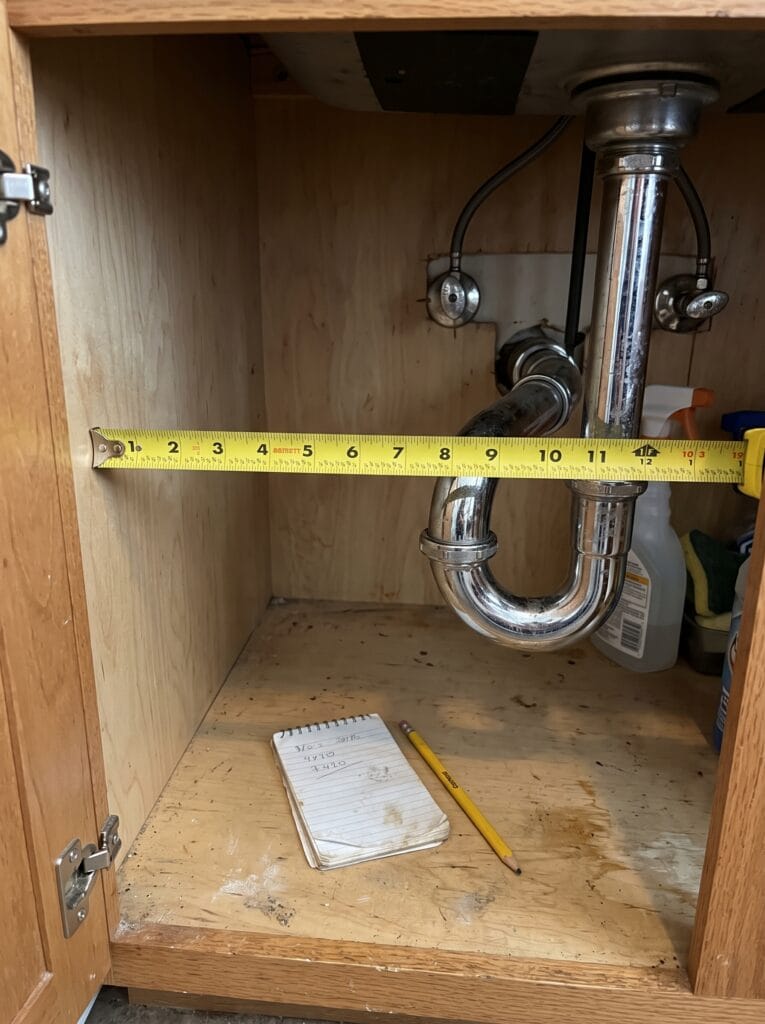
This is the step that separates a cabinet that works from one you end up redoing in spring. The P-trap is the U-bend that holds a plug of water to stop sewer gas travelling back up the drain, so it is doing a real job and it is not going anywhere. Everything else in the cabinet has to be planned around it.
Take three measurements and write them down somewhere you will still have them when you are standing in the shop. The clear width on each side of the trap, the height from the base up to the lowest point of the pipework, and then the width of the door opening itself.
That third measurement catches people out constantly, because the opening is always narrower than the cabinet behind it, so a bin that fits the interior perfectly may never physically pass through the door.
Step 4: Line the base before anything goes back in
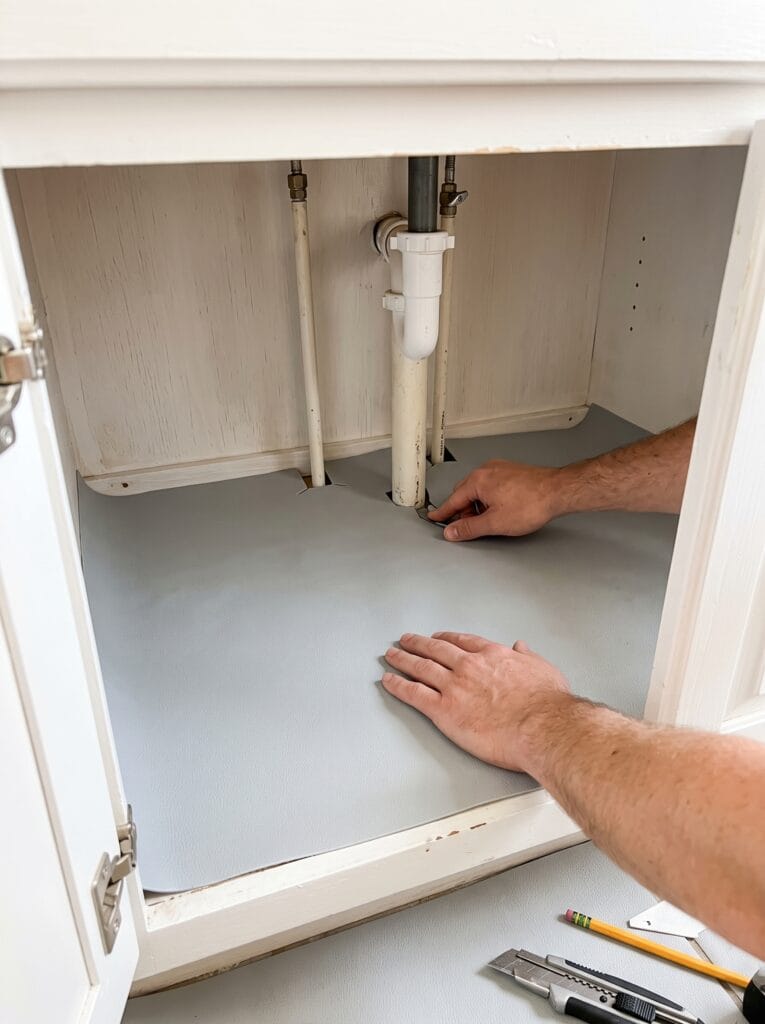
A liner turns a future leak into a wipe rather than a repair, which is the whole reason to fit one before anything else goes back. Cabinet bases are usually chipboard with a thin decorative veneer over the top, and once water works its way past that veneer the board swells and never really recovers its shape.
Cut it around the pipes rather than trimming it short at the back, so that it lies flat right up to the rear wall where the drips actually land. Choose a non-adhesive liner rather than a peel-and-stick one, because you can then lift it out twice a year and check the board underneath it for damage.
It is the cheapest insurance in the whole project, costing a few dollars against the price of replacing an entire vanity carcass and the tiling around it.
Shop it on Amazon : HUIDUO Non-Adhesive Waterproof Shelf Liner
Step 5: Build around the trap, not against it
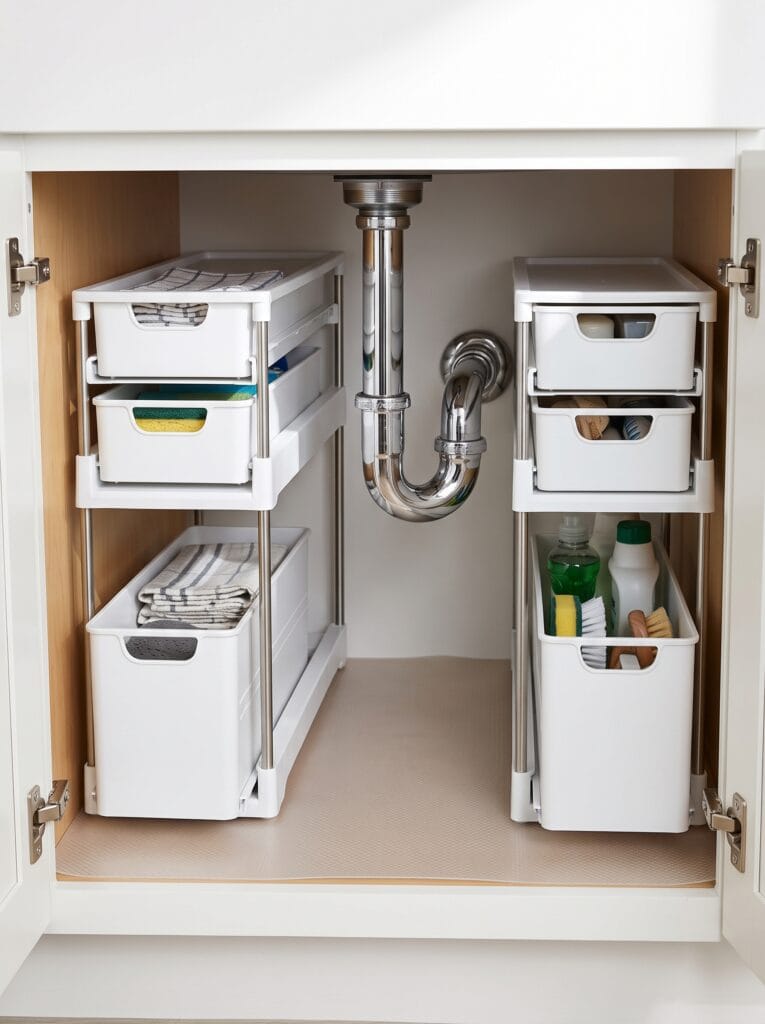
Use the two columns of clear space either side of the pipe and leave the middle of the cabinet alone. Trying to bridge straight across the trap with one wide shelf is exactly what produces those awkward, half-blocked gaps that you can never quite use for anything useful.
Two narrow units, one on each side, hold more genuinely reachable storage than a single wide one ever will, and a sliding version turns the dead back half of the cabinet into space you can actually get at. Both approaches beat one shelf spanning the pipework.
Buy height-adjustable, because a fixed unit an inch too tall is simply useless and you will not discover that until it is unboxed. Check it against the height figure you wrote down in step three.
Shop it on Amazon : Dseap 2-Tier Expandable Under Sink Organizer
Step 6: Put daily items in front and backstock behind
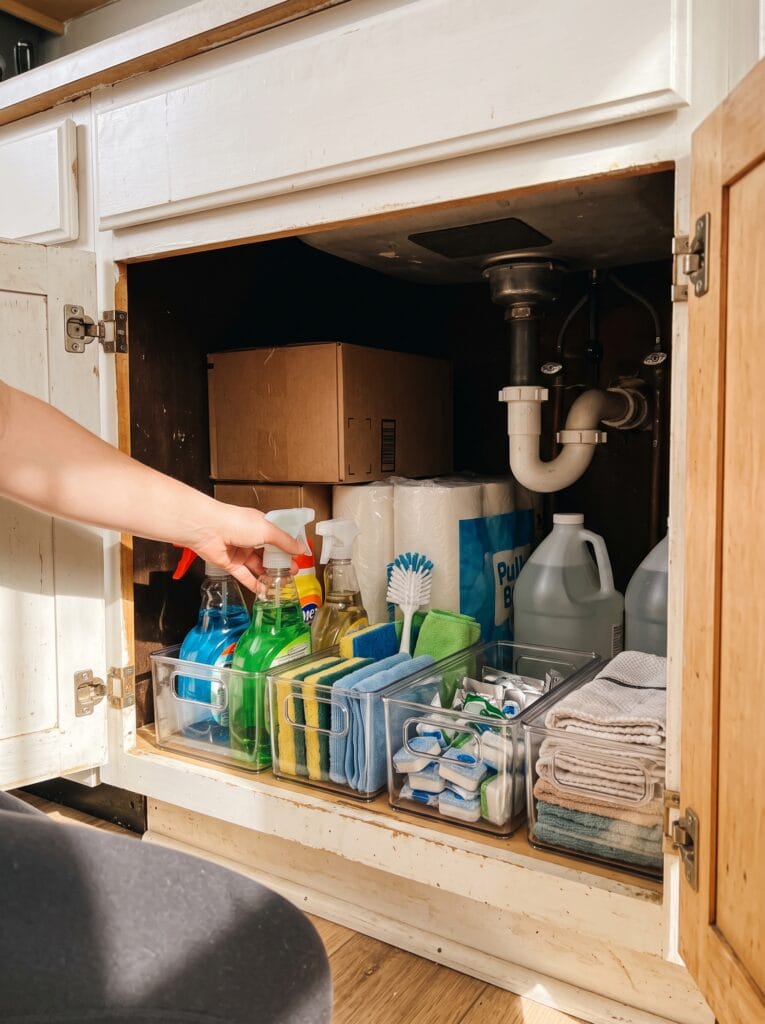
Depth is what makes these cabinets frustrating to live with, so use it deliberately rather than letting it fill itself at random. Everything you touch daily belongs in the front third where you can reach it without kneeling down, and sealed backup stock goes behind that line.
Keep the backstock genuinely minimal while you are at it. One spare of anything is sensible planning, but four spares is a cabinet problem disguised as a bargain, and it is almost always the thing that pushed your everyday items out of easy reach in the first place.
If you cannot reach something without first moving two other things out of the way, it is sitting in the wrong third of the cabinet and needs bringing forward.
Step 7: Use the inside of the cabinet doors
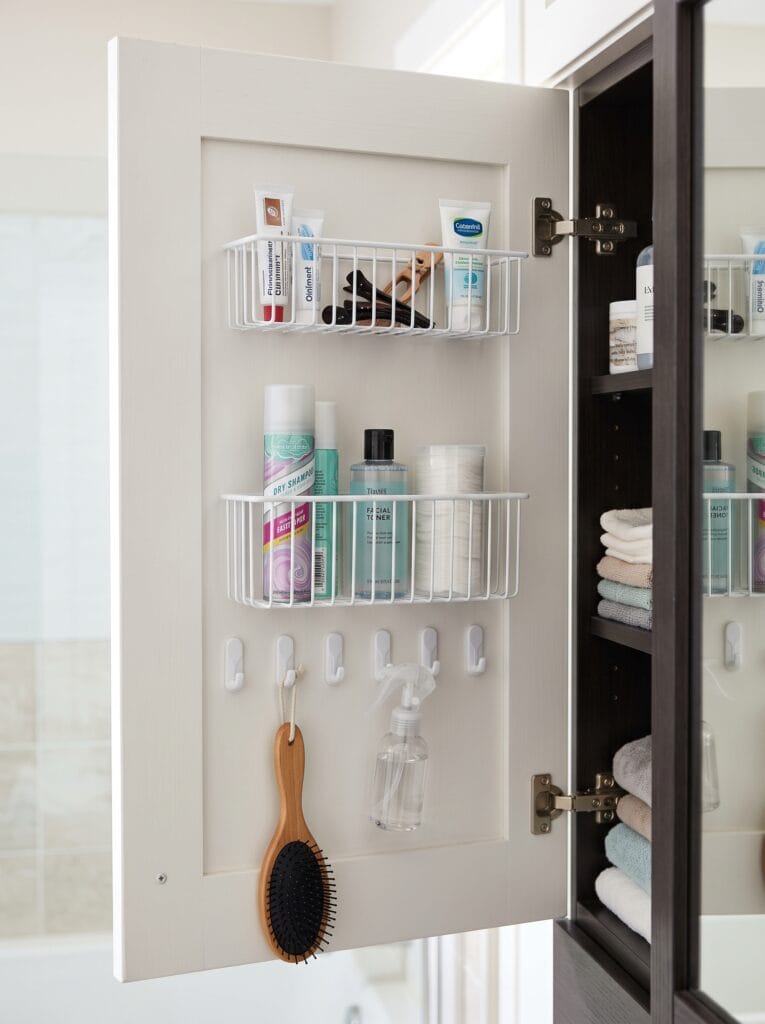
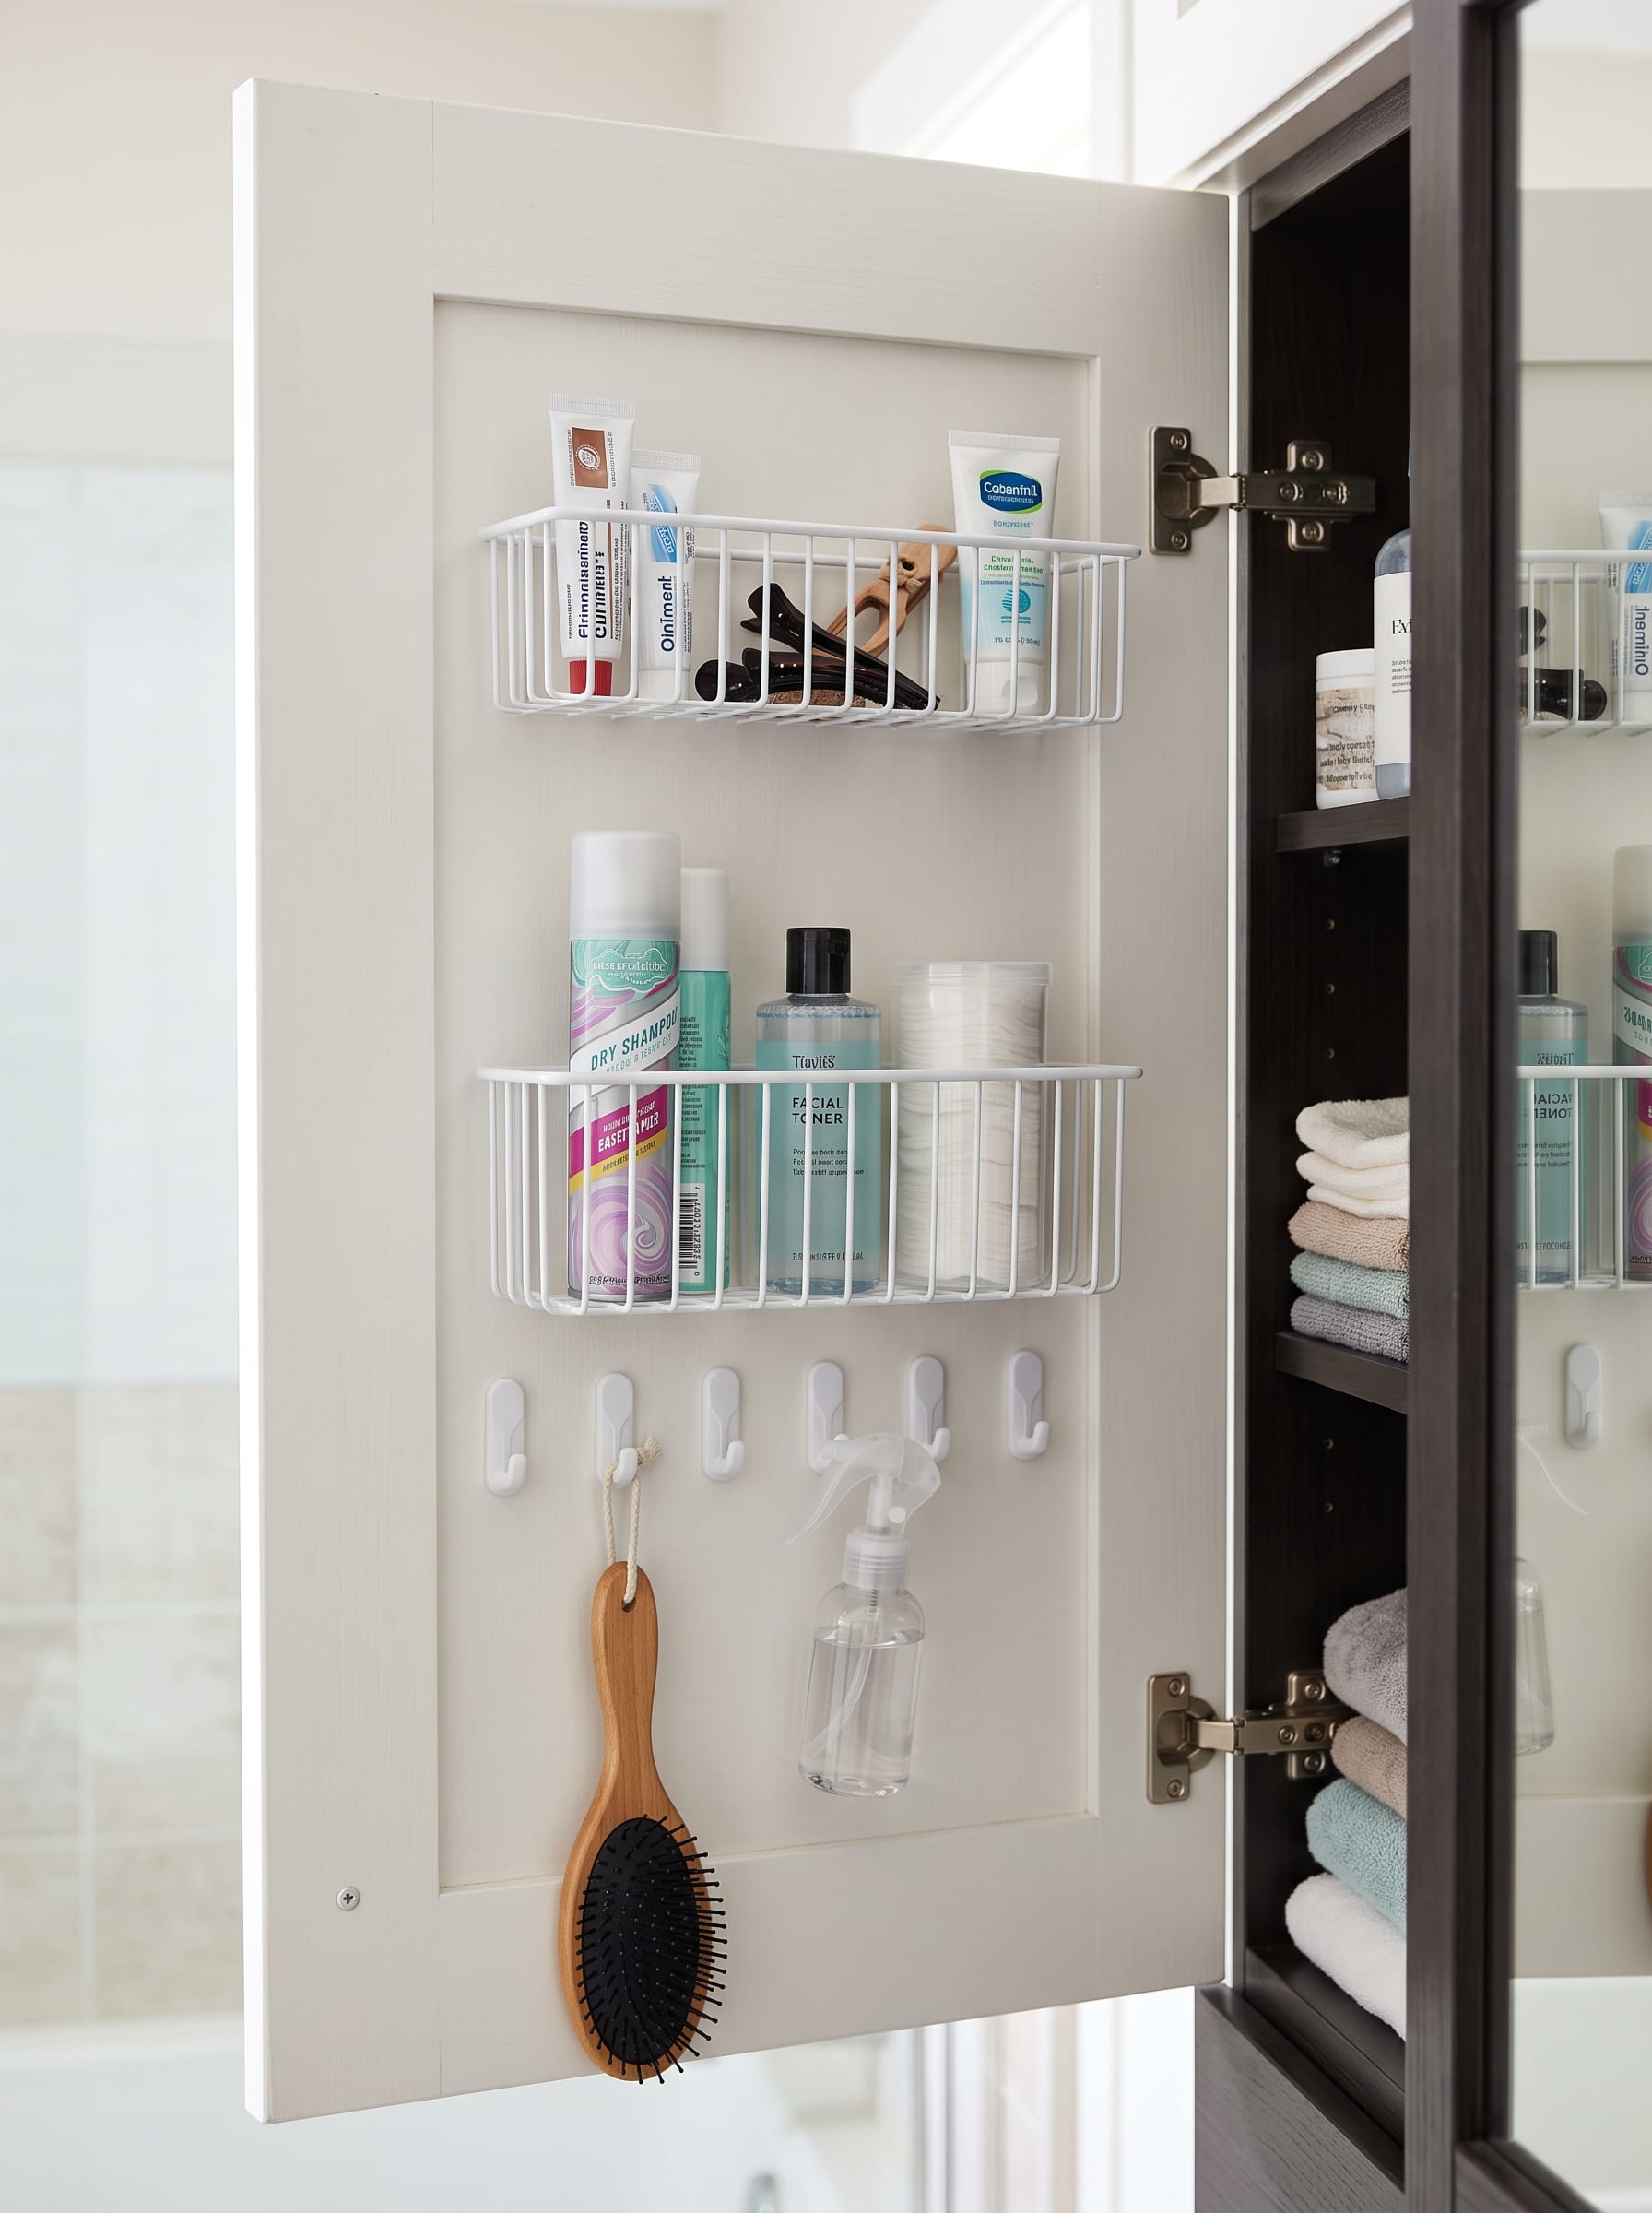
The doors are the most overlooked surface in the whole cabinet, and they cost almost nothing to put to work. A pair of shallow wire baskets fixed to the inside face will hold all the small, flat items that otherwise sink to the bottom of a bin, and nothing mounted on a door ever gets buried.
Depth is the only real constraint you face here, so measure the gap between the door and whatever sits behind it when the door is fully shut. Two or three inches is typical, which is enough for a brush, a spray bottle or a row of tubes, and nothing much bulkier than that.
Measure before buying rather than after, because a basket that stops the cabinet door closing properly is considerably worse than having no basket there at all.
Step 8: Add a turntable so the back bottles come to you
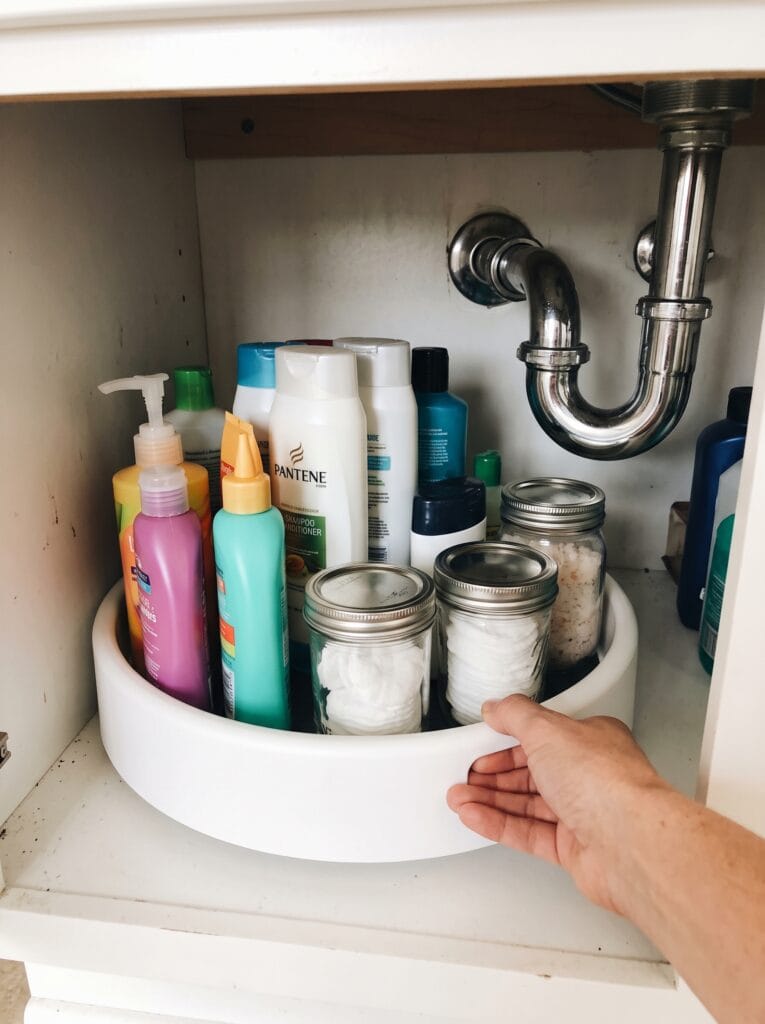
Bottles are the one category that reliably defeats a bin, however carefully you sort everything else in the cabinet. Stand six of them in a row and the two at the back become effectively invisible, and that is precisely how households end up buying a seventh they never needed.
A turntable solves the problem by moving the contents rather than making you move yourself. One spin brings the entire set round to the front, and because every bottle stays visible all of the time, the duplicate buying tends to stop almost immediately.
Match the diameter to the clear space you measured in step three and keep it on the side with more headroom, because a turntable that fouls the pipework on every rotation gets abandoned within a week.
Step 9: Know what should never live under there
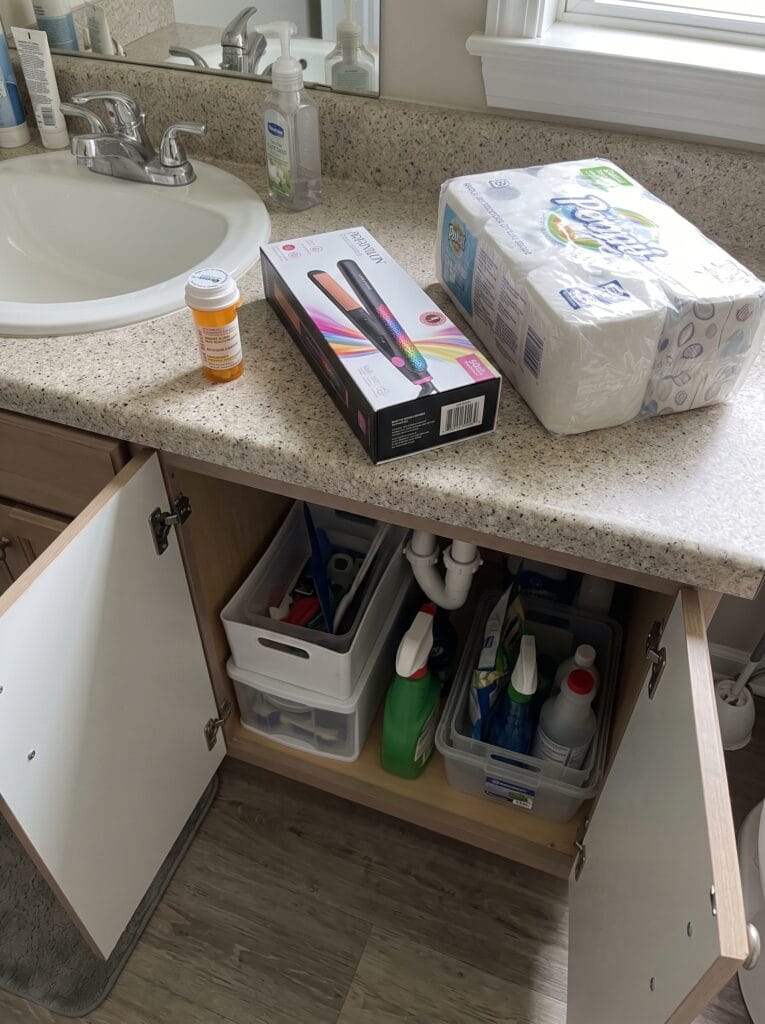
Three things do not belong in this cabinet, and almost every household keeps at least one of them there anyway. Medication comes first, because under-sink cabinets are humid and warm, and most tablets are hygroscopic, meaning they pull moisture out of the air and degrade noticeably faster than the printed date suggests.
A bedroom drawer is a far better home for them. Backup paper goods are the second offender for exactly the same reason, and heat tools are the third, since an appliance sitting directly beneath a live water supply is a risk that carries no upside whatsoever.
Our bathroom cabinet guide covers better homes for all three of them, and none of the alternatives cost anything to set up.
Step 10: Label the zones, then reset it monthly
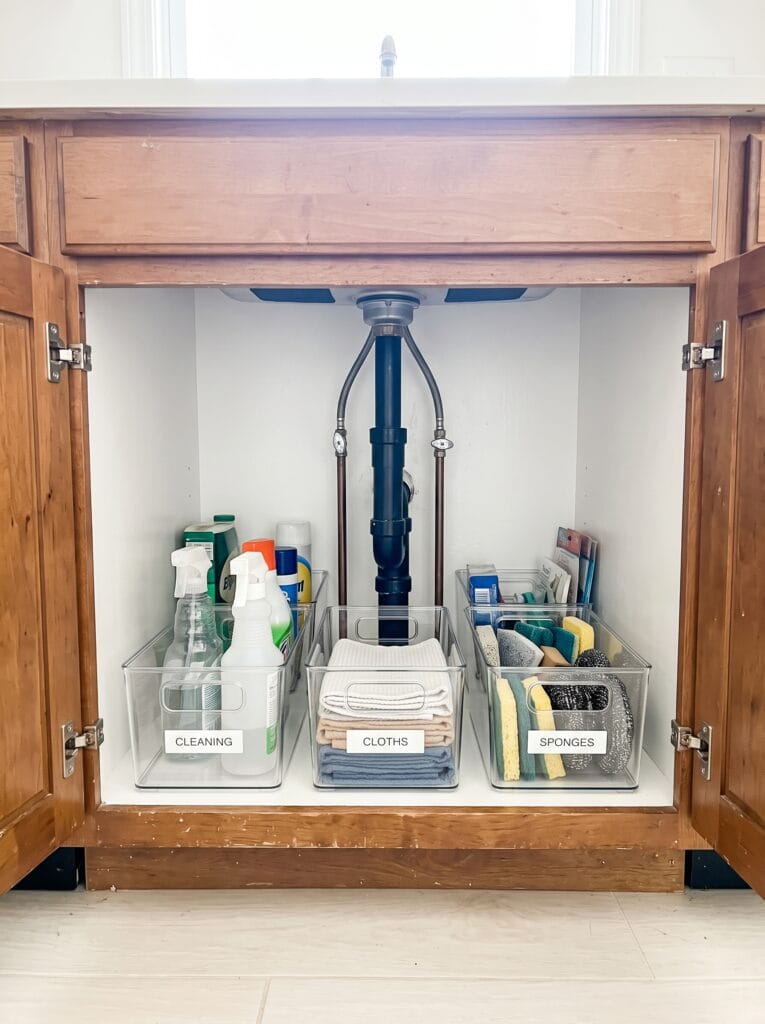
Label the bin rather than the item sitting inside it. A container marked cleaning survives whatever you decide to put in it next month, while a label naming one specific product becomes wrong the moment you switch brands or the manufacturer changes the packaging.
Then give the cabinet five minutes a month. Pull the front row out, check the pipe joints again while you have clear access, bin anything that has expired, and put the rest back exactly where the labels say it goes. That short reset is what makes the whole arrangement hold.
Without it, any cabinet drifts back to where it started within a season, because the system was never really the containers. It is the monthly five minutes.
What to do if your cabinet has no floor space at all
Some vanities have the trap sitting dead centre with barely a handspan of clear floor either side of it, and no amount of clever under sink storage changes that geometry. In those cabinets, stop trying to use the base at all and move your storage upward and outward instead.
A tension rod fitted across the cabinet above the trap will take spray bottles hung by the trigger and costs almost nothing to try. The door baskets from step seven carry more than people expect, and a slim unit on casters can simply roll away under the vanity overhang when it is not in use.
Accept that the cabinet may only ever hold cleaning supplies, with everything else living elsewhere, because a small cabinet doing one job well beats a small cabinet doing four jobs badly.
Start with the tape measure, not the shopping
The order in this guide is the part that actually matters. Emptying the cabinet reveals the leak, the leak decides whether you line the base before anything else happens, and the measurements then decide what will genuinely fit through the door and around the trap.
Do those four things and the containers become an obvious choice rather than a gamble. Most people work the other way round, buying the organisers first and measuring afterwards, which is exactly why the second attempt at an under sink cabinet usually works better than the first.
For more bathroom organization that holds up over time, browse our full bathroom decor and storage collection, since the same principles apply in every cupboard in the room.
Found this useful? Save the pin so you have the three measurements with you when you are standing in the aisle.