How to Organize a Bathroom Cabinet: Storage Solutions That Actually Fit
Your bathroom cabinet looked organized for exactly one week. Then the bins filled back up, a bottle rolled behind the pipes, and the drawer under the sink turned into a pile again. That cycle usually has nothing to do with willpower, and it is the first thing to fix when you work out how to organize a bathroom cabinet.
Most people blame the products, or the lack of bathroom cabinet storage, or just assume they’re not naturally tidy. None of that is really the problem. Organizing a bathroom cabinet fails for a much more specific reason: the bins get chosen before the mess gets sorted, and everything sits in one big zone that ignores the plumbing, the hinges, and the shallow door swing underneath it all.
A cabinet that actually stays organized works more like a small station than a display case. The toothpaste you grab every morning shouldn’t sit behind the same door as the backup toilet paper you touch twice a year. Fix that order of operations, measure before you shop, and build zones around how often you reach for something, and the same cabinet holds steady for months, not days.
This post contains affiliate links. If you buy through one, I may earn a small commission at no extra cost to you.
Why bathroom cabinet organizers fail even when you buy “the right” bins
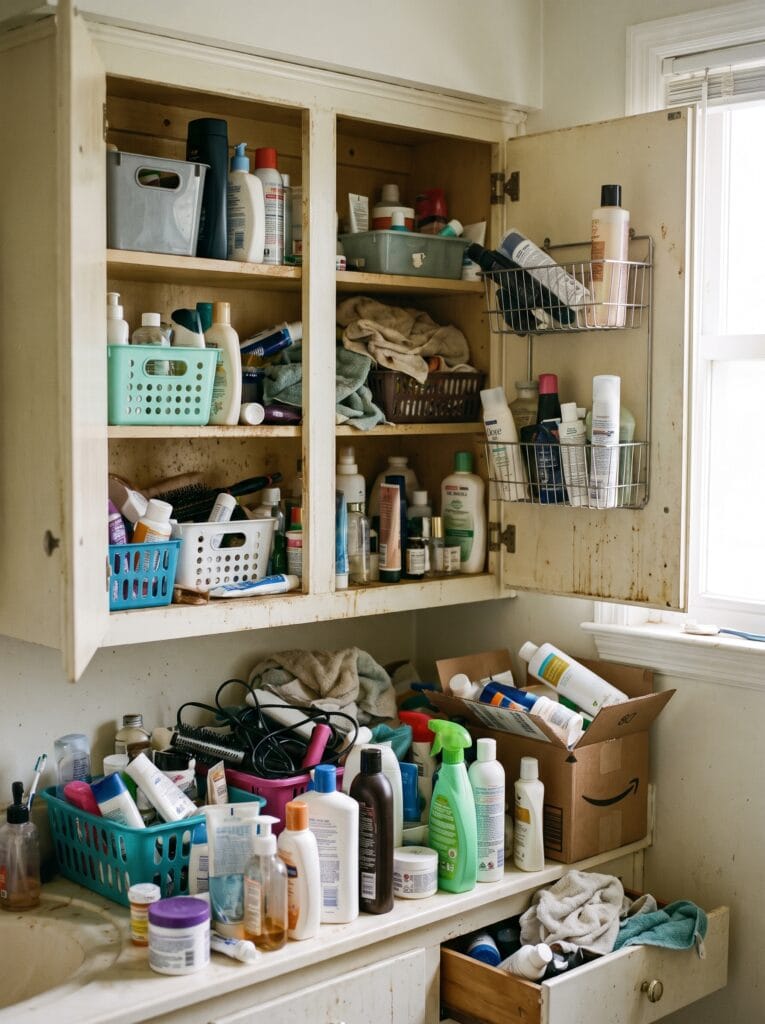
Buying containers before you sort anything almost guarantees prettier clutter. You still own the same twenty-three products, only now split across five cute bins. Retrieval didn’t get faster.
Grouping “all skincare” together sounds tidy on paper, but it slows down a rushed morning when your skincare sits three shelves from your toothbrush. One giant under-sink bin rarely survives contact with a real cabinet, since hinges, valves, and a shallow door opening chop that space into shapes no rectangle fits. Empty space above a bin isn’t free. It only counts if a bottle can still clear the shelf above it.
This isn’t about filling every inch. Reaching, returning, and wiping underneath without creating a new pile matters more. Treat the cabinet like a station you use, not a display you maintain. What you touch daily should take one motion to grab.
How to organize a bathroom cabinet: empty it and keep only what earns its space
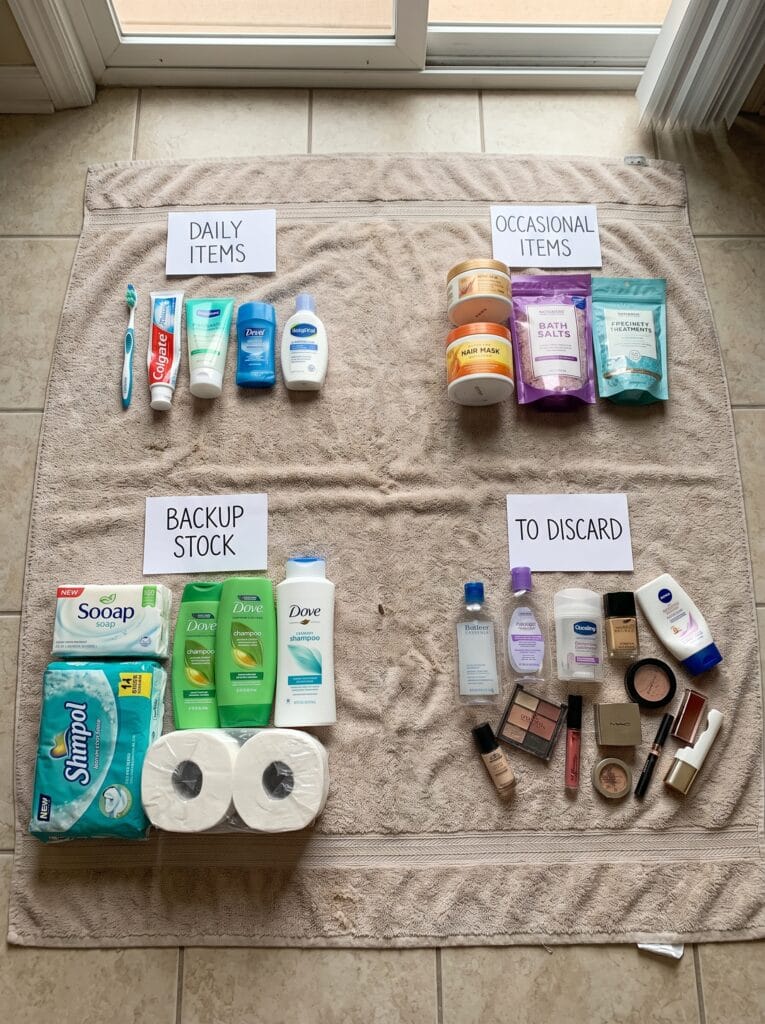
Pull everything out first. Every bottle, every half-used tube, every mystery sample goes onto the counter or a towel on the floor before a single bin comes back into the cabinet.
Sort what you find into four piles. Daily or weekly items include toothpaste, contact-lens supplies, and the skincare you actually reach for each morning. Occasional items cover nail tools, face masks, and travel toiletries you grab a few times a year. Backup stock means unopened shampoo, spare razor heads, and extra toilet paper still sealed. Anything expired, broken, or barely used gets removed or moved to where it’s actually used.
Ask yourself the question you’ve been avoiding: do you need six half-used lotion bottles and three open tubes of toothpaste? One in use plus a reasonable backup is enough. Consolidate identical products if the labels and hygiene aren’t compromised, but never decant cleaners or medicine into an unmarked container. That habit causes real accidents.
Keep cleaning chemicals in their original, labeled packaging, and store them out of reach if kids can get into the bathroom. Separating personal-care items from cleaning supplies also cuts down on grabbing the wrong bottle half-asleep.
Measure your cabinet like a storage designer before you shop
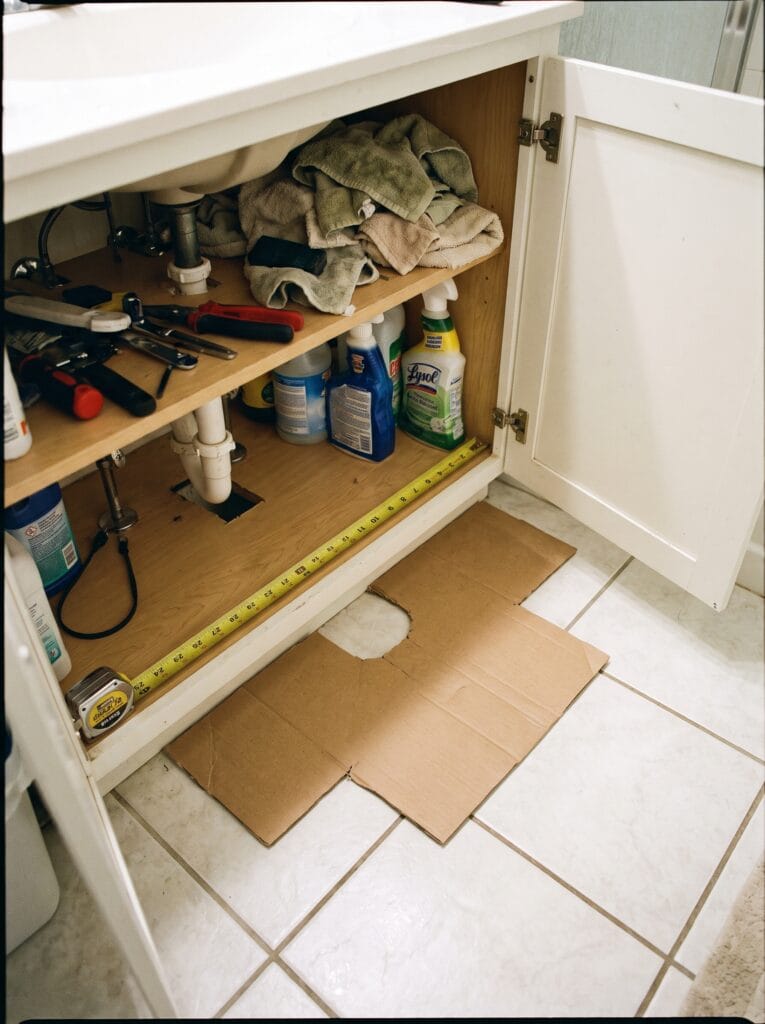
A listed product size tells you almost nothing about whether it will fit your cabinet. Manufacturers measure the box. You need the usable footprint behind your door, and those two numbers rarely match.
Start with the interior width at its narrowest point, including whatever a hinge steals from that measurement. Depth matters too, so measure from the back wall to the inside face of the closed door, not the outside of the cabinet. Check the usable height from the cabinet floor to the underside of your sink basin. Then measure the P-trap, the drainpipe, and the shutoff valves on their own, since they eat vertical space no organizer listing accounts for.
Note how much open space sits on each side of that plumbing. Measure the actual door opening as well, because it can be narrower than the interior once you account for the frame. Factor in clearance for anything that needs to slide forward, and measure your tallest bottle so a shelf riser doesn’t trap it.
Here’s the part almost nobody does. Trace your pipe and valve positions onto a piece of cardboard or paper, mark the door opening and the side zones, and carry that map with you while shopping online. That flat drawing turns guesswork into a plan. It stops you from ordering a rectangular bin that fights your plumbing on arrival.
Both sides of the drain need separate measurements too. Treating the space as one open rectangle is how most under-sink organizers end up back in a return box.
Create four zones based on how often you reach for each item
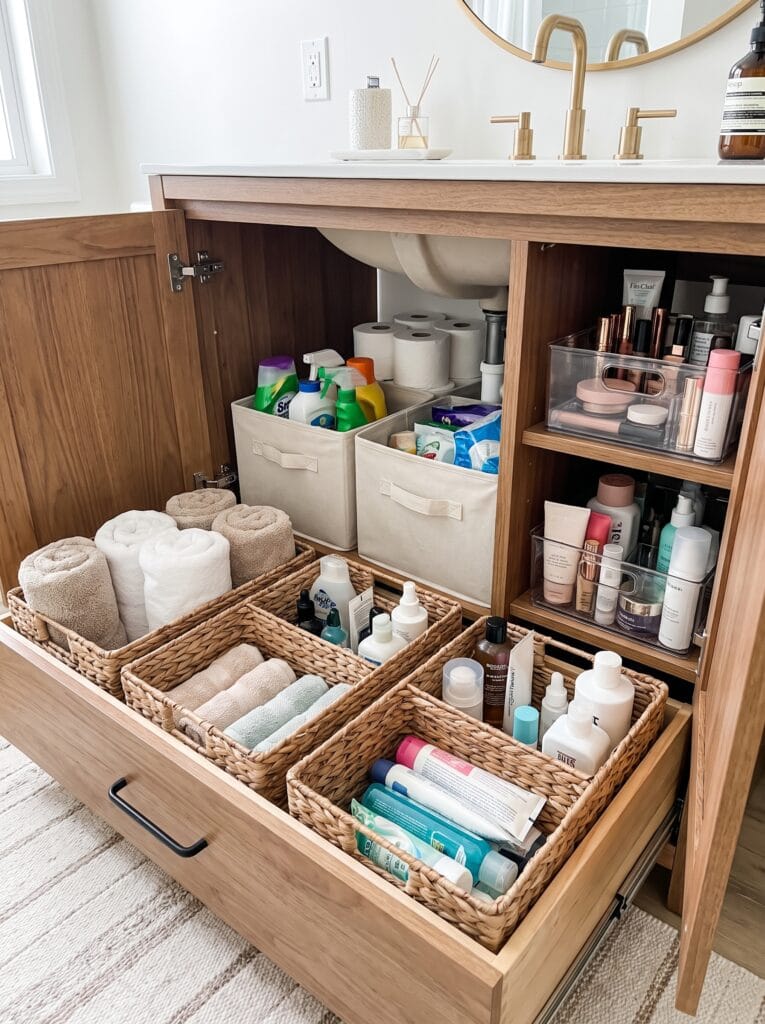
Group by access, not just by category, and the whole cabinet gets faster to use. Four zones cover almost every layout.
Keep daily essentials in the front-access zone: toothpaste, floss, cleanser, contact-lens solution, and whatever skincare you use each morning, all reachable with one hand. Push hair products, cleaning sprays, and spare soap into the narrow side zones around the plumbing, where a slim pull-out drawer often fits. Save the upper or back zone for things you grab occasionally: travel kits, nail tools, and guest toiletries. Give backup stock one labeled bin instead of scattering duplicates across every shelf.
This works because daily items shouldn’t require moving three containers or bending under a pipe to reach them. Backup stock should stay visible enough that you don’t rebuy something you already own, but inconvenient enough that it never competes with your actual routine.
Shared bathrooms benefit from owner-based zones instead. Hand each person a bin or drawer, add one shared daily-care zone, keep one household backup bin, and lock down one zone just for cleaning supplies. Couples get less friction this way. So do roommates and families.
Organize under the sink around plumbing instead of fighting it
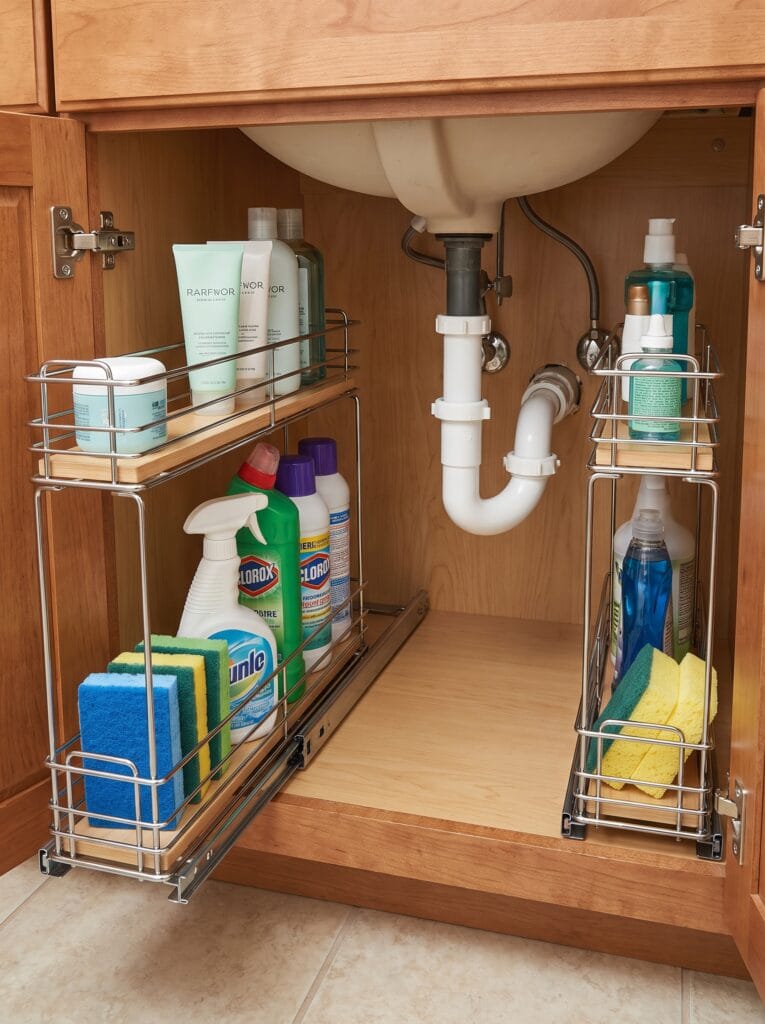
Treat the P-trap and shutoff valves as permanent no-storage zones, not obstacles a bigger bin will solve. Fighting them wastes money. You end up with organizers that never quite fit.
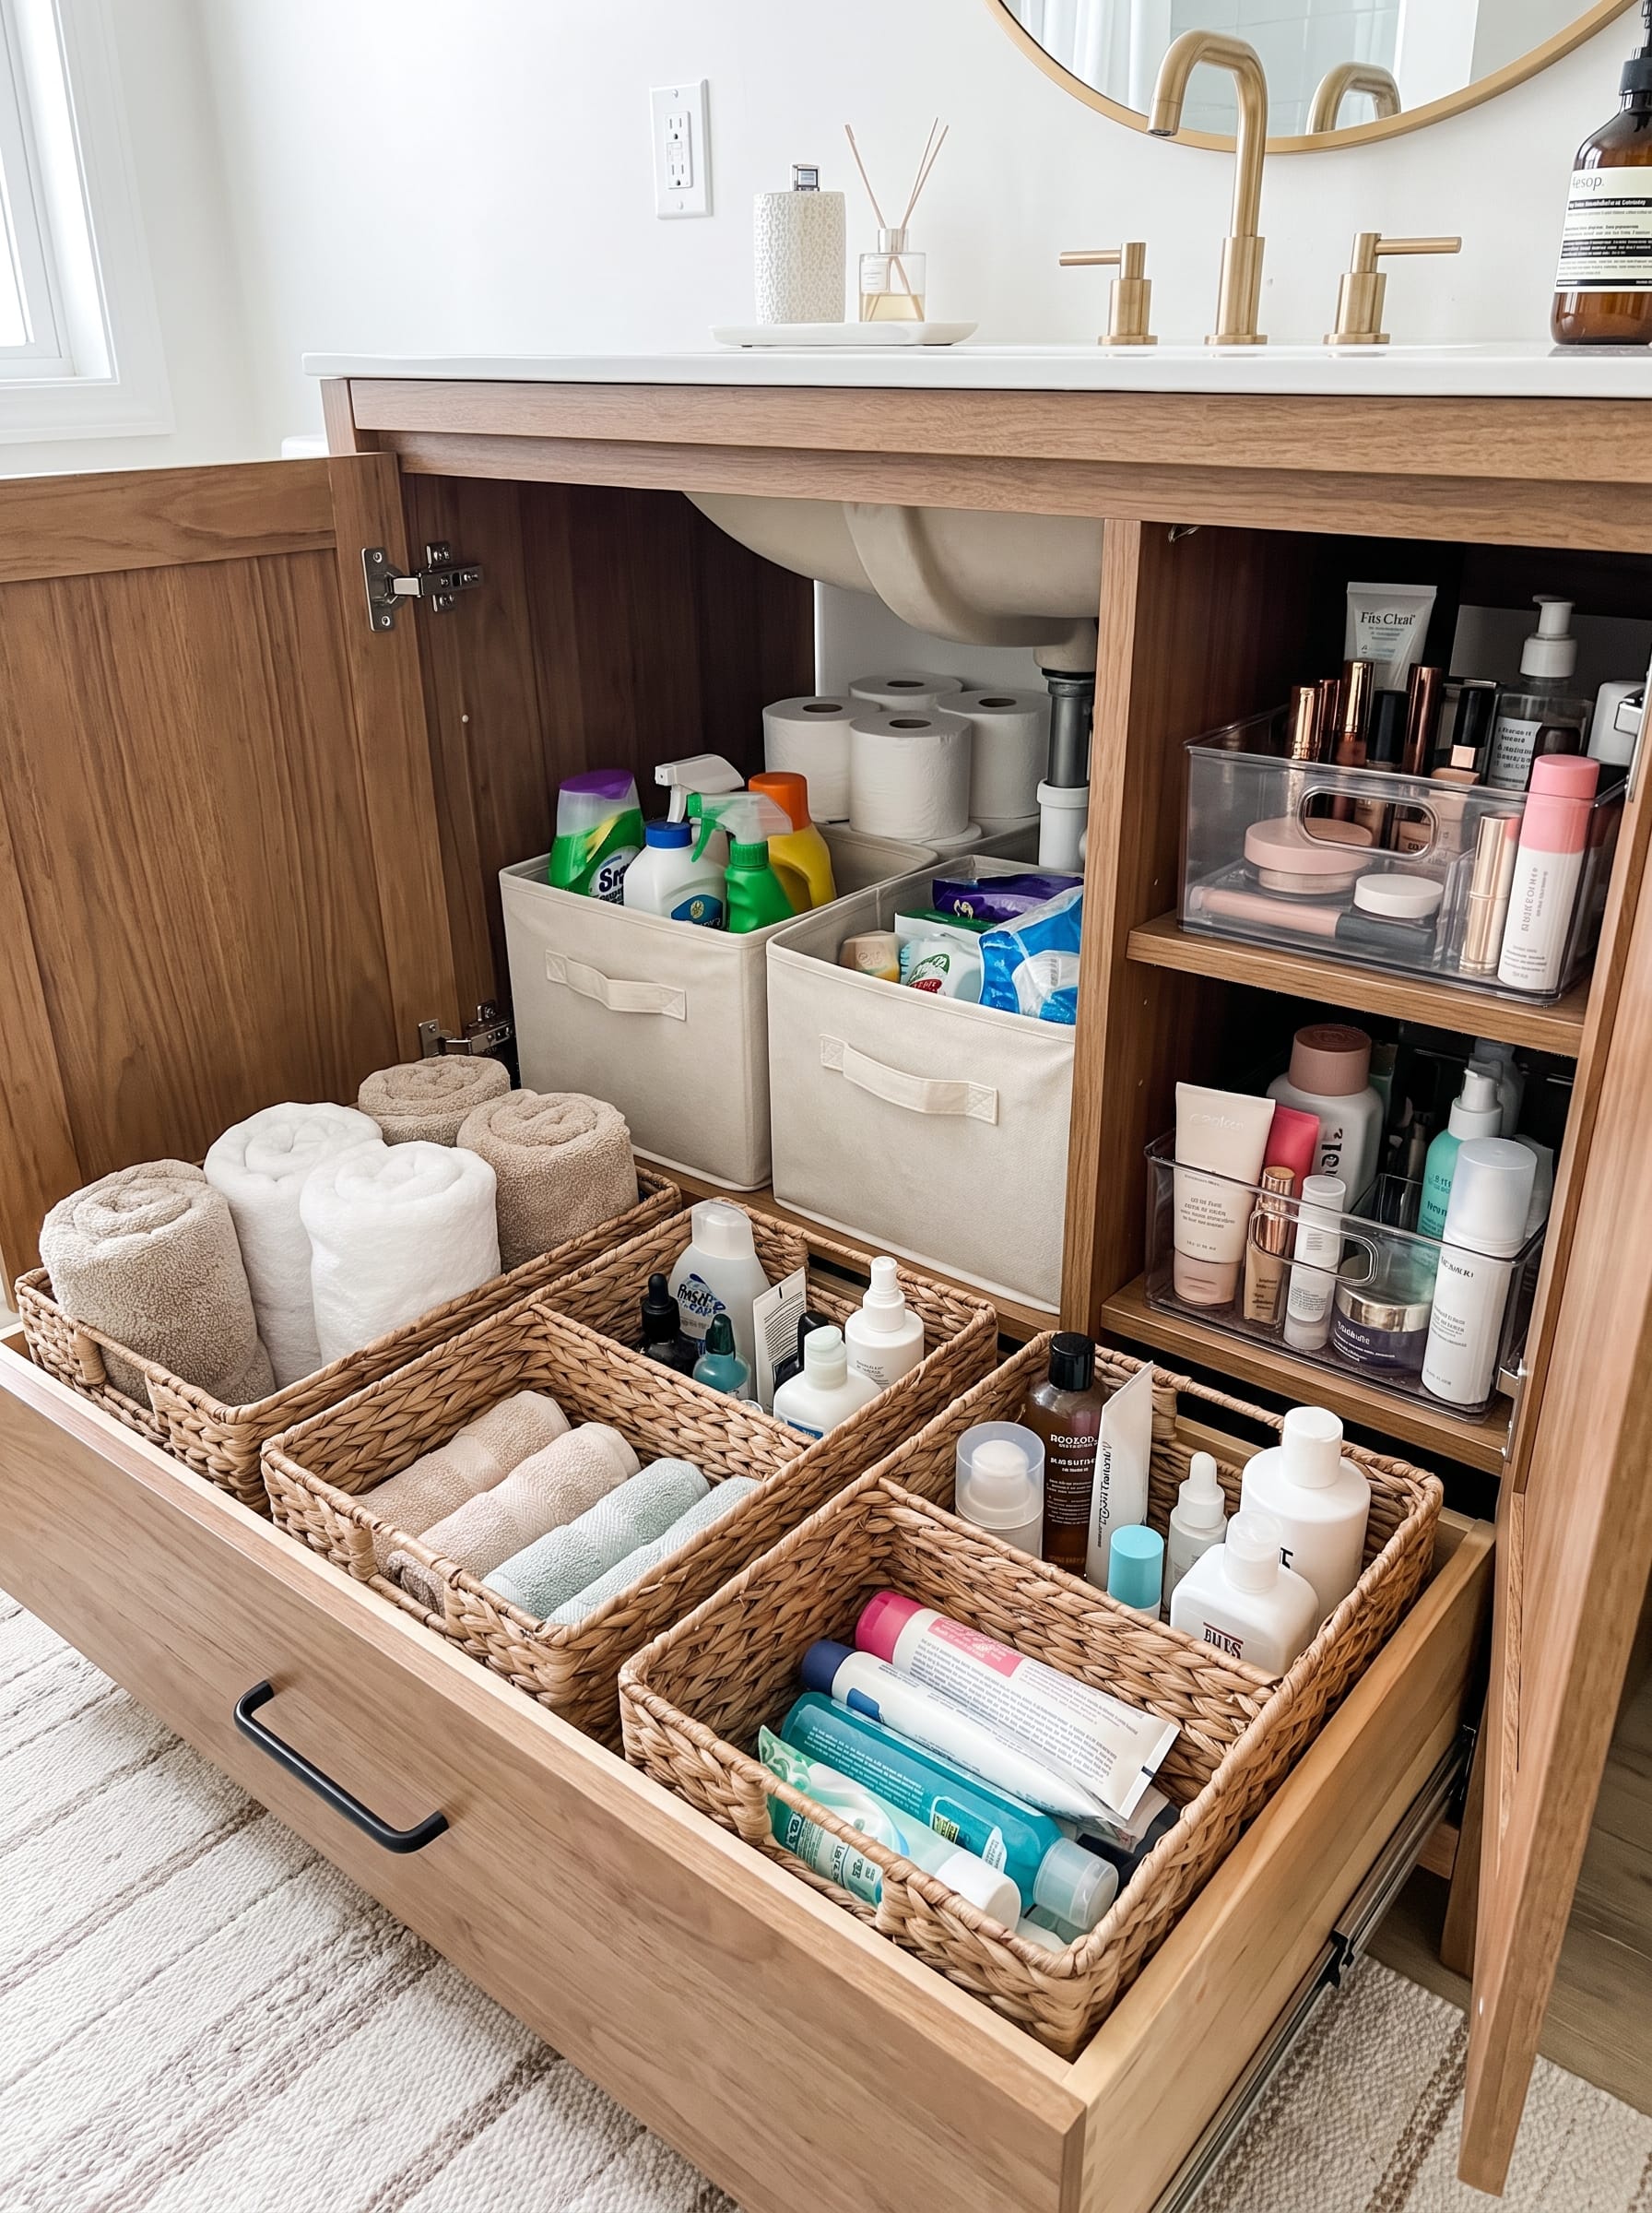
Match your setup to what you actually have. A wide cabinet with pipes running down the center usually works best with two narrow pull-out organizers, one on each side, each measured independently so the drawers clear both the pipe and the door opening. Deep cabinets where items vanish at the back need handled bins that lift or pull out fully without snagging on a hinge.
Low clearance under the sink basin calls for shallow trays or short stackable drawers, checked against your tallest bottle before you buy. Off-center drains work better with an adjustable rack that has an open center than with a fixed shelf. Mostly cleaning supplies? Keep them in a leak-proof caddy on washable plastic, off the bare cabinet floor. Renting means skipping anything that bolts in, since freestanding bins and tension-based risers come out again without a trace.
This kind of pull-out organizer earns its keep in a deep cabinet, since it slides the whole back half of the space forward instead of leaving it as forgotten inventory.
Shop it on Amazon : REALINN 2-Tier Pull-Out Under Sink Organizer
Two smaller organizers beat one wide one for a real reason. They keep the shutoff valve reachable, they leave the plumbing visible enough to spot a leak early, and nothing has to come apart just to grab a bottle. Never let a bin block your ability to inspect a pipe or shut off water fast.
Use vertical space without creating a stack you have to unbuild
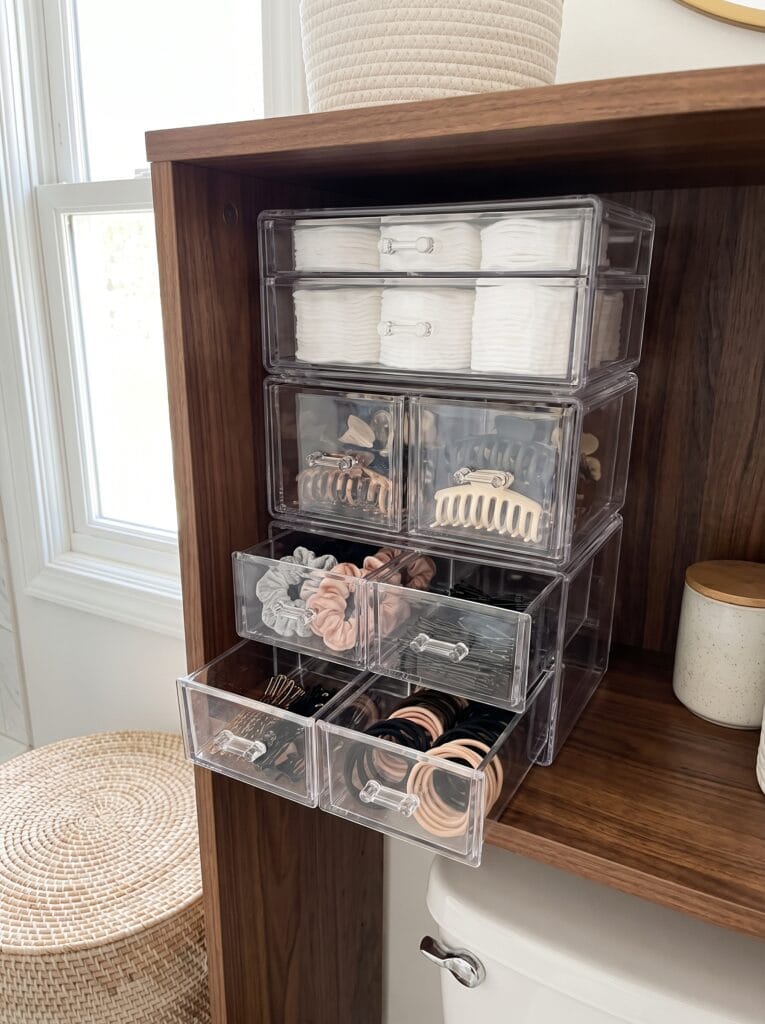
Vertical storage only earns its place if each layer stays independently reachable. Nothing else counts. Stack three baskets and you’ve built a puzzle you have to solve every morning, not an organizing system.
Stackable clear drawers work well for cotton pads, dental supplies, and small skincare, since each drawer slides out on its own. Shelf risers suit short jars and shallow medicine-cabinet shelves where a few extra inches of height go unused. Two-tier pull-out drawers fit deep vanity cabinets that have enough vertical room and a side lane clear of plumbing.
Adjustable shelves handle tall cabinets shared by a family with different-height products. Tiered trays or a small turntable work in a compact cabinet as long as you can still spin or lift them out, and slim door-mounted holders suit lightweight tools instead of heavy bottles that could yank a hinge sideways over time. Height alone means nothing.
Buy a two-tier organizer only if every tier stays reachable, the whole unit clears both the basin and the pipes, and the bottom shelf never hides a leak.
Shop it on Amazon : Vtopmart Clear Stackable Storage Drawers
When the cabinet itself runs out of vertical room, the same logic applies to turning the wall above your toilet into extra shelving. Reachability matters more than height.
Make cabinet doors useful, but keep them light and safe
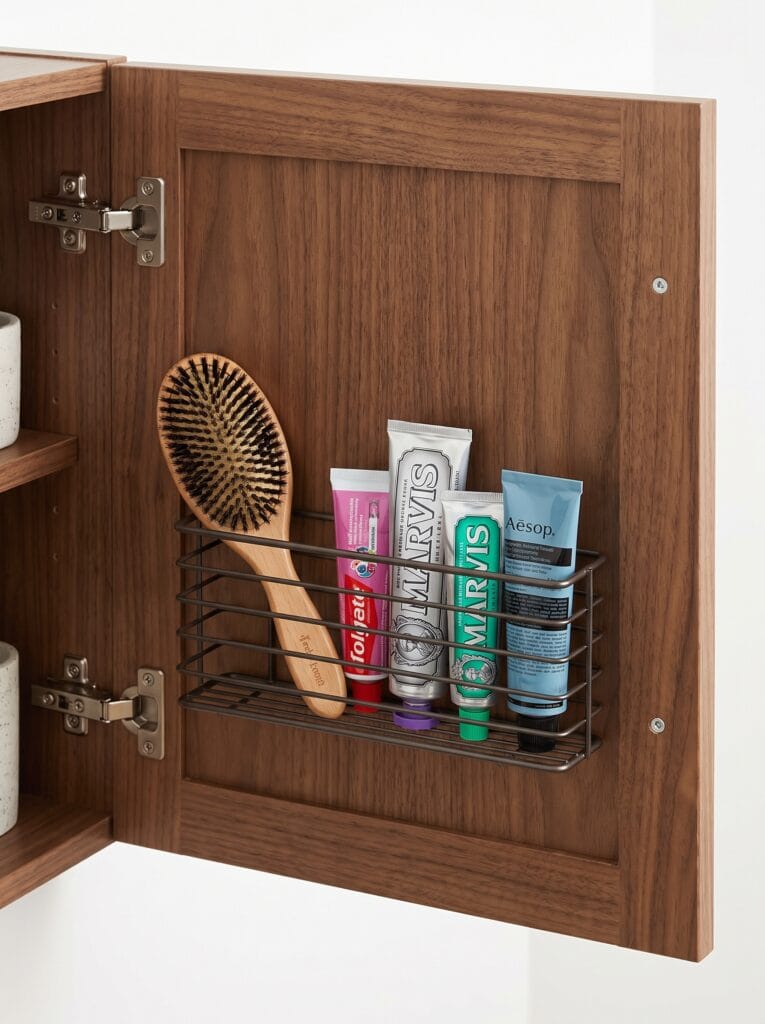
Door space holds more than people expect. Keep it light, though. Hairbrushes, combs, small secured hair tools, cleaning cloths, lightweight styling products, spare razor cartridges, and travel-size tubes all work well here. A slim caddy for daily dental or skincare items earns its spot too.
Skip anything that could turn the door into a hazard. Heavy glass containers, large aerosol cans, leaking products, and bulky cleaning bottles don’t belong on a hinge built for lightweight use. Anything that bangs against interior shelves, or that a small child could grab easily, should live elsewhere.
Shallow, removable holders matched to how far the door actually swings work best. That’s the rule. Overload one and you’ll strain the hinge before you strain your patience.
Set up small bathroom cabinets, drawers, and countertop-adjacent storage
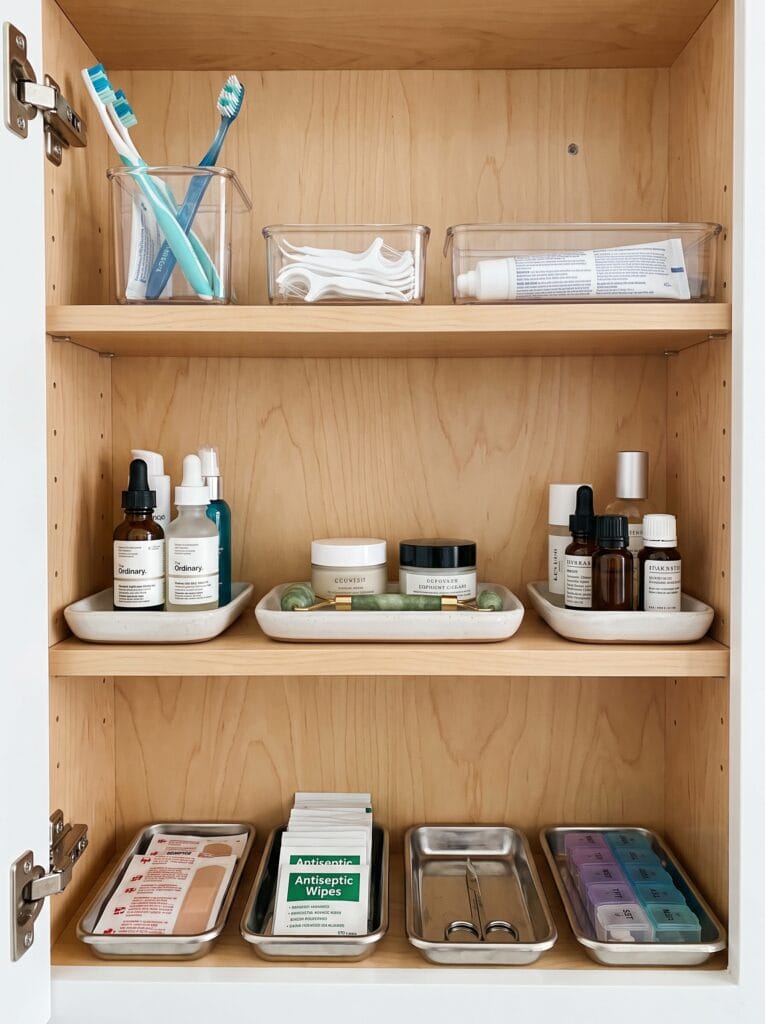
A medicine cabinet rewards the same front-access thinking as the one under your sink. Reserve eye-level shelves for what you use every single day, then use low-profile acrylic bins or narrow risers to keep morning dental care, skincare, shaving supplies, and first aid visibly separate. Skip large backup products here entirely. That kind of shelf wastes its depth on anything bulky.
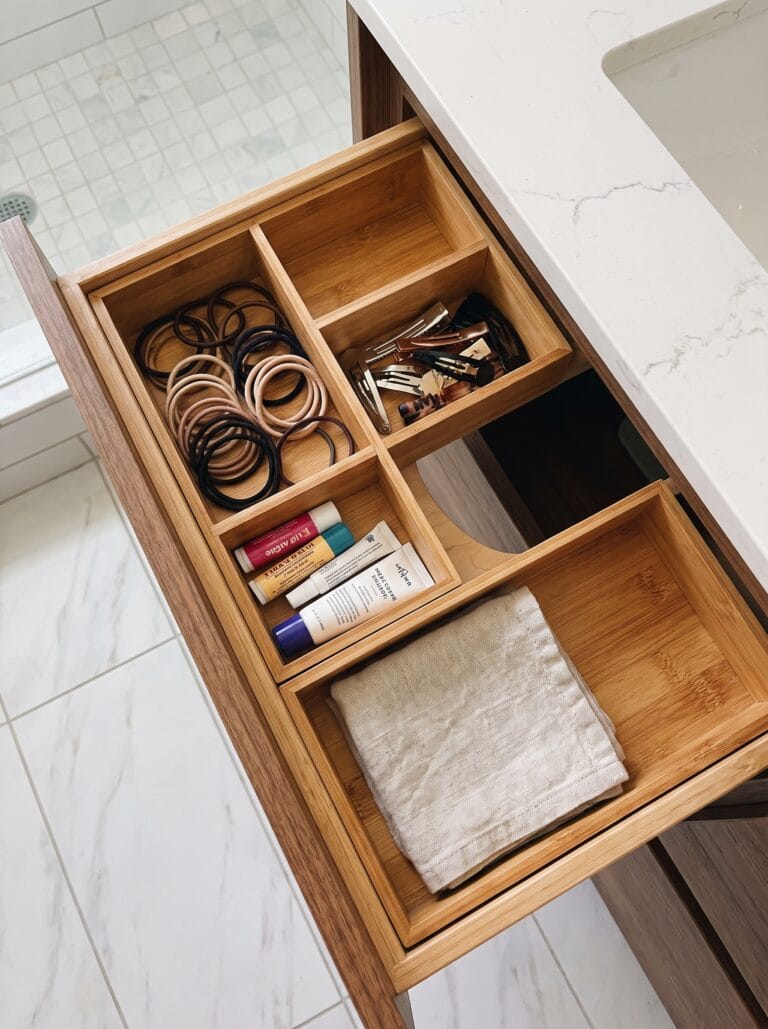
Vanity drawers need boundaries. Otherwise they turn into one drawer-shaped pile. Adjustable dividers keep makeup, grooming tools, and hair accessories from drifting into each other’s space. Set aside one drawer as your open-and-go zone for the fastest five minutes of your morning. Store bottles and pumps upright only if the drawer still closes without crushing them, and give every category a hard edge it can’t spread past.
Countertops work the same way. Limit them to what actually gets used every day, corralled in one small tray or caddy, while refills stay below or elsewhere out of sight. Shared counters need a separate tray per person so products stop getting mixed up.
Good storage across a bathroom rarely comes from one perfect cabinet. It comes from applying the same rules everywhere, which is the whole idea behind our bathroom decor and storage guide.
Choose bathroom-safe materials that can handle drips, humidity, and cleaning
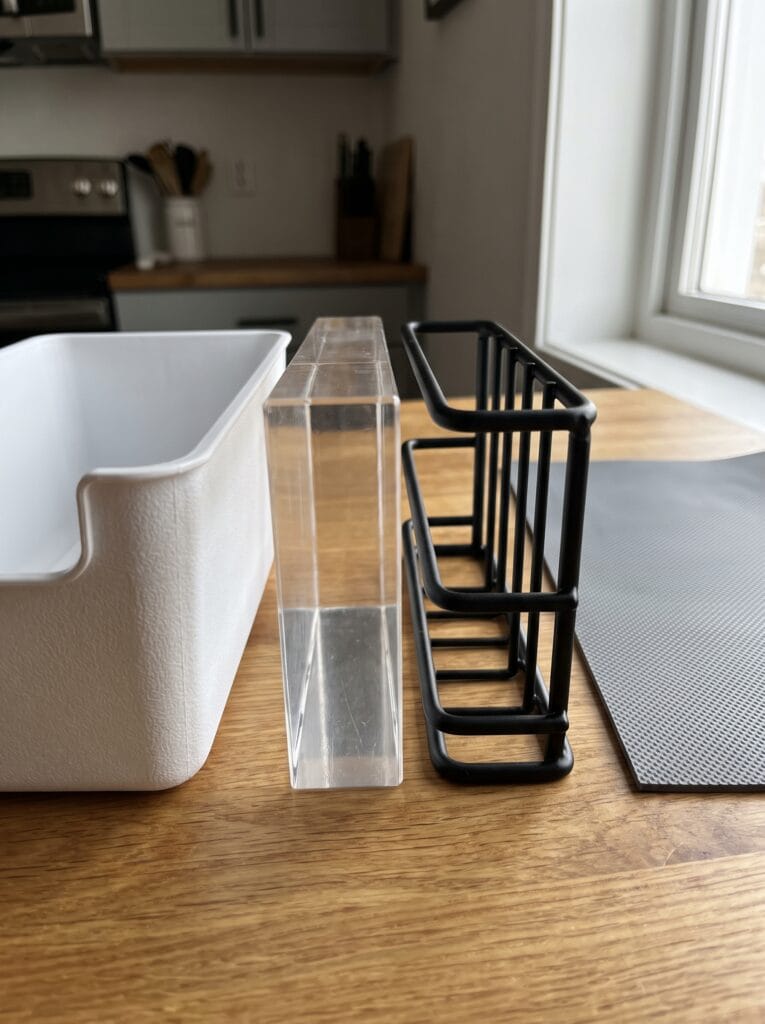
Plastic or polypropylene wins for most under-sink bins and cleaning caddies, since it’s light, cheap, and it wipes clean in seconds. Acrylic suits small drawers and medicine cabinets in drier zones, but it scratches if you drag heavy bottles across it. Powder-coated or rust-resistant metal handles pull-out racks well, as long as the cabinet stays reasonably dry and the coating hasn’t chipped. Bamboo or sealed wood belongs on a countertop tray, not directly under a pipe that might someday leak. Wood alone won’t survive that.
A cabinet liner earns its cost fast. The cost is tiny. It catches drips before they stain the cabinet floor, and a damp spot on top tells you about a slow leak before the smell does.
Shop it on Amazon : SIKADEER Waterproof Under Sink Mat
Skip untreated wicker, cardboard, unlined fabric bins, and unsealed wood in any space that gets steam or splashes. Moisture finds the weak material first.
Keep the system working with a five-minute reset and a one-in, one-out rule
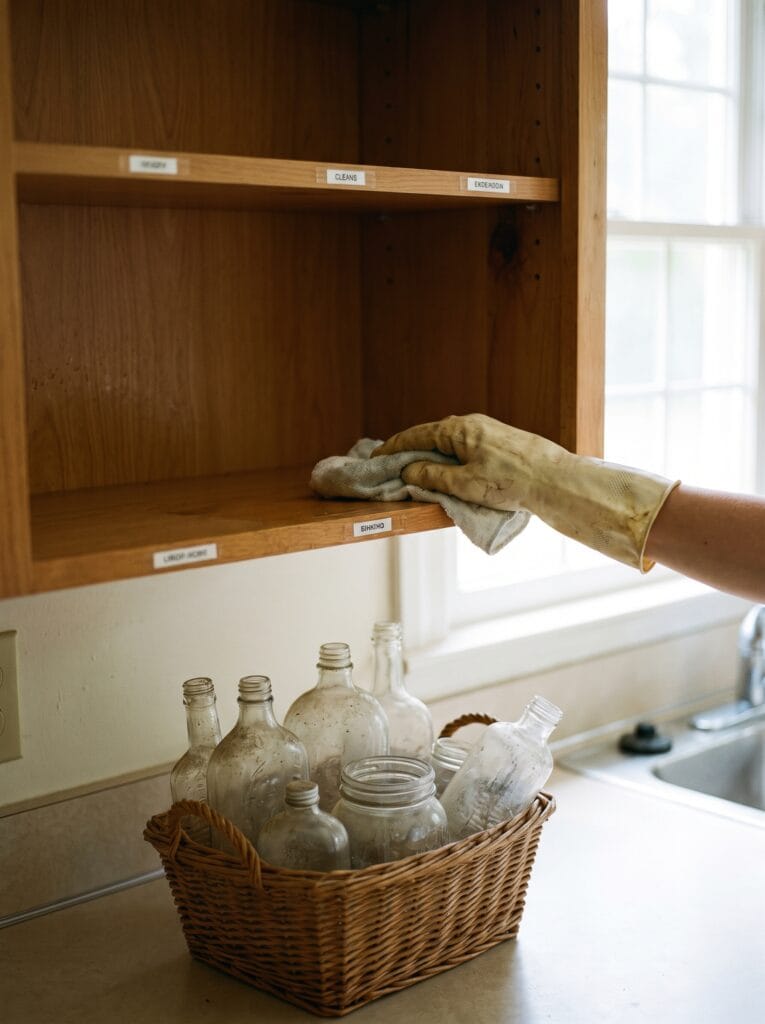
Return each product to its zone. Do it right away, every time. That single habit prevents most of the drift back toward clutter. Nothing fancy about it. Wipe spills fast, and check under the sink monthly for moisture, staining, or bottles that migrated out of place.
Move a fresh replacement into the daily zone only once the current one is nearly empty. Keep backup stock inside its bin, and stop buying more the moment that bin fills up. Give the whole cabinet five minutes a week: toss empties first, return anything that wandered, and wipe the base clean. Simple, but it works.
Revisit the setup by season, especially after a new baby’s products show up, a partner moves in, or your routine just changes. Knowing how to organize a bathroom cabinet was never about making it look staged for a photo. It lets you find what you need instantly, keeps moisture and clutter from creeping back in, and shows you the moment something needs replacing, or a pipe has started to leak.
Save this system to your Pinterest board so the four zones and the measuring checklist are easy to find again when you’re ready to shop.