Bathroom Gallery Wall Ideas With the Exact Spacing for Each
A bathroom gallery wall works when the spacing is settled before the art. Center the group 57 to 60 inches from the floor, keep 2 to 3 inches between frames, leave at least 8 inches above the faucet, and skip any wall that fogs after a shower. Those four numbers matter more than taste.
Most gallery wall ideas stop at themes: botanicals, black and white photos, coastal prints. Choosing the art is the easy part. The hard part is a narrow wall broken up by a towel bar, a switch plate and a cabinet door, in a room that steams up twice a day.
Each of the 18 ideas below is a layout decision with the measurement that makes it work, so you can plan your bathroom wall decor around the room you actually have. Pick the prints first if you haven’t yet, then come back with a tape measure.
This post contains affiliate links. If you buy through them, I may earn a small commission at no extra cost to you.
Table of Contents
Stack a vertical column on the narrow wall above the toilet

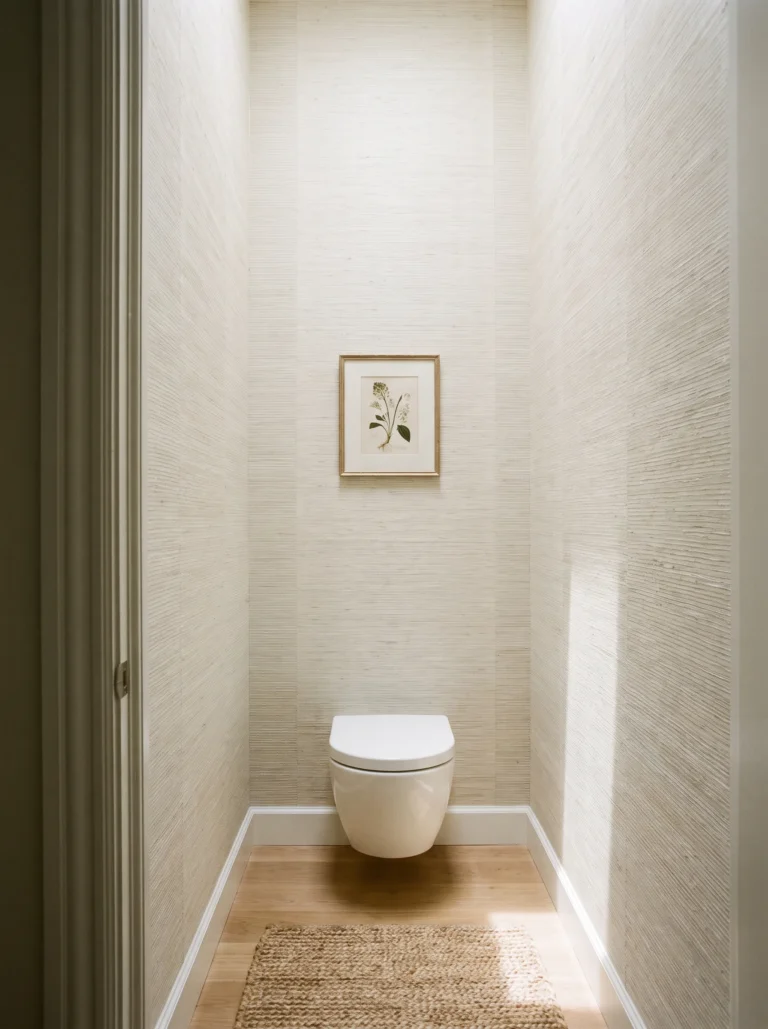
The wall above a toilet is often barely wider than the tank, which rules out a horizontal row before you start. Three small frames stacked in a single column fit that width and still count as a real arrangement.
Center the middle frame at eye level, around 57 to 60 inches from the floor, and hold the gaps to 2 inches. Tight spacing makes the column read as one tall piece instead of three loose ones, and the vertical line pulls the eye up toward the ceiling.
When a towel bar runs underneath, keep the bottom frame at least 10 inches above it so a hanging towel never brushes the glass.
Hang a pair above the vanity with 8 inches over the faucet
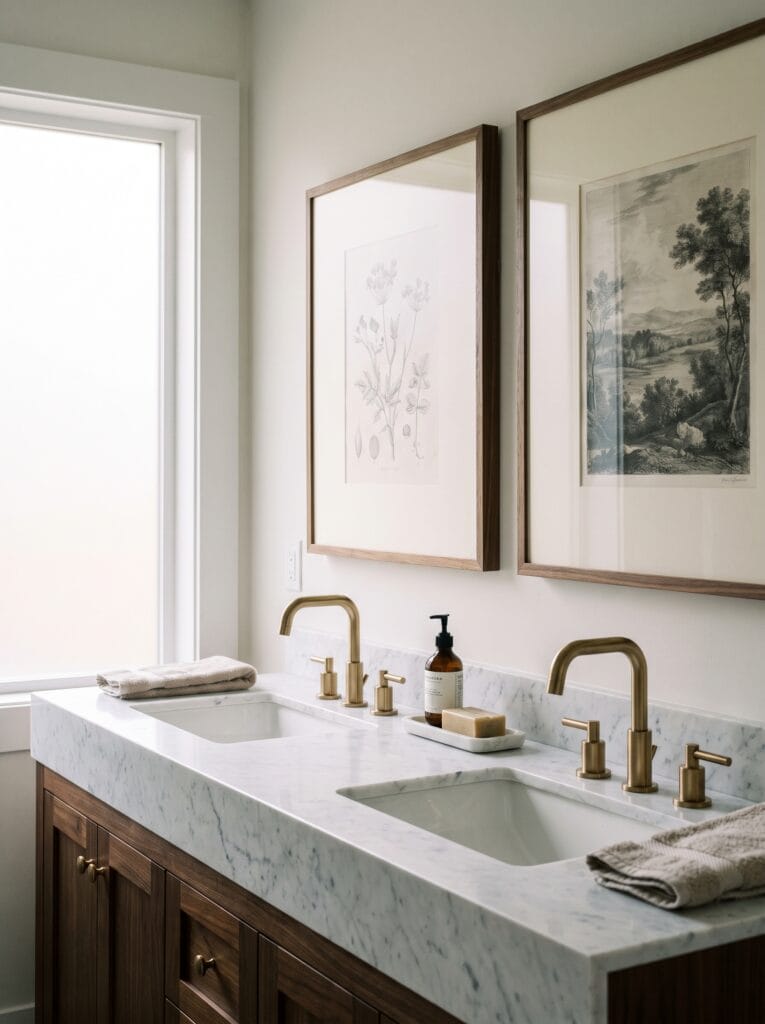
A matched pair is the safest arrangement above a vanity and the one most likely to look planned. Two pieces cover the width a single small frame can’t, without the busy look of six.
What matters most is the gap between the top of the faucet and the bottom of the frames: at least 8 inches. Any less and the art seems to rest on the plumbing.
Size the pair to span about two thirds of the vanity width, gap included. On a 60 inch double vanity that means roughly 40 inches, which two 18 by 24 inch frames with a 3 inch gap cover almost exactly.
Save a loose bathroom gallery wall cluster for your one unbroken wall
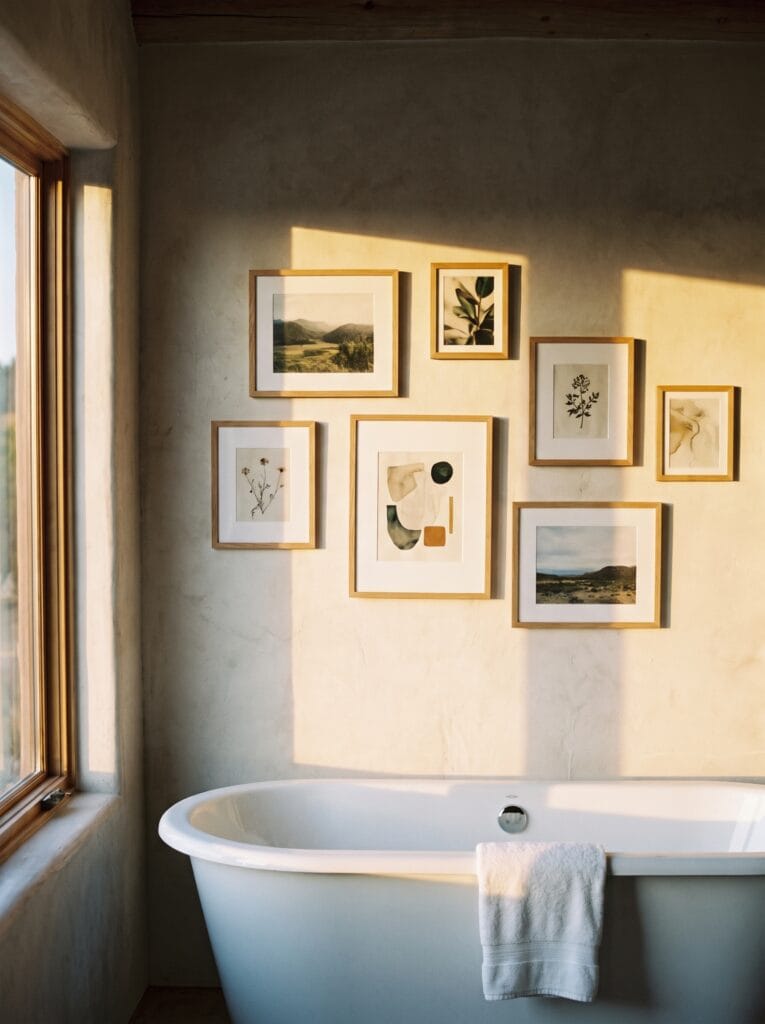
Most people picture the loose, salon style cluster first. In a bathroom it fails more often than any other layout, because it needs a wall with nothing on it, and most bathrooms have exactly one.
Measure before you commit. Seven pieces need roughly 48 inches of width and 55 inches of height to breathe. Below that, the frames start bumping into each other and the collected look turns cramped.
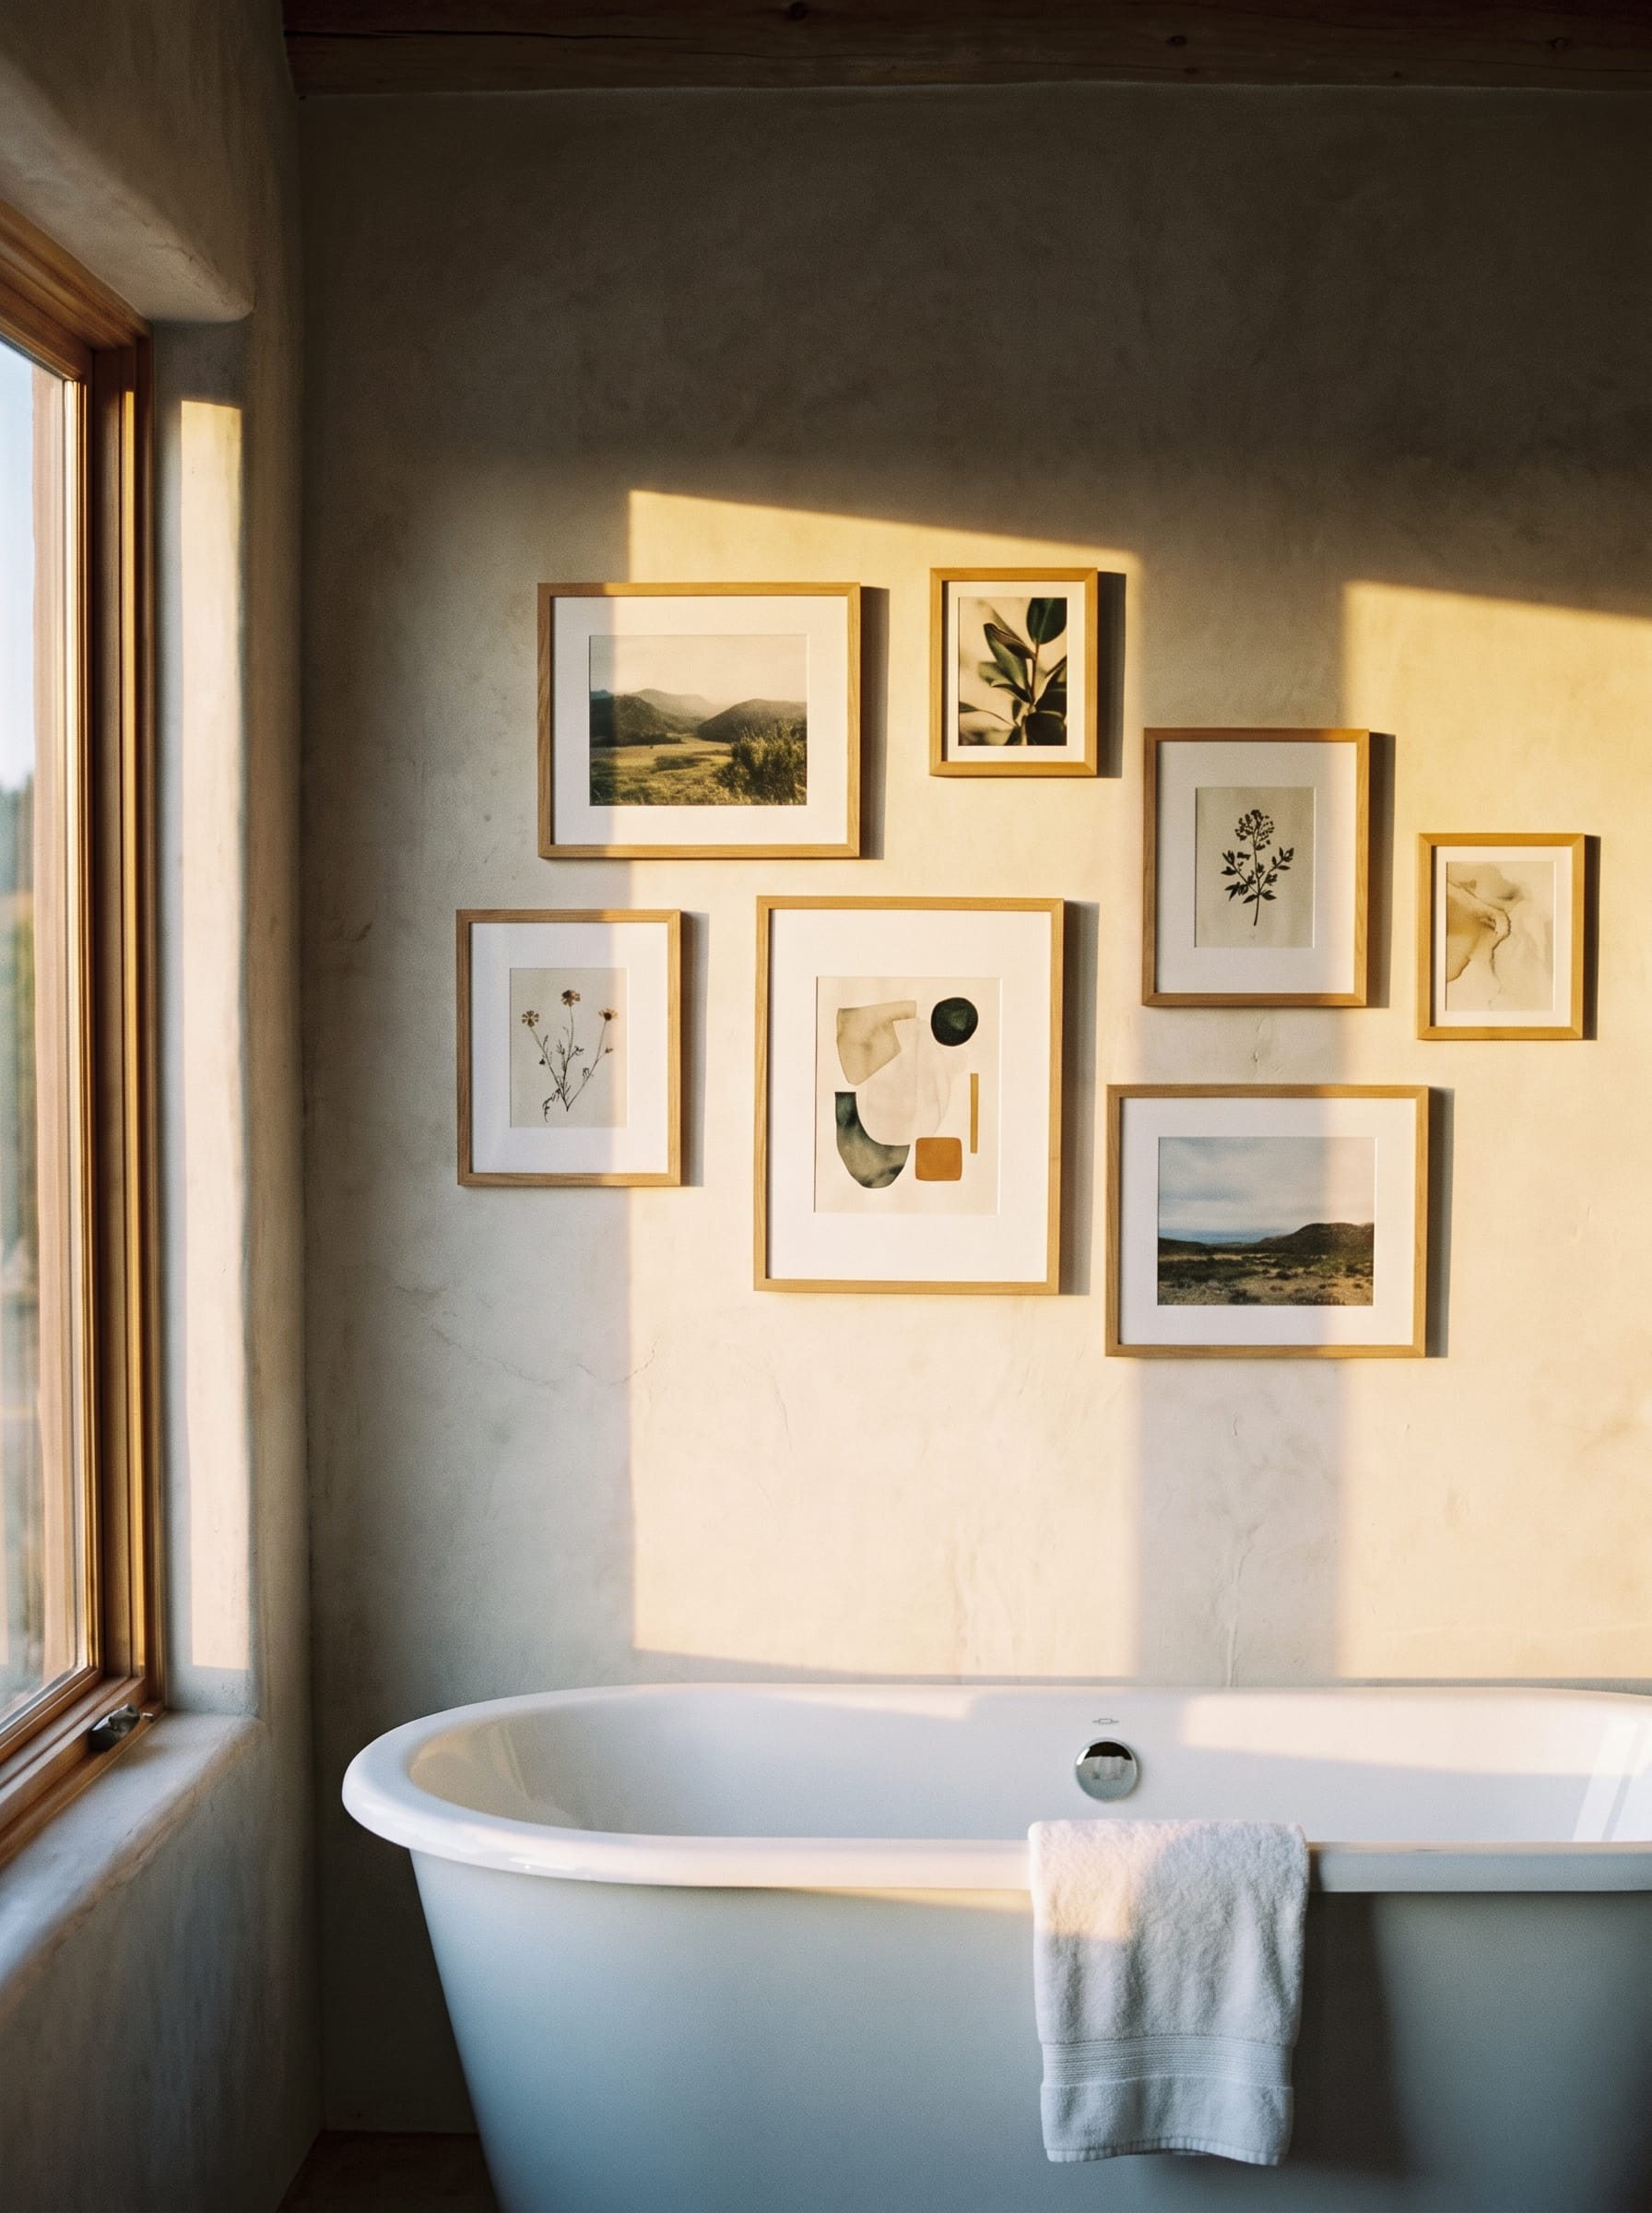
Mix the sizes on purpose: one large anchor slightly off center, two medium pieces, then smaller ones filling the edges. Odd totals like five or seven settle more easily than even ones. Keep every gap the same, 2 to 3 inches, so the outline is the only irregular thing about it.
Stick to one frame finish, two at most
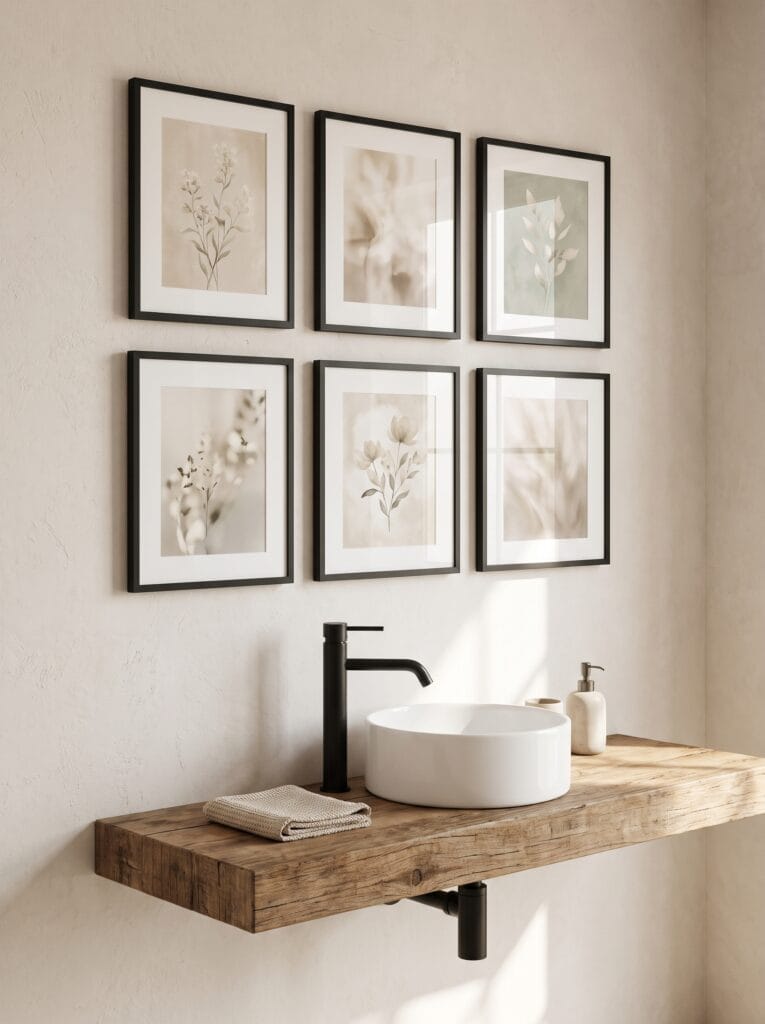
Matching frames let you mix everything else. Six unrelated prints read as one bathroom gallery wall when every frame shares the same thin black profile and the same white mat, because the frames supply the order the art doesn’t have.
The rule matters more in a bathroom than in a hallway. You take in the whole wall at once from 3 or 4 feet away, so three frame colors fight instead of blending. For warmth, pair one metal with one wood and stop there.
Matched sets usually cost less per frame than singles, so the tidier choice is also the cheaper one. Five 8 by 10 frames make a neat two row block above a 30 inch vanity.
Shop it on Amazon: upsimples 8×10 Picture Frames, Gallery Wall Set of 5, Black
Swap picture glass for acrylic
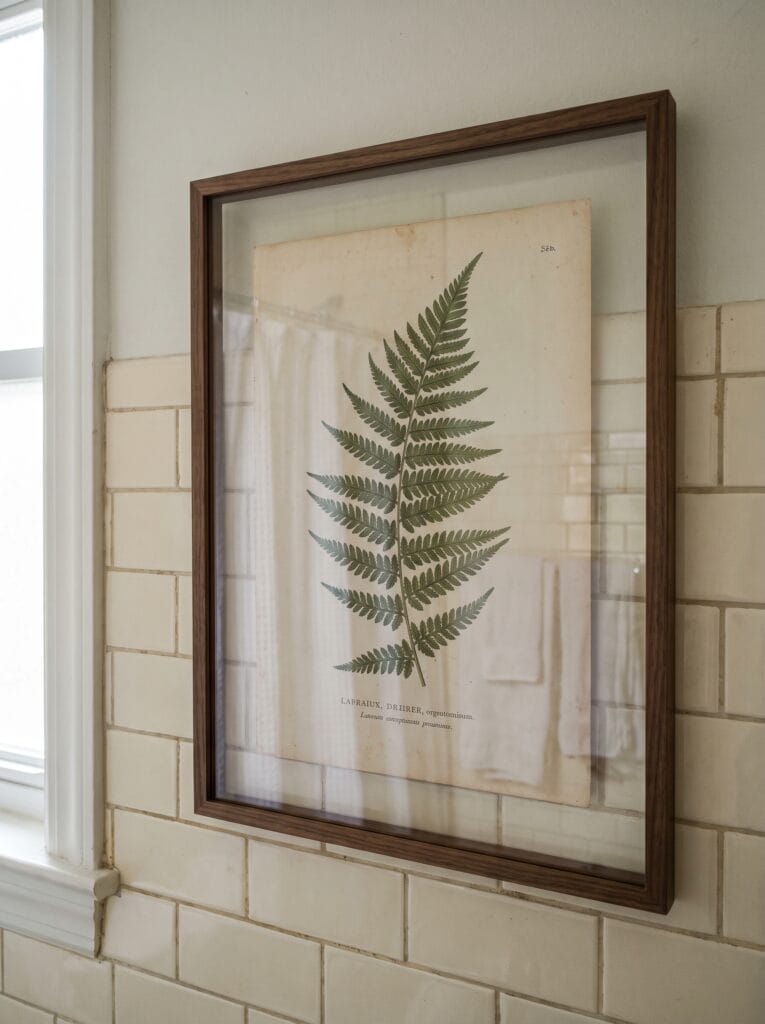
If a frame ever comes off a bathroom wall, it lands on tile. Glass shatters across the floor, while acrylic usually just bounces. That alone makes acrylic glazing the better pick for bathroom picture frames near a tub or sink.
Weight is the second reason. Acrylic weighs roughly half as much as glass, which matters the moment you hang anything without drilling, because lighter frames stay put on adhesive for far longer in humid air.
Scratches are the one trade off. Wipe acrylic with a microfiber cloth and plain water, never paper towel or an ammonia glass cleaner, and it stays clear for years.
Tape paper templates to the wall before you drill
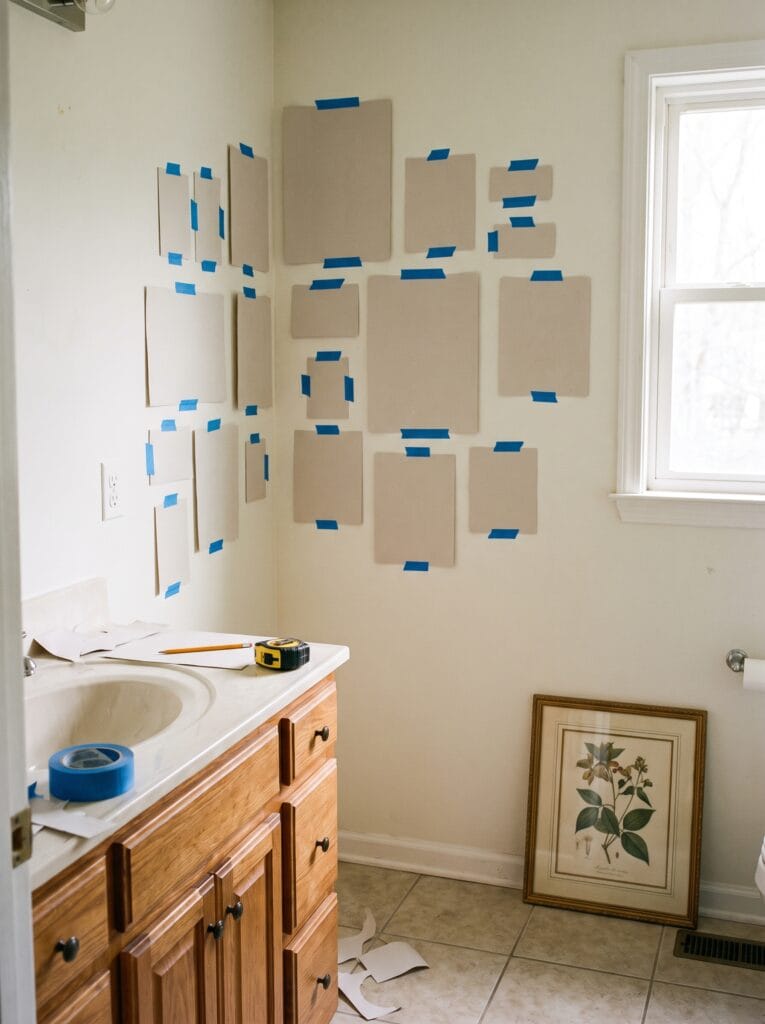
Cut kraft paper to the size of every frame and tape the whole layout up first. Twenty minutes and a roll of painter’s tape save you from filling a row of wrong holes later.
Leave the paper up for a day. Check it from the doorway, from the mirror and from the toilet, the three places you actually look from. A layout that seems balanced while you hold the tape often looks lopsided when you’re brushing your teeth.
Once it stops bothering you, mark where each hook will sit, measured from the back of the real frame. Drill straight through the paper, then peel it away.
Hang on adhesive strips if you rent
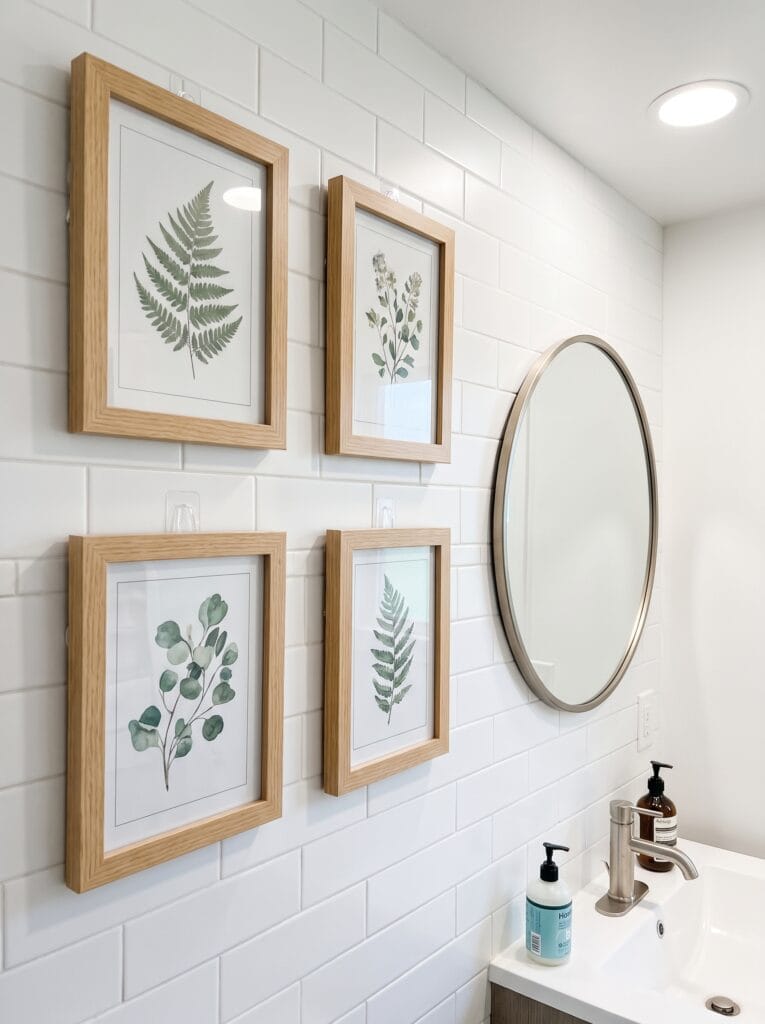
Renters can build a full gallery without a single hole, as long as the frames are light and the surface is clean.
Weigh each frame on a kitchen scale, then choose strips rated for about double that figure. Humidity slowly softens adhesive, and the extra margin keeps a frame up through a winter of hot showers. Press each strip for 30 seconds and wait an hour before hanging anything on it.
Shop it on Amazon: Command Large Picture Hanging Strips, 12 White Strip Pairs
Pick a grid when the room is already symmetrical
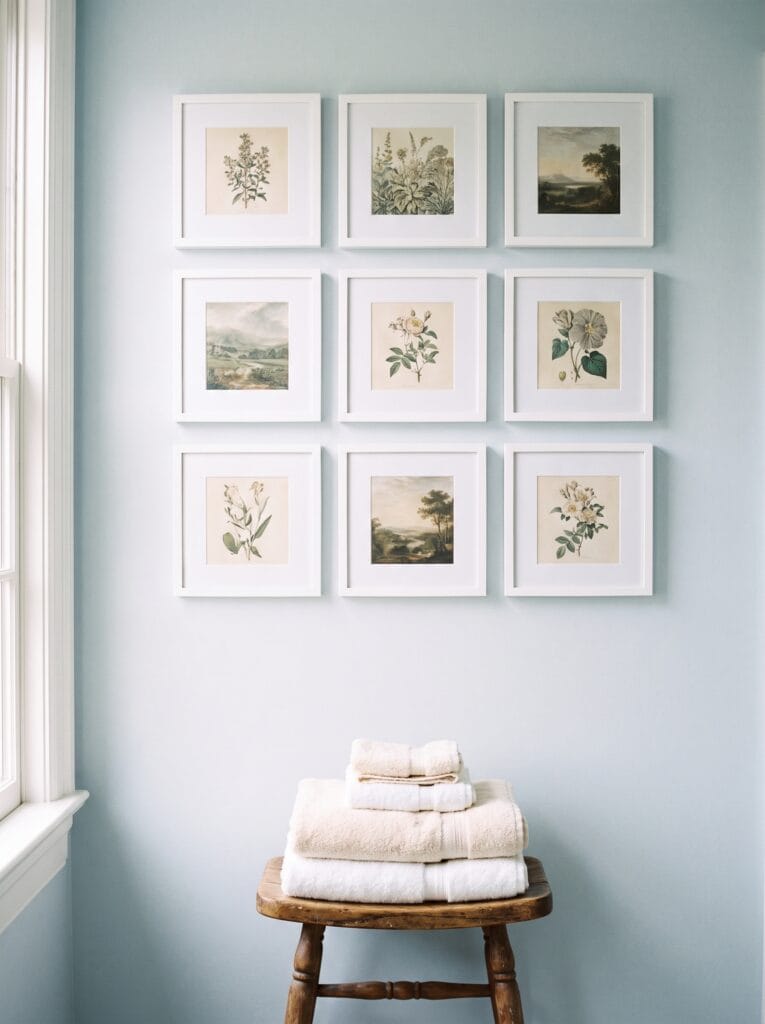
A grid suits a bathroom that is already orderly, with a centered sink, a square mirror and tile in straight lines. It repeats that geometry instead of fighting it, and it’s the easiest bathroom gallery wall to hang accurately.
Everything depends on the gaps. Keep them equal at 2 to 3 inches, because one uneven gap in a grid shows immediately. Nine small frames in a 3 by 3 block fill a wall generously without any single piece being large, and white frames with wide mats keep the block light against a colored wall.
Anchor the group with a shaped mirror
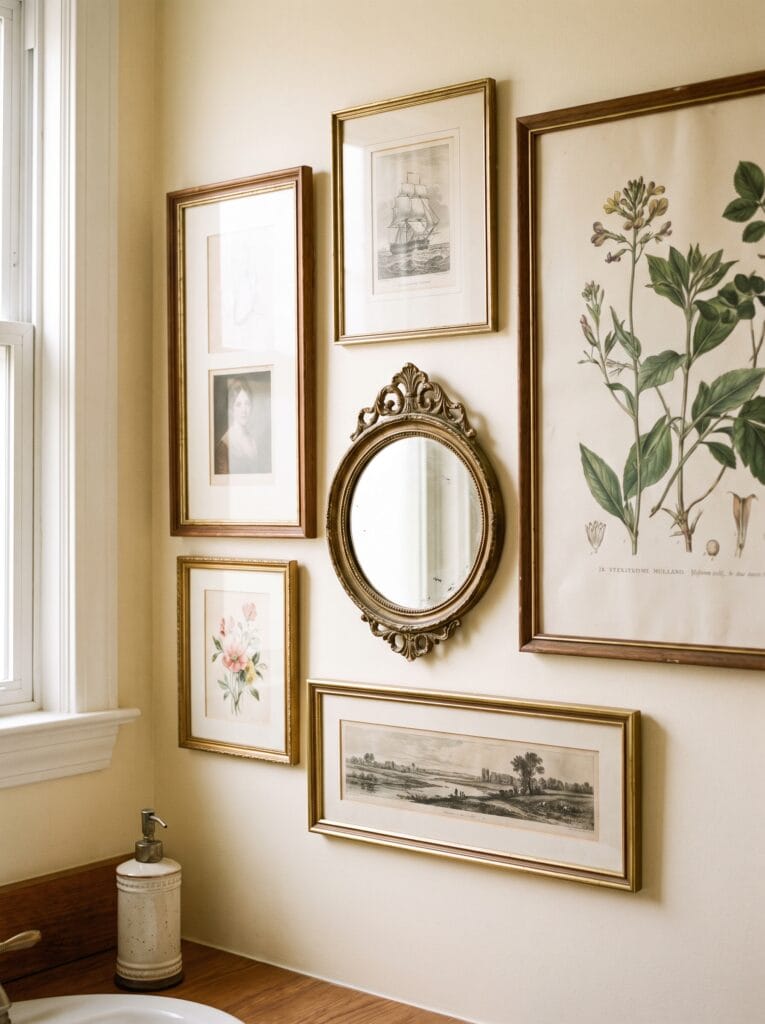
A mirror in the middle of the frames gives the eye somewhere to land and makes the wall useful as well as decorative. Shaped mirrors work best, since an oval or scrolled outline breaks up a run of rectangles.
Tie the mirror to the frames through finish. Gold next to gold and walnut reads as one warm family, while a chrome mirror dropped into gilt frames looks like it wandered in from another room.
A mirror also bounces light across a small bathroom, which a print can’t do. For shapes that suit different walls, browse these bathroom mirror ideas before you pick one.
Work around the towel bar and the light switch

Most gallery walls get planned as if the wall were empty. It never is. The towel bar, the switch plate and the paper holder sit at fixed heights and aren’t going anywhere.
Treat them as part of the layout. Measure outward from each fixture rather than inward from the corners, and keep at least 3 inches between any frame and the fixture beside it. A hand reaching for the switch or a towel shouldn’t knock the art.
Two small frames centered over a towel bar look deliberate. The same frames squeezed into the gaps on either side never will.
Use a picture ledge instead of hanging each frame
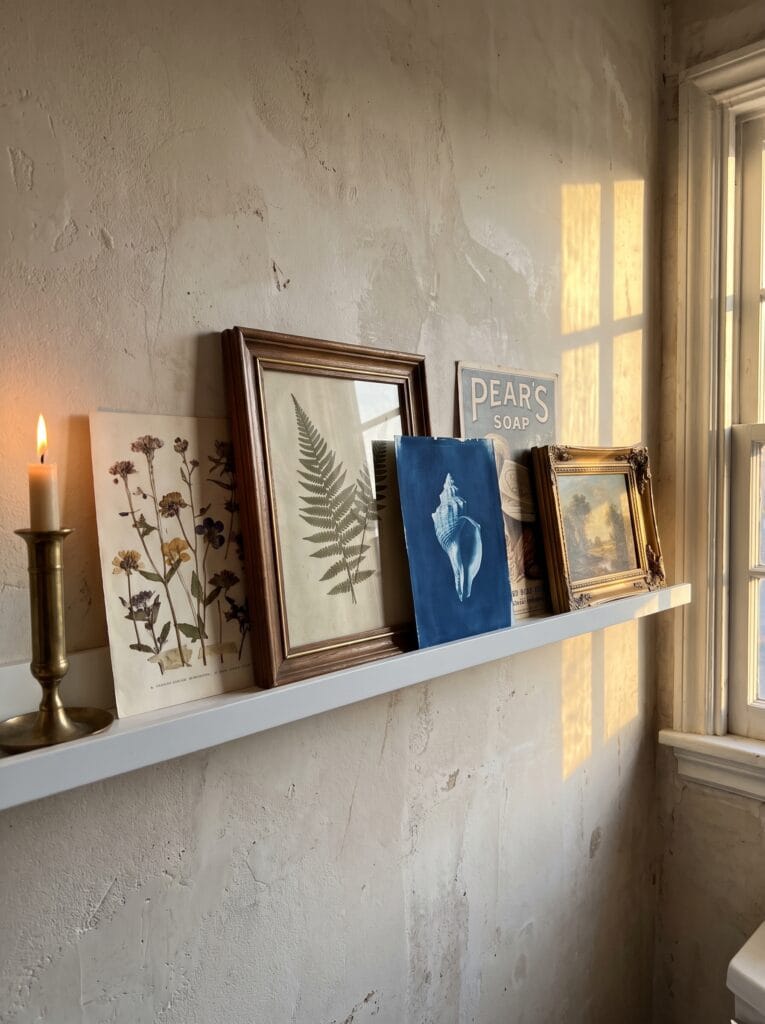
A picture ledge trades a dozen nail holes for two or three screws. Frames lean rather than hang, which makes it the easiest bathroom gallery wall to change on a whim.
Ledges also let you overlap pieces front to back and mix framed art with unframed prints and small objects, something flat hanging can’t do. Choose one with a front lip at least half an inch tall so nothing slides off when the door slams, and mount it 12 inches or more above any sink.
Shop it on Amazon: WELLAND White Picture Ledge Shelf, 36 inch, Set of 2
Run one continuous row around a corner
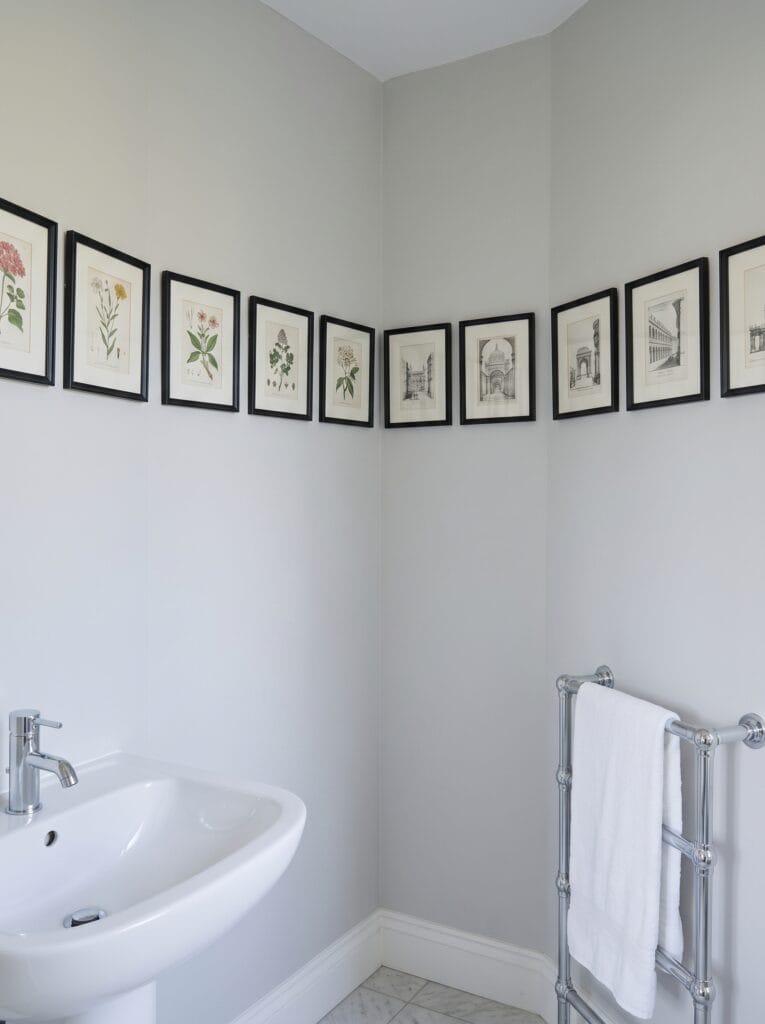
Two short walls meeting at a corner rarely fit a real arrangement on their own. One unbroken row of identical frames carried around the corner turns them into a single long wall.
Keep the frame size, finish and gap the same all the way through, including the gap on each side of the corner. Once the rhythm breaks, the eye sees two separate walls again. Hanging the row high, around 70 inches to the frame centers, keeps it clear of sinks, towel rails and radiators.
Hang high enough to clear the tub
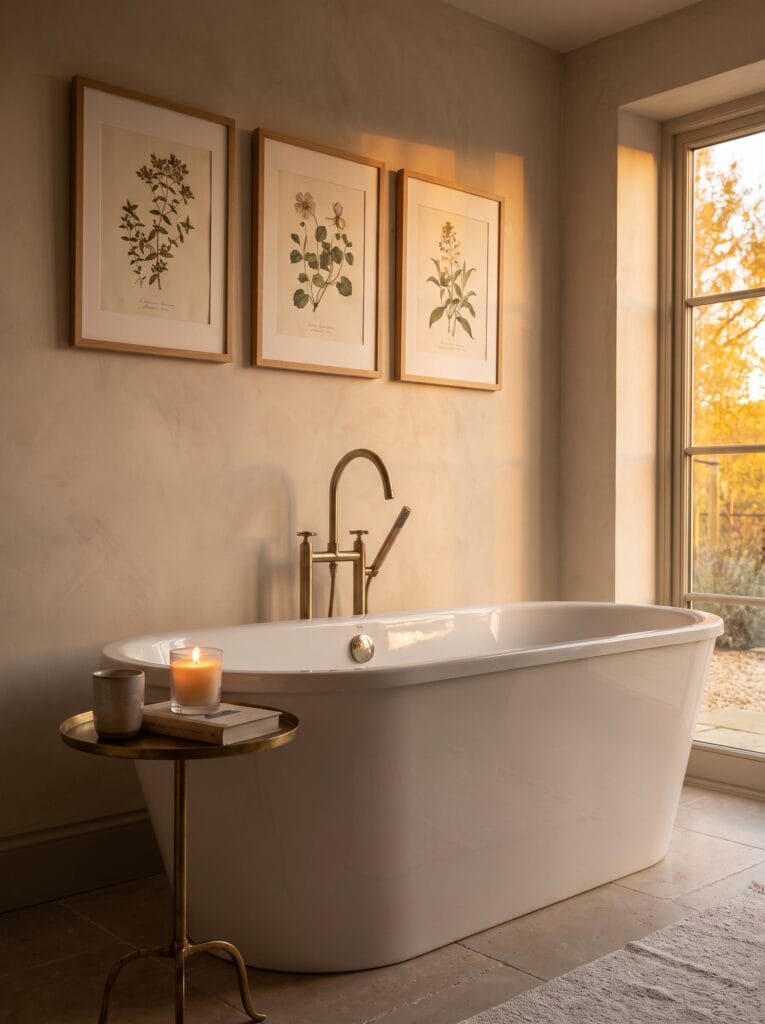
Art above a bathtub faces a problem art elsewhere doesn’t: water leaves the tub every time someone climbs in. People tend to hang too low because they picture the view from the bath.
Keep the bottom edge of the lowest frame at least 12 inches above the rim. That clears splashes and gives room to lean back without knocking anything. A single horizontal row suits a tub better than a cluster, since it echoes the long shape underneath.
With a freestanding tub and a floor mounted filler, measure from the rim rather than the floor, and check that the filler’s spout sits well below the frames.
Size down in a powder room
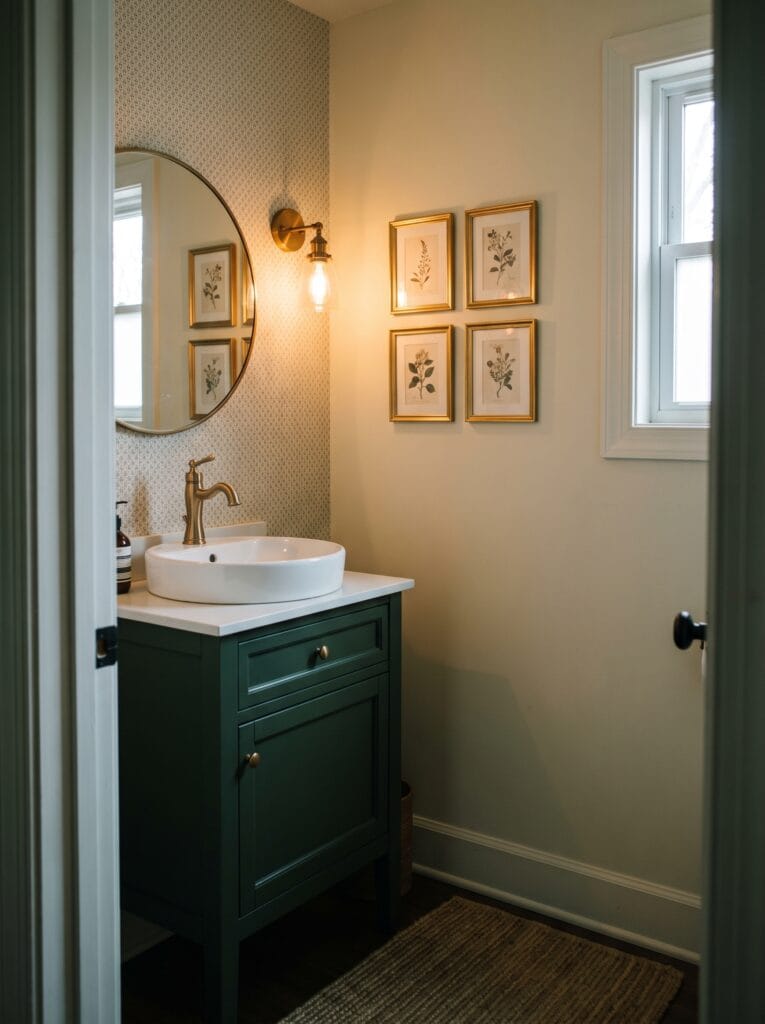
Powder rooms get viewed from about 2 feet away, which changes the math. Frames that look small in a photo feel generous when you’re standing close enough to touch them.
Four small frames in a tight 2 by 2 block often fill a powder room wall better than one large piece, and fine detail like line botanicals or small engravings actually gets seen at that distance.
With no shower in the room, a powder room is also one of the few bathrooms where paper prints and wood frames face almost no steam.
Step the frames down with a sloped ceiling
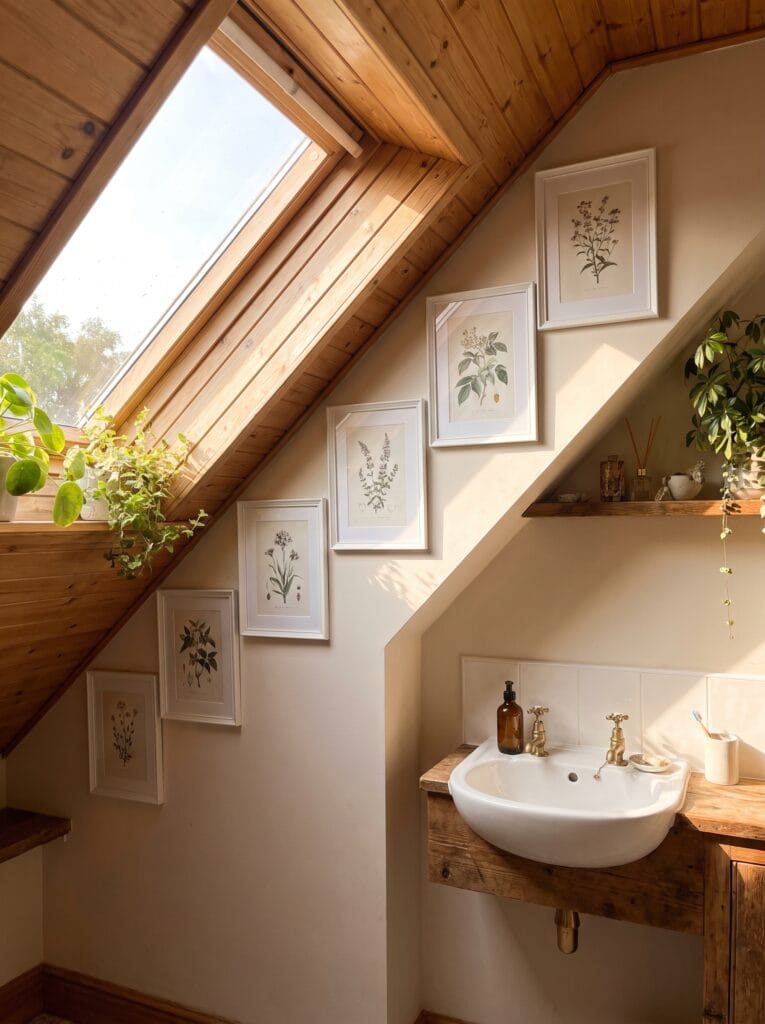
Stop fighting an attic slope and follow it. Frames that step down in line with the roofline turn the most awkward wall in the house into one of the most interesting.
Keep the vertical step between frames constant and every frame the same size, since shrinking them on the way down makes the slope look like a mistake. Leave about 6 inches between each frame’s top corner and the ceiling line. Any tighter and the frames look squeezed in.
Put adhesive on tile faces, never on grout
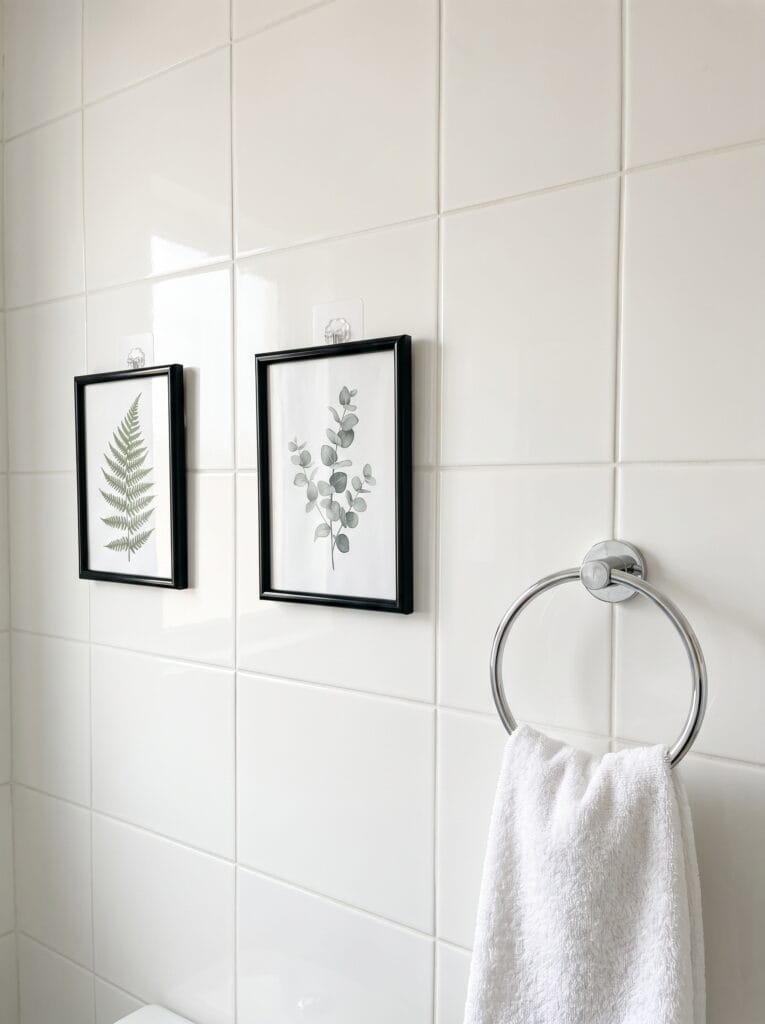
On a fully tiled bathroom gallery wall, every hook and strip has to land on the smooth glazed face of a tile. Grout is porous and slightly recessed, and a strip bridging two tiles fails at the joint.
Plan the spacing around the tile grid, not the other way round. Sometimes that means nudging a frame half an inch sideways to keep its hook clear of a grout line.
Clean each spot with rubbing alcohol first. Bathroom tile carries a film of soap and body oil that stops adhesive bonding, even when the wall looks spotless.
Use the narrow strip of wall beside the door

The strip beside a bathroom door is usually the only wall with no fixtures, and often the one furthest from the shower. That makes it the safest spot in the room for paper art.
Too narrow for anything wide, it suits a single column of five small frames running from about 40 inches up to well above eye level. Once the arrangement is taller than it is wide, it fits the wall instead of fighting it. Check the door swing first so the handle can’t hit the lowest frame.
Frame the medicine cabinet instead of hiding it

On its own, a recessed medicine cabinet is a flat mirrored rectangle that reads as plumbing. Surround it with frames and it becomes the center of the wall.
Bring the frames within about 2 inches of the cabinet trim on three sides and keep the door swing clear. Match the frame finish to the trim, brass with brass or white with white, so the cabinet reads as the largest piece in the group rather than an interruption.
What fails first on a wall that gets steam
Steam decides which of these ideas lasts. Stand in the room right after a hot shower and note where the walls and mirror fog. That zone is off limits for paper, however good the wall looks empty.
If the frame is within about 4 feet of the shower head, then the paper ripples within one winter. Move it to the far wall, or use a laminated, metal or canvas print instead.
If the frame is MDF, then the corners swell first. Solid wood, metal and plastic frames all hold up better near water.
If the backing is cardboard, then mold grows behind the print before it shows on the front. Seal the back with framing tape and add small felt bumpers so air can move behind the frame.
If the bathroom has no window and a weak fan, then even the far wall stays damp. Run the fan for 20 minutes after every shower before trusting any wall with paper.
If a strip starts lifting at one corner, then the bond is already failing. Replace it before the frame drops, not after.
Measure the wall before you buy the frames
Work in this order: find the dry wall, measure the clear space on it, then choose between a column, a pair, a grid, a cluster or a ledge. Frames come last.
Doing it the other way round is why so many bathroom gallery walls get rehung within a year, with filled holes showing faintly through the paint. The frames were bought before anyone checked the wall they were meant for.
Once the numbers are set, the rest is style, and the same tape measure first habit works across our bathroom decor and storage guides. Start with the wall that stays dry, and your bathroom gallery wall will still hang straight next year.
Found this useful? Save the pin so the spacing numbers are with you when you’re standing at the wall.