How to Regrout Bathroom Tile for a Clean Finish That Lasts
To regrout bathroom tile, grind out the old grout about two thirds of the way down, vacuum every joint, and pack in fresh grout that matches the joint width. Seal it once it cures. Leave the corners alone, because those need flexible caulk, not grout. Plan a weekend, with most of Saturday spent grinding.
Grout fails for one of two reasons: it wears out, or something behind it moves. Only the first is a regrouting job. This guide shows you how to tell the difference before you buy a single bag.
It also covers the details most guides skip, like matching the grout to the joint width, testing the colour after it dries, and wiping the haze at the right minute.
Here is the shape of the weekend. Saturday goes on checking the joints, grinding and vacuuming. Sunday is for mixing, packing and wiping. The sealer waits until the grout has cured, which is usually a few days later.
Affiliate disclosure: this post contains Amazon affiliate links. If you buy through one, we may earn a small commission at no extra cost to you.
Table of Contents
Step 1: Decide which joints need regrouting and which need caulk
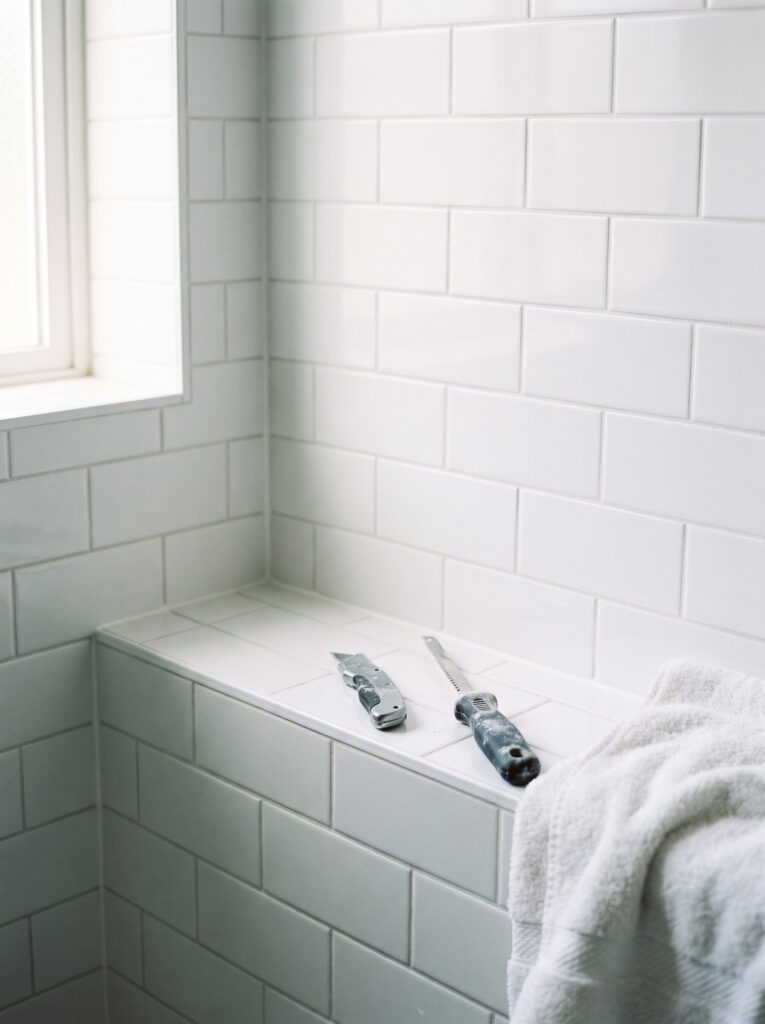
Regrout the flat joints between tiles and leave every change of plane to caulk. Where tile meets the tub, the vanity, the floor or an inside corner, the surfaces move at different rates, and rigid grout cracks there within a season.
Photograph each wall before you start, so you can see which joints failed and where. Patterns matter: cracks along the bottom row usually point to a tub that flexes, while a crack that runs straight up a wall often follows a seam in the framing behind.
Walk the room and press a strip of painter’s tape beside each joint that needs work. Flat joints get grout. Corners and edges get caulk, and you will redo those as a separate job once the grout has cured.
Pinholes, a chalky surface or hairline cracks mean the joint needs replacing. If it is only dingy, a hard scrub usually beats a full regrout.
Use a coin for a quick test. Scrape the edge of it along a stained joint. If a fine powder comes off and the joint feels sandy, the grout has worn out and needs replacing. If the surface stays hard and only the colour is off, scrub it with a stiff brush and a mild cleaner before you commit to the whole wall.
Count the bad joints as well. One corner with a handful of failures is a patch job. Failure across a whole wall is worth redoing in one weekend, so the new and old colours never sit side by side.
Step 2: Check for loose tiles and moisture behind cracked grout
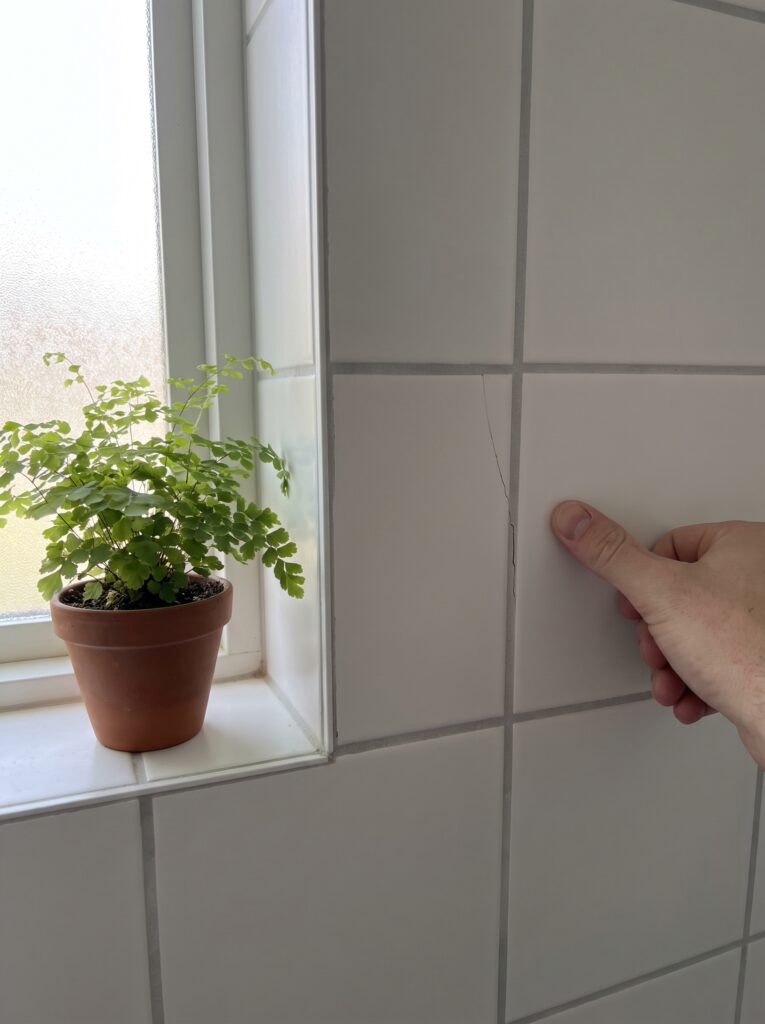
Cracks have causes, and the cause decides the fix. When a tile is loose, the problem sits under the grout. Tap each tile beside a cracked joint with the handle of a screwdriver. You are listening for a dull thud or a click, which says the tile has lost its bond and new grout will not hold it.
Move on to the thumb test. Press on the tile. If it shifts, or if the grout is soft, dark or crumbles into a wet paste, water is getting behind the wall. Stop there. A wet backer board needs repair before any grout goes in, and a musty smell behind the tile is a job for a pro.
If only one or two tiles are loose, lift them, scrape off the old adhesive and reset them in fresh thinset before touching the grout. A tile cracked straight through, not just along the edge, should be replaced.
Not sure whether a damp patch comes from inside the wall or from steam? Tape a 12 inch square of clear plastic over the joint for a day. Fog on the inside face of the plastic means moisture from the wall. Fog on the outside is only room condensation.
Step 3: Pick the grout by joint width, then test the colour
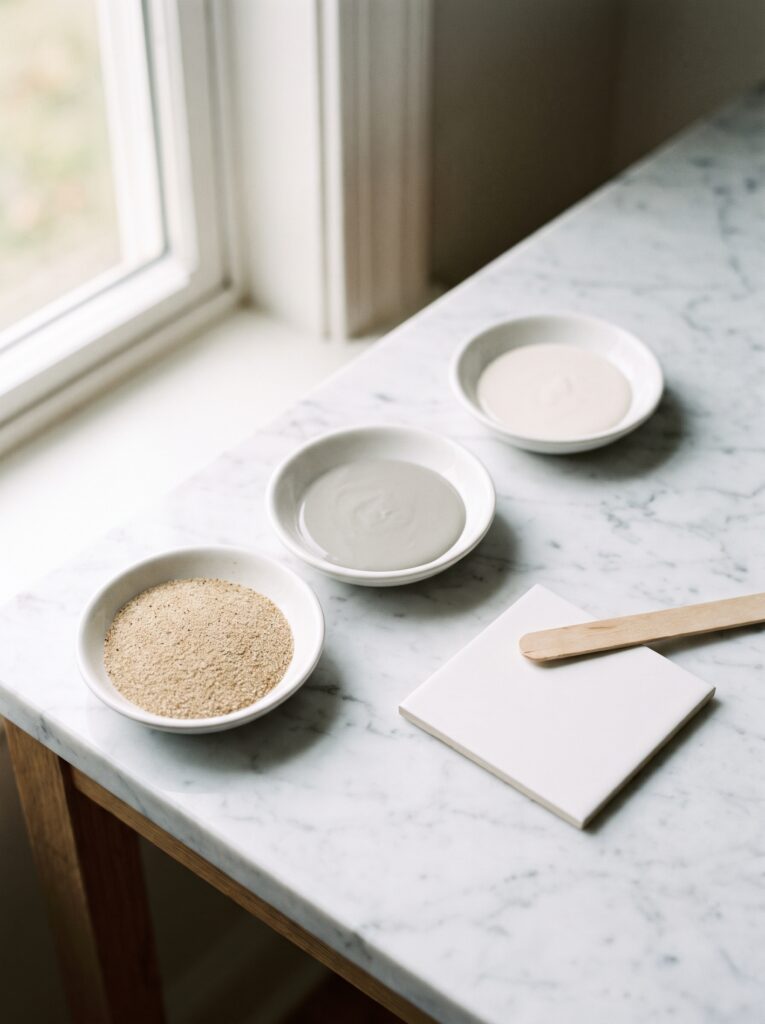
Pick the grout by the width of your joint, not by the brand on the shelf. Unsanded grout is for joints up to about 1/8 inch, which covers most wall tile. Sanded grout handles joints from 1/8 to 1/2 inch and suits floors. Epoxy grout costs more and is harder to work, but it is the stain-proof choice for a shower floor.
A 1/8 inch drill bit that slips into the joint tells you which side of the line you are on. If the bit will not fit, reach for unsanded.
Run each case through a quick if/then. Wall tile with 1/16 inch joints? Unsanded. A floor with 3/16 inch joints? Sanded. A shower floor that stains or grows mildew every year? Epoxy. Sanded grout in a thin joint packs badly and pulls out, so never force it.
Epoxy behaves differently, so read its instructions twice. It sets fast, it needs both parts mixed exactly, and it cleans up far more easily while it is still soft than after it hardens.
Then test the colour. Grout dries lighter, and sometimes darker, than it looks wet. Mix a spoonful, smear it on a spare tile and leave it overnight in the bathroom’s own light. For more projects like this, the DIY and Budget Bathroom Projects guides cover the rest of a tile refresh.
Step 4: Mask the tub and drain, and put on a dust mask
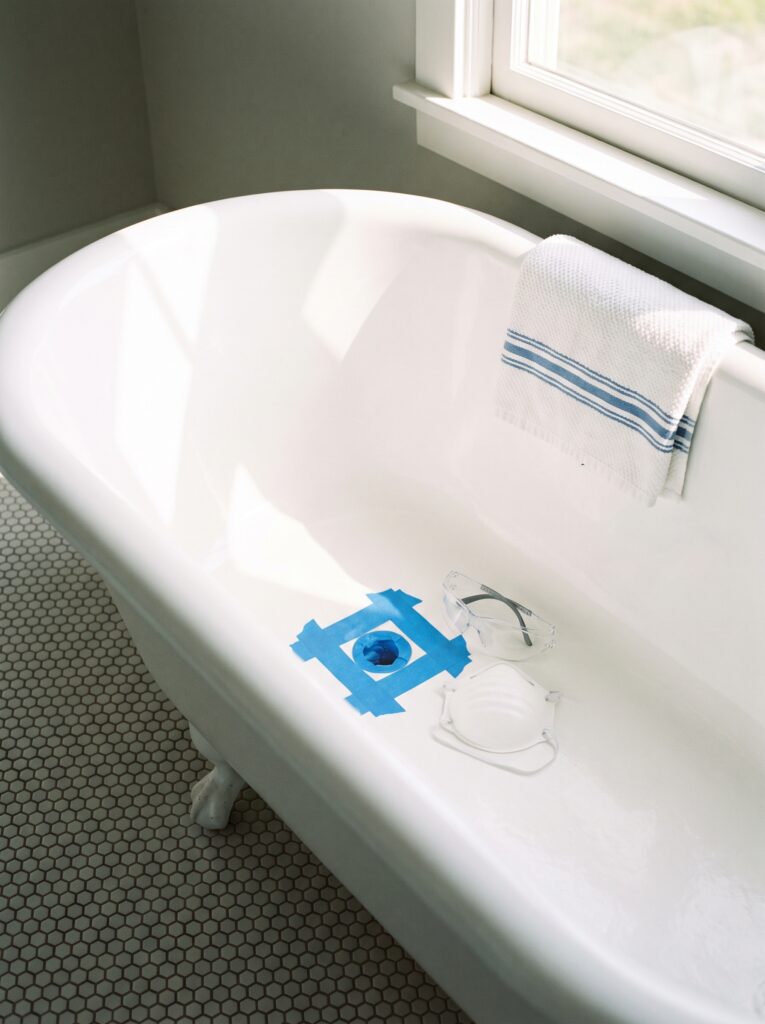
Protect what cannot be replaced before any dust flies. Squeeze painter’s tape over the drain or press a rag into it, and lay a towel or drop cloth in the tub. Shards clog a drain and scratch enamel.
Put on the mask now. Sanded cement grout often contains silica, and grinding it sends fine dust into the air. A fitted N95 respirator, safety glasses and gloves are the minimum. Run the fan or open the window, and close the door so the dust stays in the room.
Cover the vanity and any nearby shelf with plastic too. Dust travels farther than you would expect.
Lay out the rest of the kit before you start: a grout saw, a rubber float, two buckets, a large sponge, a microfiber cloth, a shop vac and sealer. Having everything within reach matters once the grout is mixed, because you cannot stop halfway through a section.
Step 5: Grind out the old grout two thirds of the way down

Take the old grout out to about two thirds of the tile’s thickness, no deeper. Pull a carbide grout saw along the joint in short, steady strokes with the blade flat, so you cut grout and not the tile edge. Use the tip in corners and at the ends of each joint.
Go slowly near glazed tile, because a slipping blade leaves a scratch that never goes away. Work joint by joint in one direction, then run a fingertip along each channel. There should be no old grout left on the tile edges, only a clean groove.
An oscillating multitool with a carbide blade is faster on a large wall. In a small bathroom, a hand saw gives you more control.
Check the depth as you go. Slide a pencil tip into the groove: it should sit about two thirds of the way through the tile’s thickness, a little under 1/4 inch on most wall tile. Some old grout left at the bottom of the channel is fine. Any left clinging to the tile edges is not.
Shop it on Amazon: Ivy Classic 26030 Carbide Grout Saw
Step 6: Vacuum and wipe every joint, then let it dry
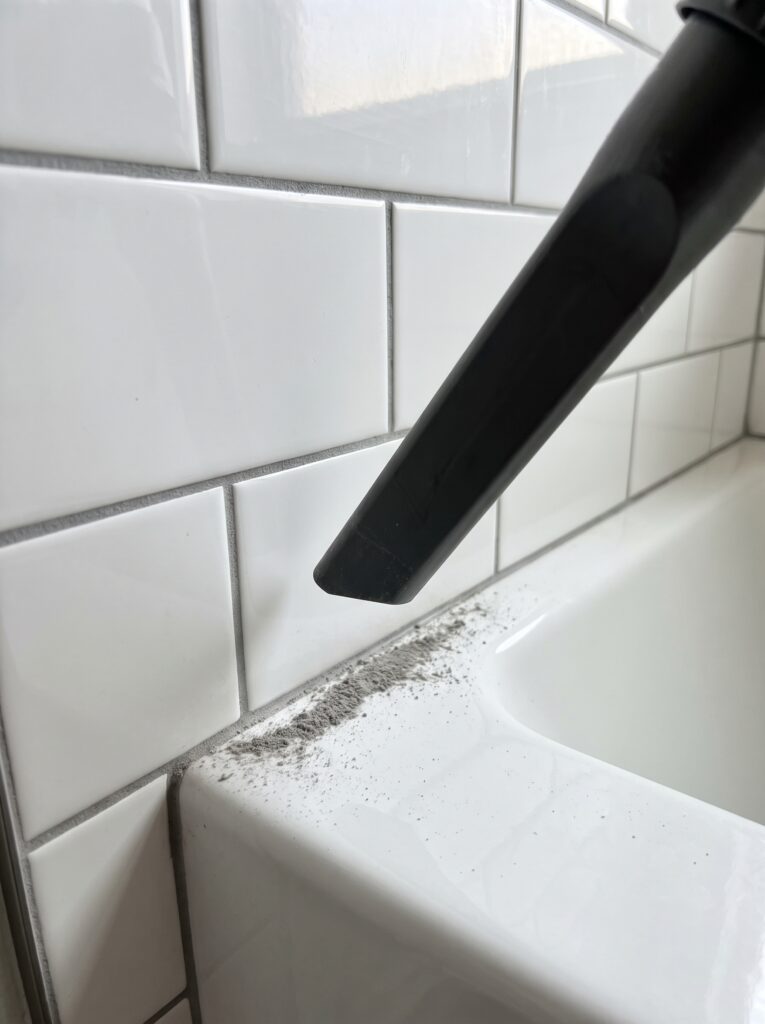
Vacuum every joint before you wipe anything, so the dust does not turn into slurry. Run a narrow crevice nozzle along each channel, wipe the tile with a barely damp sponge, and give the wall several hours to dry. Wet joints weaken the new grout’s bond.
If you plan to paint or stencil the tile afterwards, regrout first. Paint peels at cracked grout lines before anywhere else, which is why our guide to stencilling a bathroom floor spends time on the joints.
Check the channels once more with a flashlight held at a low angle. Any grey lump left behind will show as a bump under the new grout.
Leave the tile alone for the rest of the day if you can. Rushing this stage is the most common reason a fresh regrout fails within a year, since damp joints never bond the way dry ones do.
Step 7: Mix small batches and pack the joints at a 45 degree angle
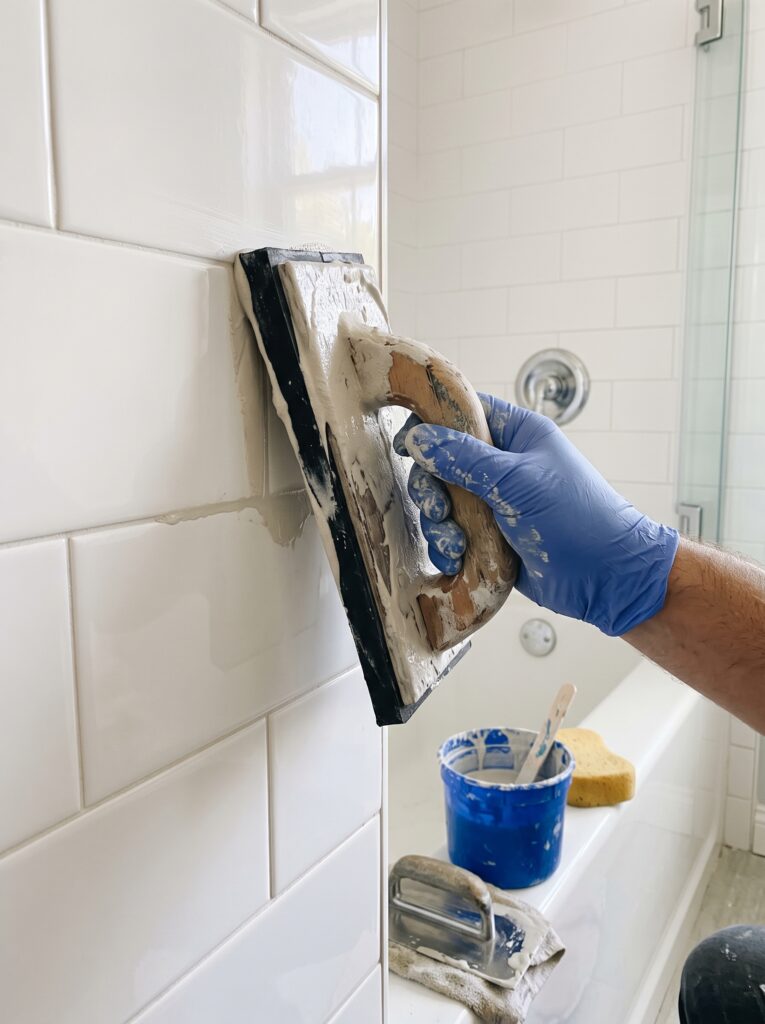
Mix only what you can use in about 30 minutes. Stir to the consistency of thick peanut butter, rest it for the time on the bag, then stir again. A wet batch shrinks and cracks. A dry one will not pack.
If the tile is unglazed or very porous, wipe it lightly with a damp sponge first so it does not pull water out of the new mix.
Then load the float, hold it at 45 degrees to the wall, and sweep diagonally across the joints so the edge does not drag the grout back out. Press hard. You are packing the joint, not painting it. Work a section about 3 feet square, then move on.
Go over each section a second time from the opposite direction. That second pass fills the gaps the first one leaves.
Use cool, clean water for the mix. Warm water speeds the set, and a batch that stiffens in the bucket gets thrown away. Toss any grout that turns crumbly, because adding more water later weakens it.
Shop it on Amazon: Goldblatt 4″ x 12″ Grout Float for Tile, Molded Rubber Grout Float with Soft-Grip Handle
Step 8: Wipe off the haze at the right time
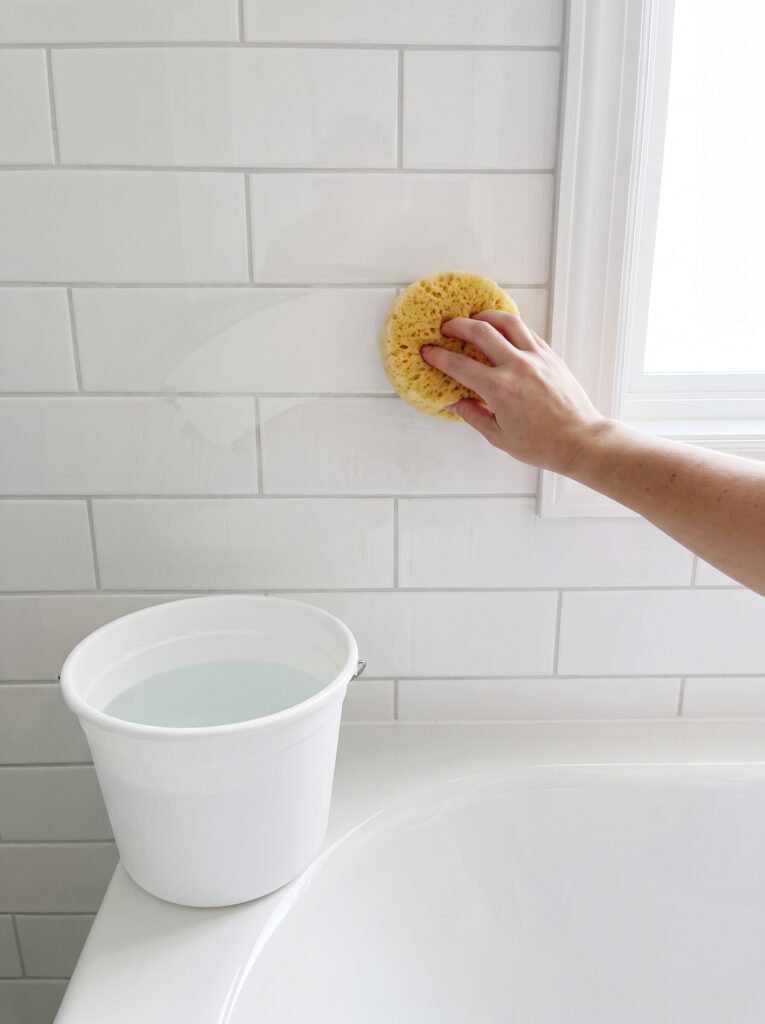
Start wiping 15 to 30 minutes after you pack a section, when the grout feels firm to a fingertip but is not hard. Too early and you pull grout out of the joint. Too late and the film bakes onto the tile.
Use a barely damp sponge, rinse it often, and wipe diagonally across the joints, not along them, so the sponge does not dig a groove. Keep the water clean, because grey water leaves a grey film.
Wring the sponge until it stops dripping. A wet sponge pulls colour out of the joint and leaves pale, blotchy lines that show up once the wall dries. One firm pass beats five soft ones, and each side of the sponge should be used once before you rinse.
A light haze shows up as the tile dries. Buff it off with a dry microfiber cloth after a few hours. Heavier haze needs a cement haze remover, used after the grout has cured for the time on the label.
Change the wash water every few passes. Two buckets help: one to rinse the sponge, one to wring it. Check the joints as you wipe, and press down any that have dipped below the tile surface with a fingertip.
Step 9: Let the grout cure, then seal it
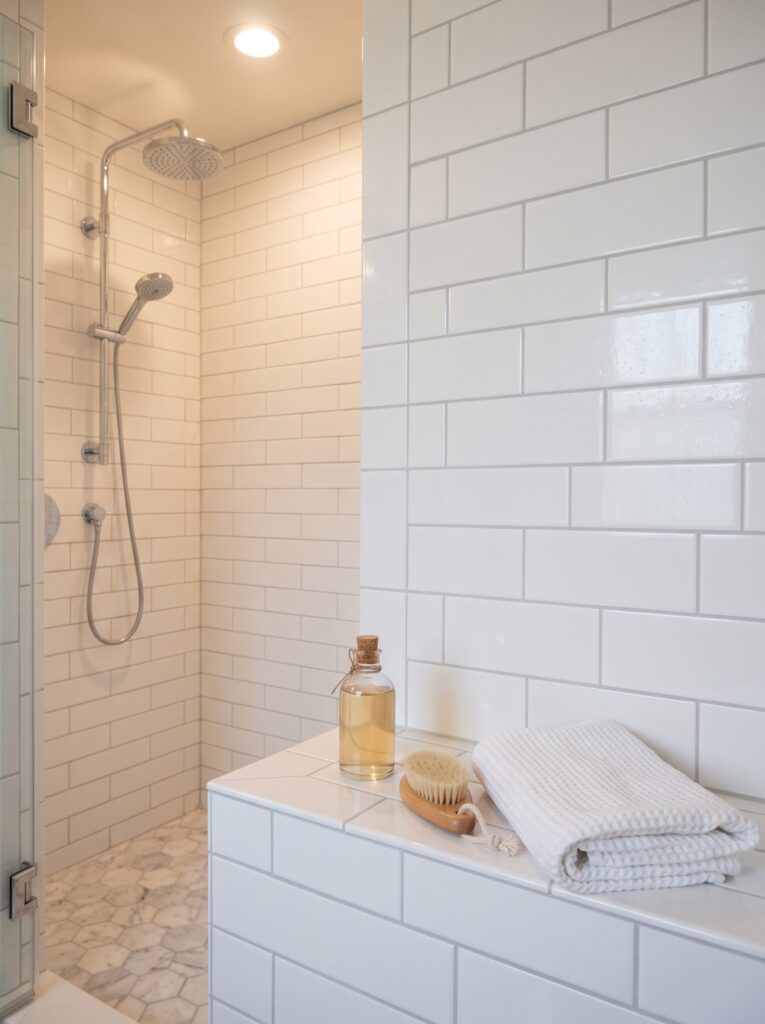
Keep water off the wall while the grout cures, usually 24 to 72 hours depending on the product. Leave the fan on and keep the shower out of use, even if the tile looks dry.
Once it has cured, seal cement grout with a penetrating sealer. Brush it on with a small applicator and wipe the excess off after a few minutes, so it does not dry on the tile. Epoxy grout needs no sealer. Test with a few drops of water on the joint: if they bead, the seal is working.
Do the corner caulk last, once the grout is cured, so the two materials never mix.
Clean sealed grout with a pH-neutral cleaner and a soft brush. Vinegar and other acids etch cement grout, which slowly undoes the sealing you just finished.
Mark the date on a piece of tape by the door. It is easy to forget when the wall was sealed, and a second coat a year later keeps shower grout from staining again.
Shop it on Amazon: Tilelab Grout and Tile Sealer
What to do if the new grout cracks or the colour is wrong
Hairline cracks in fresh grout within the first week usually mean the batch was mixed too wet, or the joint was packed only once. Rake out the cracked section and repack it. A crack that returns in the same spot means the joint is moving, and that joint should be caulk.
A colour that looks wrong at first often settles as the grout finishes curing. Give it a week before you judge. If it still misses, a grout colourant applied over the cured, sealed joint can correct the shade.
Stains that survive the new grout usually come from soap scum and hard water, not from the grout itself. Wipe the wall down after each shower for the first month, while the sealer is still bedding in, and run the fan for 20 minutes to dry the joints.
The job costs less than most people expect. A bag of grout, a saw, a float, a sponge and a bottle of sealer usually come to well under $100 together, and a small bathroom takes a weekend. A pro quote often runs several times that, so the saved money pays for a good mask and a proper saw.
Why the sequence matters when you regrout bathroom tile
Each step protects the next one. The joint check stops you grouting over movement, the vacuum keeps dust out of the bond, and the wipe timing decides whether the tile ends up clean or hazy.
If you plan to regrout bathroom tile this weekend, do the careful prep on Saturday and the packing on Sunday, and the result will outlast the grout you removed.
Save this pin to your bathroom projects board so the steps are handy on the day.