How to Waterproof a Bathroom Floor in 9 Simple Steps
Here is how to waterproof a bathroom floor so it stays dry for good: seal the corners and toilet flange, roll two coats of liquid membrane that cross at right angles, let them dry, flood-test for 24 hours, then tile. Grout and tile do not stop water, and plywood needs a membrane approved for wet use.
Floor leaks announce themselves late. A brown stain spreads across the ceiling below, or the doorway edge starts to swell, and by then the plywood has been damp for months. Mold and mildew follow the moisture.
Why does this happen? Tile is only a surface, and grout is porous, so water slips through the joints and sits against the subfloor or the concrete slab. Membrane stops it there, but only when every coat, corner and seam goes down in the right order.
Nine steps follow, in the order you actually do them. You also get the numbers most guides skip: how high the membrane climbs the wall, how deep the test water should be, and how many gallons a small floor really takes.
Affiliate disclosure: this post has affiliate links. Buy through one and I earn a small commission, at no extra cost to you. I only point you to products I would use on my own floor.
Step 1: Press on the subfloor to check for flex before you buy any membrane
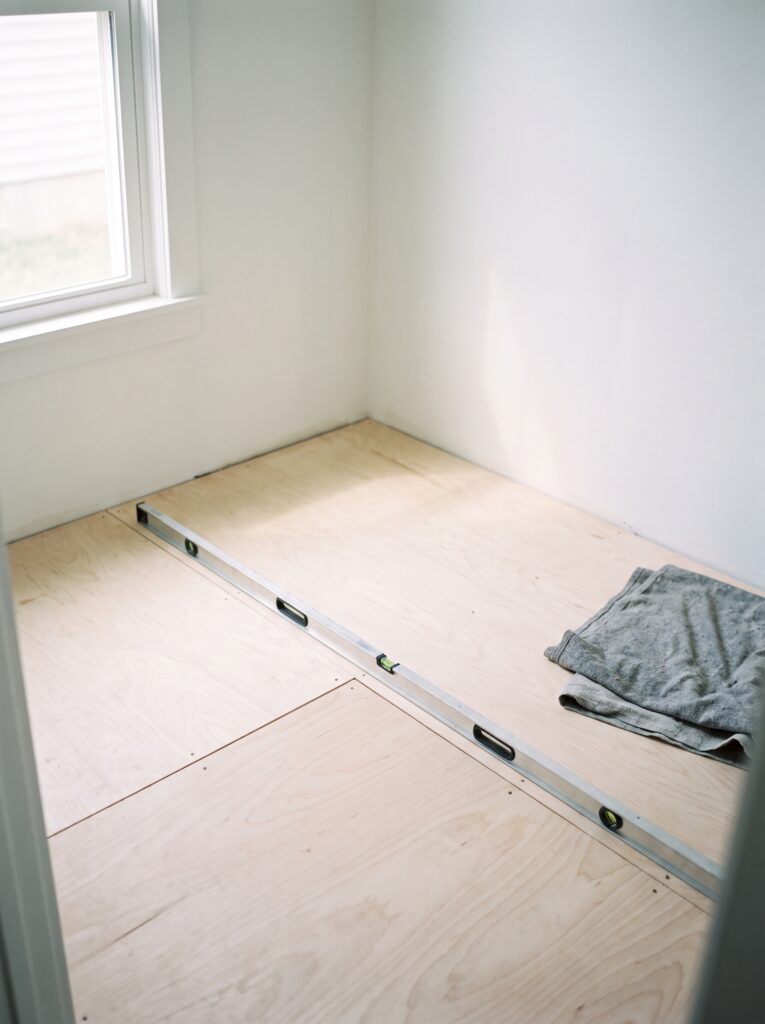
Walk the bathroom subfloor and press hard on every plywood seam. Bounce, squeaks and soft spots all matter, because a bouncy floor cracks even a flexible membrane and the tile above it. Lay a long straightedge across the seams, as in the photo, and look for daylight underneath.
Floors have a stiffness limit for tile. Per the TCNA Handbook, a floor may deflect no more than L/360 under load for ceramic and porcelain tile, and L/720 for soft stone such as limestone. Divide your joist span in inches by 360, and a 15-foot span can sag half an inch at most.
Soft stone halves the allowed sag, so check the joists before you order limestone.
Common practice is 3/4-inch tongue-and-groove plywood over joists 16 inches apart. Screw down loose panels now. Nothing you roll on later can fix movement.
Working on a concrete slab instead? Makers want it cured 28 days and sitting over an effective vapor barrier, so ask the builder before you buy anything.
Step 2: Fill low spots and prime so the membrane grips

Vacuum until no dust remains. Then level the floor: thinset or a patch compound fills low spots and any crack up to 1/8 inch, and a scraper knocks high spots flat. Even floors take even coats, and an even coat is the whole job.
Open the data sheet before you roll onto plywood. RedGard’s lists exterior-glue plywood for interior dry areas only, so a floor that can see standing water belongs on cement board screwed over the plywood. Other makers rate theirs differently, which is why these photos show bare plywood.
Prime next. On dry, porous boards, RedGard suggests one part membrane to four parts water, scrubbed in with a stiff broom and left to dry. Half the floor in the photo is already primed, so you can see where the primer stops.
Got a floor drain? Slope comes first, because the membrane cannot add it later. Australia’s building code asks for a fall of 1:80 to 1:50, which works out to roughly 1/8 to 1/4 inch per foot.
Step 3: Tape the corners, seams and toilet flange before the first coat
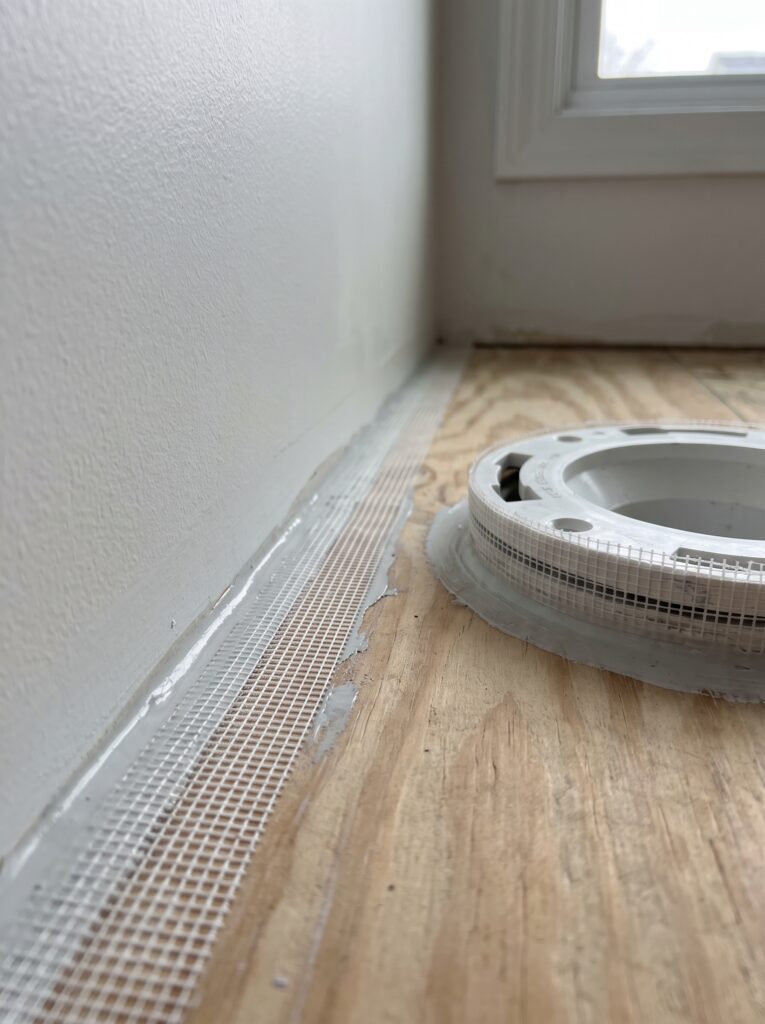
Corners leak first. Press alkali-resistant fiberglass mesh tape into a bed of wet membrane or sealant along every wall-to-floor corner, every plywood seam and the base of the toilet flange, exactly as the photo shows.
Wrap the tape around the flange base only. Keep its face clear so the toilet can seal to it later. Its sheet says fabric is not required at corners but suggests reinforcing tape at changes of plane and over gaps wider than 1/8 inch, and some makers do require it, so read yours.
Coat more than 2 inches onto each side of every joint. Now wait. Those strips must dry before the first full coat goes down, so your roller does not smear them. Skip no joint.
A floor drain needs its own detail. Cut 3-inch pieces of reinforcing fabric to wrap the drain flange, embed them in a coat of membrane that overlaps from the floor onto the flange, and clamp the collar only after the final coat dries.
Shop it on Amazon: FibaTape FDW8436-U 2-Inch by 150-Feet Cement Board Tape, Alkali-Resistant, Self-Adhesive, Grey
Step 4: Choose liquid or sheet membrane for your floor

For most small bathroom floors, liquid membrane is the easier pick. Liquid rolls on like paint, wraps around pipes and curbs without cutting, and cures into one seamless layer. Sheet membrane bonds with thinset and suits big, flat floors, but one badly sealed seam becomes a leak.
Fine Homebuilding’s installers note that sheet membranes might not be best for beginners, and in a small bathroom with a toilet flange, a tub apron and pipes to cut around, liquid avoids dozens of fiddly cuts. Both work. Pick one. Below is the short version.
| Membrane type | Best for | Watch out for |
|---|---|---|
| Liquid-applied | Small floors, curbs, pipe penetrations | Needs two full coats at the thickness on the can |
| Sheet, bonded with thinset | Large flat floors, crack isolation | Every seam needs full thinset contact |
| Uncoupling mat (Schluter-Ditra style) | Floors that move or have mixed substrates | Ask whether the maker rates it waterproof, not only crack-isolating |
Whichever you choose, look for ANSI A118.10 on the data sheet. That standard covers bonded, load-bearing waterproof membranes under tile, and it is the listing worth checking before you buy.
Compare square feet per gallon rather than price per jug, because a thicker spec means more gallons. More jobs worth doing yourself live in our DIY and budget bathroom projects.
Both options appear in the photo: a pail of liquid with a roller, and a rolled sheet tied with twine beside a white float trowel.
Step 5: Roll the first coat to the thickness on the can
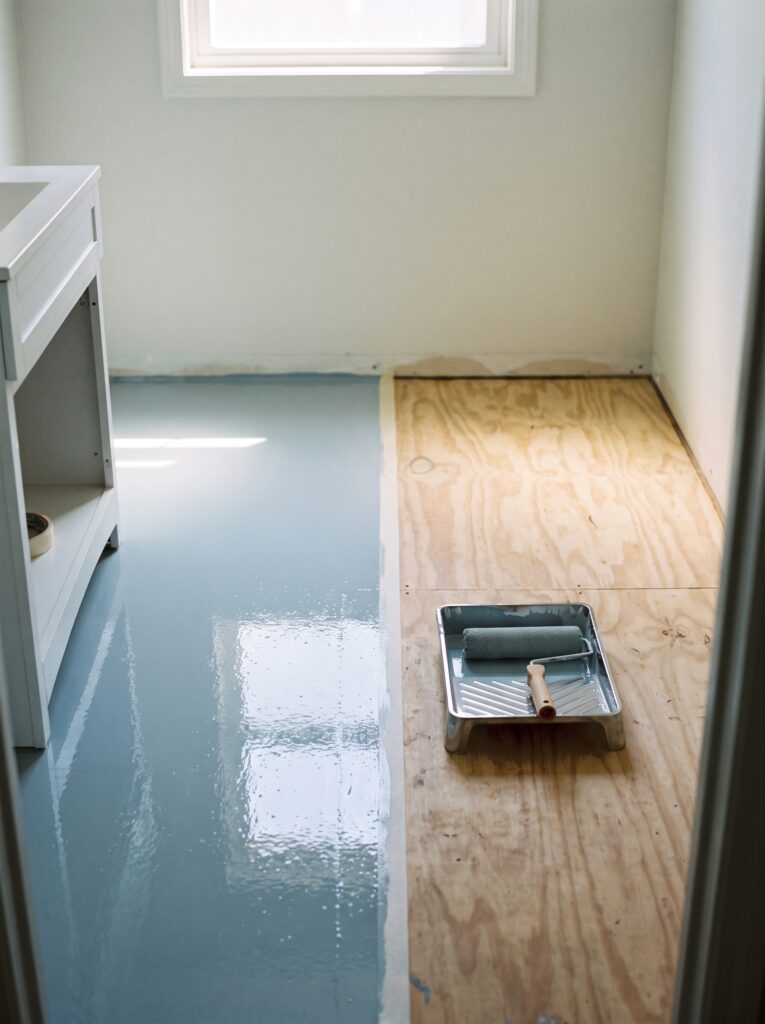
Read the coverage rate on the can, since it is the thickness spec in disguise. To meet ANSI A118.10, the maker asks for two coats at 80 square feet per gallon each, and no coat thicker than 40 mils wet. Mils are thousandths of an inch. A wet-film gauge, a notched metal comb, shows whether you hit the number.
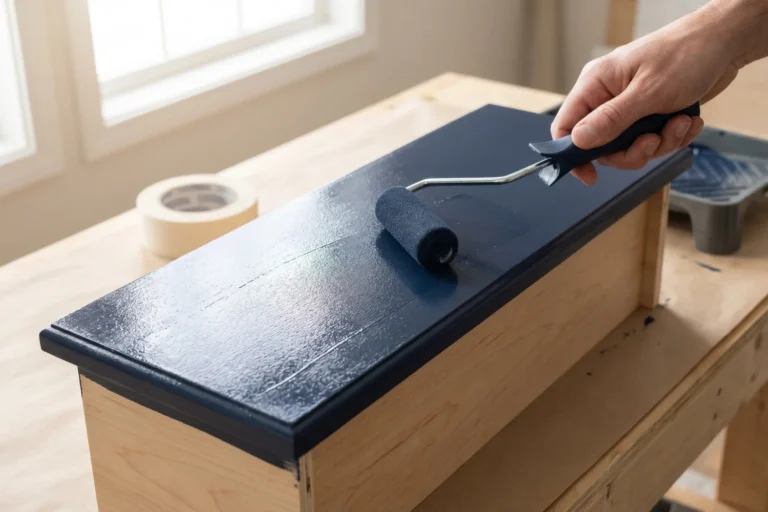
Pick a 3/8-inch rough-textured synthetic roller and keep the film even, with overlapping strokes. Start in the far corner and work toward the door so you never step on wet membrane. In the photo, the glossy left half is wet and the roller waits in its tray on bare plywood. Work steadily.
Count gallons before you shop. Take a 5×8 floor with a 6-inch upturn: about 53 square feet, and two coats at 80 square feet per gallon need roughly 1.3 gallons. Buy two jugs.
Once the primer coat is done, switch to undiluted membrane. Extra water means a thinner film, and film thickness is what the standard tests.
Shop it on Amazon: Custom BLDG Products RedGard Anti-Fracture, Quick Dry, Waterproofing and Crack Prevention Liquid Rubber Membrane, 1 Gallon Pail
Step 6: Roll the second coat across the first to close the pinholes

Let the first coat dry completely, then inspect it. This product shows pink when wet and solid red when dry, which takes 1 to 1.5 hours, or up to 12 hours in cold, humid air. Any pinhole or void gets extra material before you move on.
Photos here show a blue-gray product from another line, and every maker has its own dry cue. Trust the can, not the color.
Roll the second coat at right angles to the first. Look at the corner photo: one set of roller lines runs up the page, a second set crosses it, and any pinhole from the first pass ends up covered.
Mind the weather. Surface and air temperature must stay above 40°F (4°C) while you work and for 72 hours afterward. Humidity slows curing, so run the exhaust fan and leave the door open.
Protect the film until tile goes on. Data sheets warn against punctures, and against dust or solvents that stop the mortar from bonding, so keep dropped tools and dirty boots out.
Step 7: Carry the membrane up the walls and across the doorway
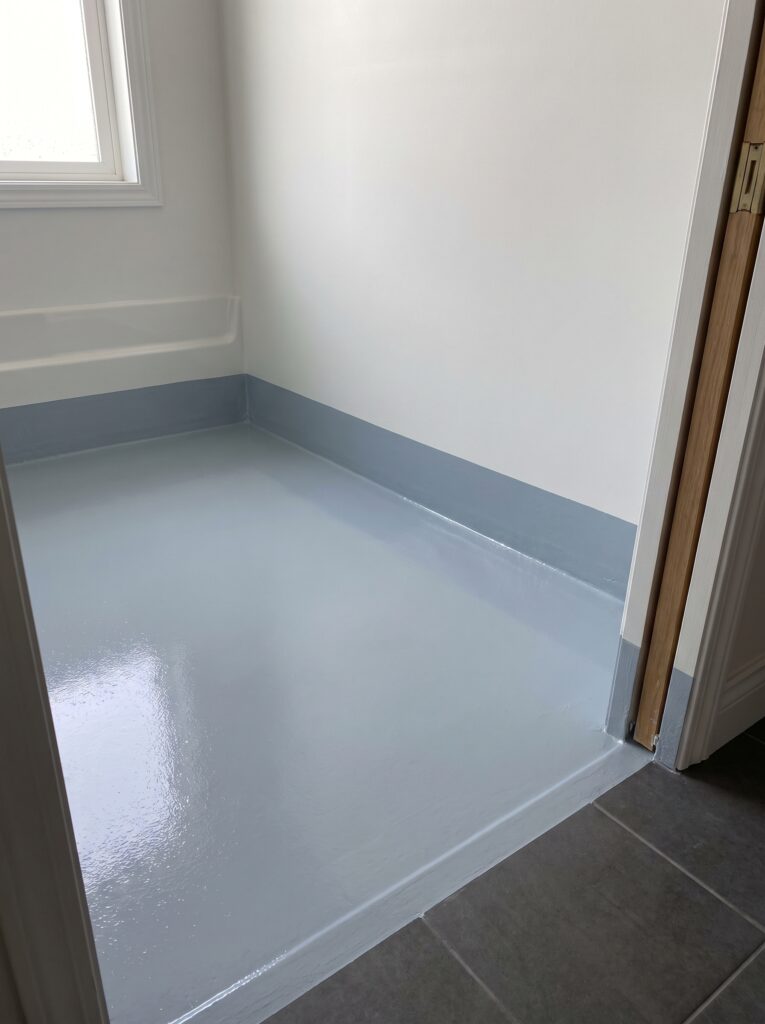
Run the membrane up every wall, along the tub apron and across the threshold so the floor becomes a shallow tray. Water on a bathroom floor spreads sideways first, then finds the lowest edge.
No US code gives a number for the wall upturn outside the shower. The National Construction Code 2022 in Australia does: the wall-floor flashing rises at least 25 mm (1 inch) and runs 50 mm (2 inches) along the floor. Per RedGard’s sheet, corners need coating more than 2 inches on each side.
I run 6 inches. Six inches clears the baseboard and the splash line from a mop or an overflowing tub. Snap a line first, then cut in along it with a brush. Think tray, not puddle.
Pipes that rise through the floor need the same care. Scuff each one with abrasive first, since RedGard bonds to PVC, ABS, copper, brass and stainless steel only when the surface is roughened, then coat it up the pipe.
Do not stop at the jamb. Bring the membrane over the threshold and onto the lower edge of the door frame, as the photo shows. Wood below the tile line soaks water like a wick, so coat it as well.
Step 8: Cure the membrane, then flood-test the floor for 24 hours
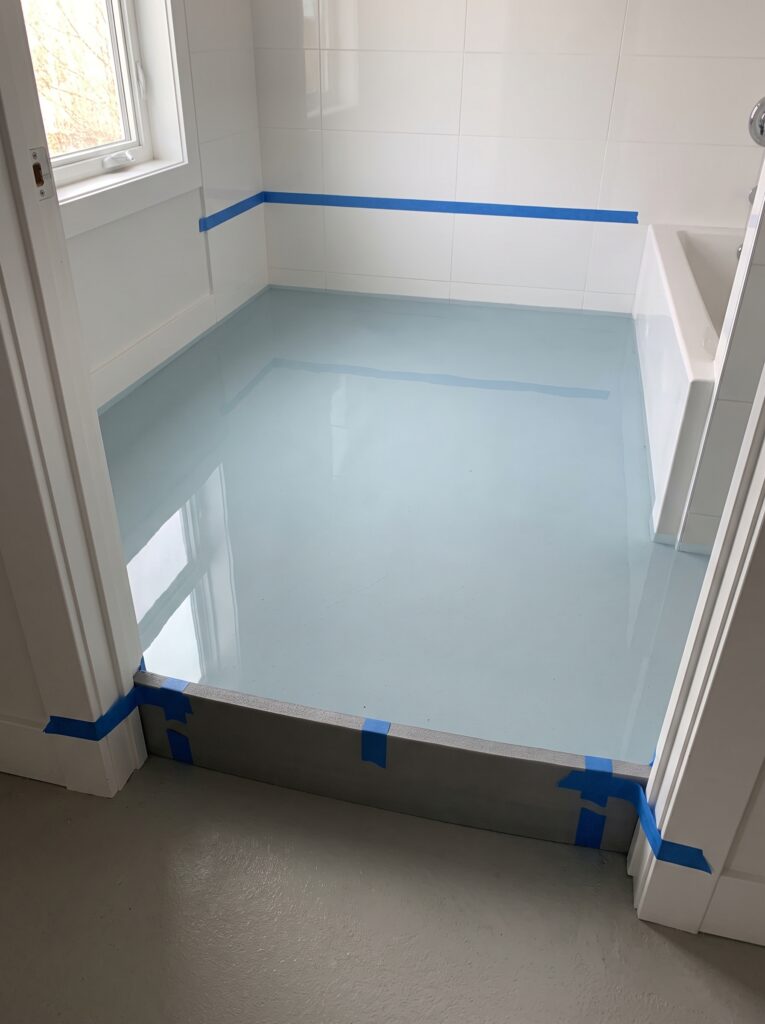
Only a flood test proves the floor holds before tile hides it. Once the second coat is fully dry, RedGard says you can test. With a sheet membrane, one Fine Homebuilding installer waits a few days for the thinset to cure first.
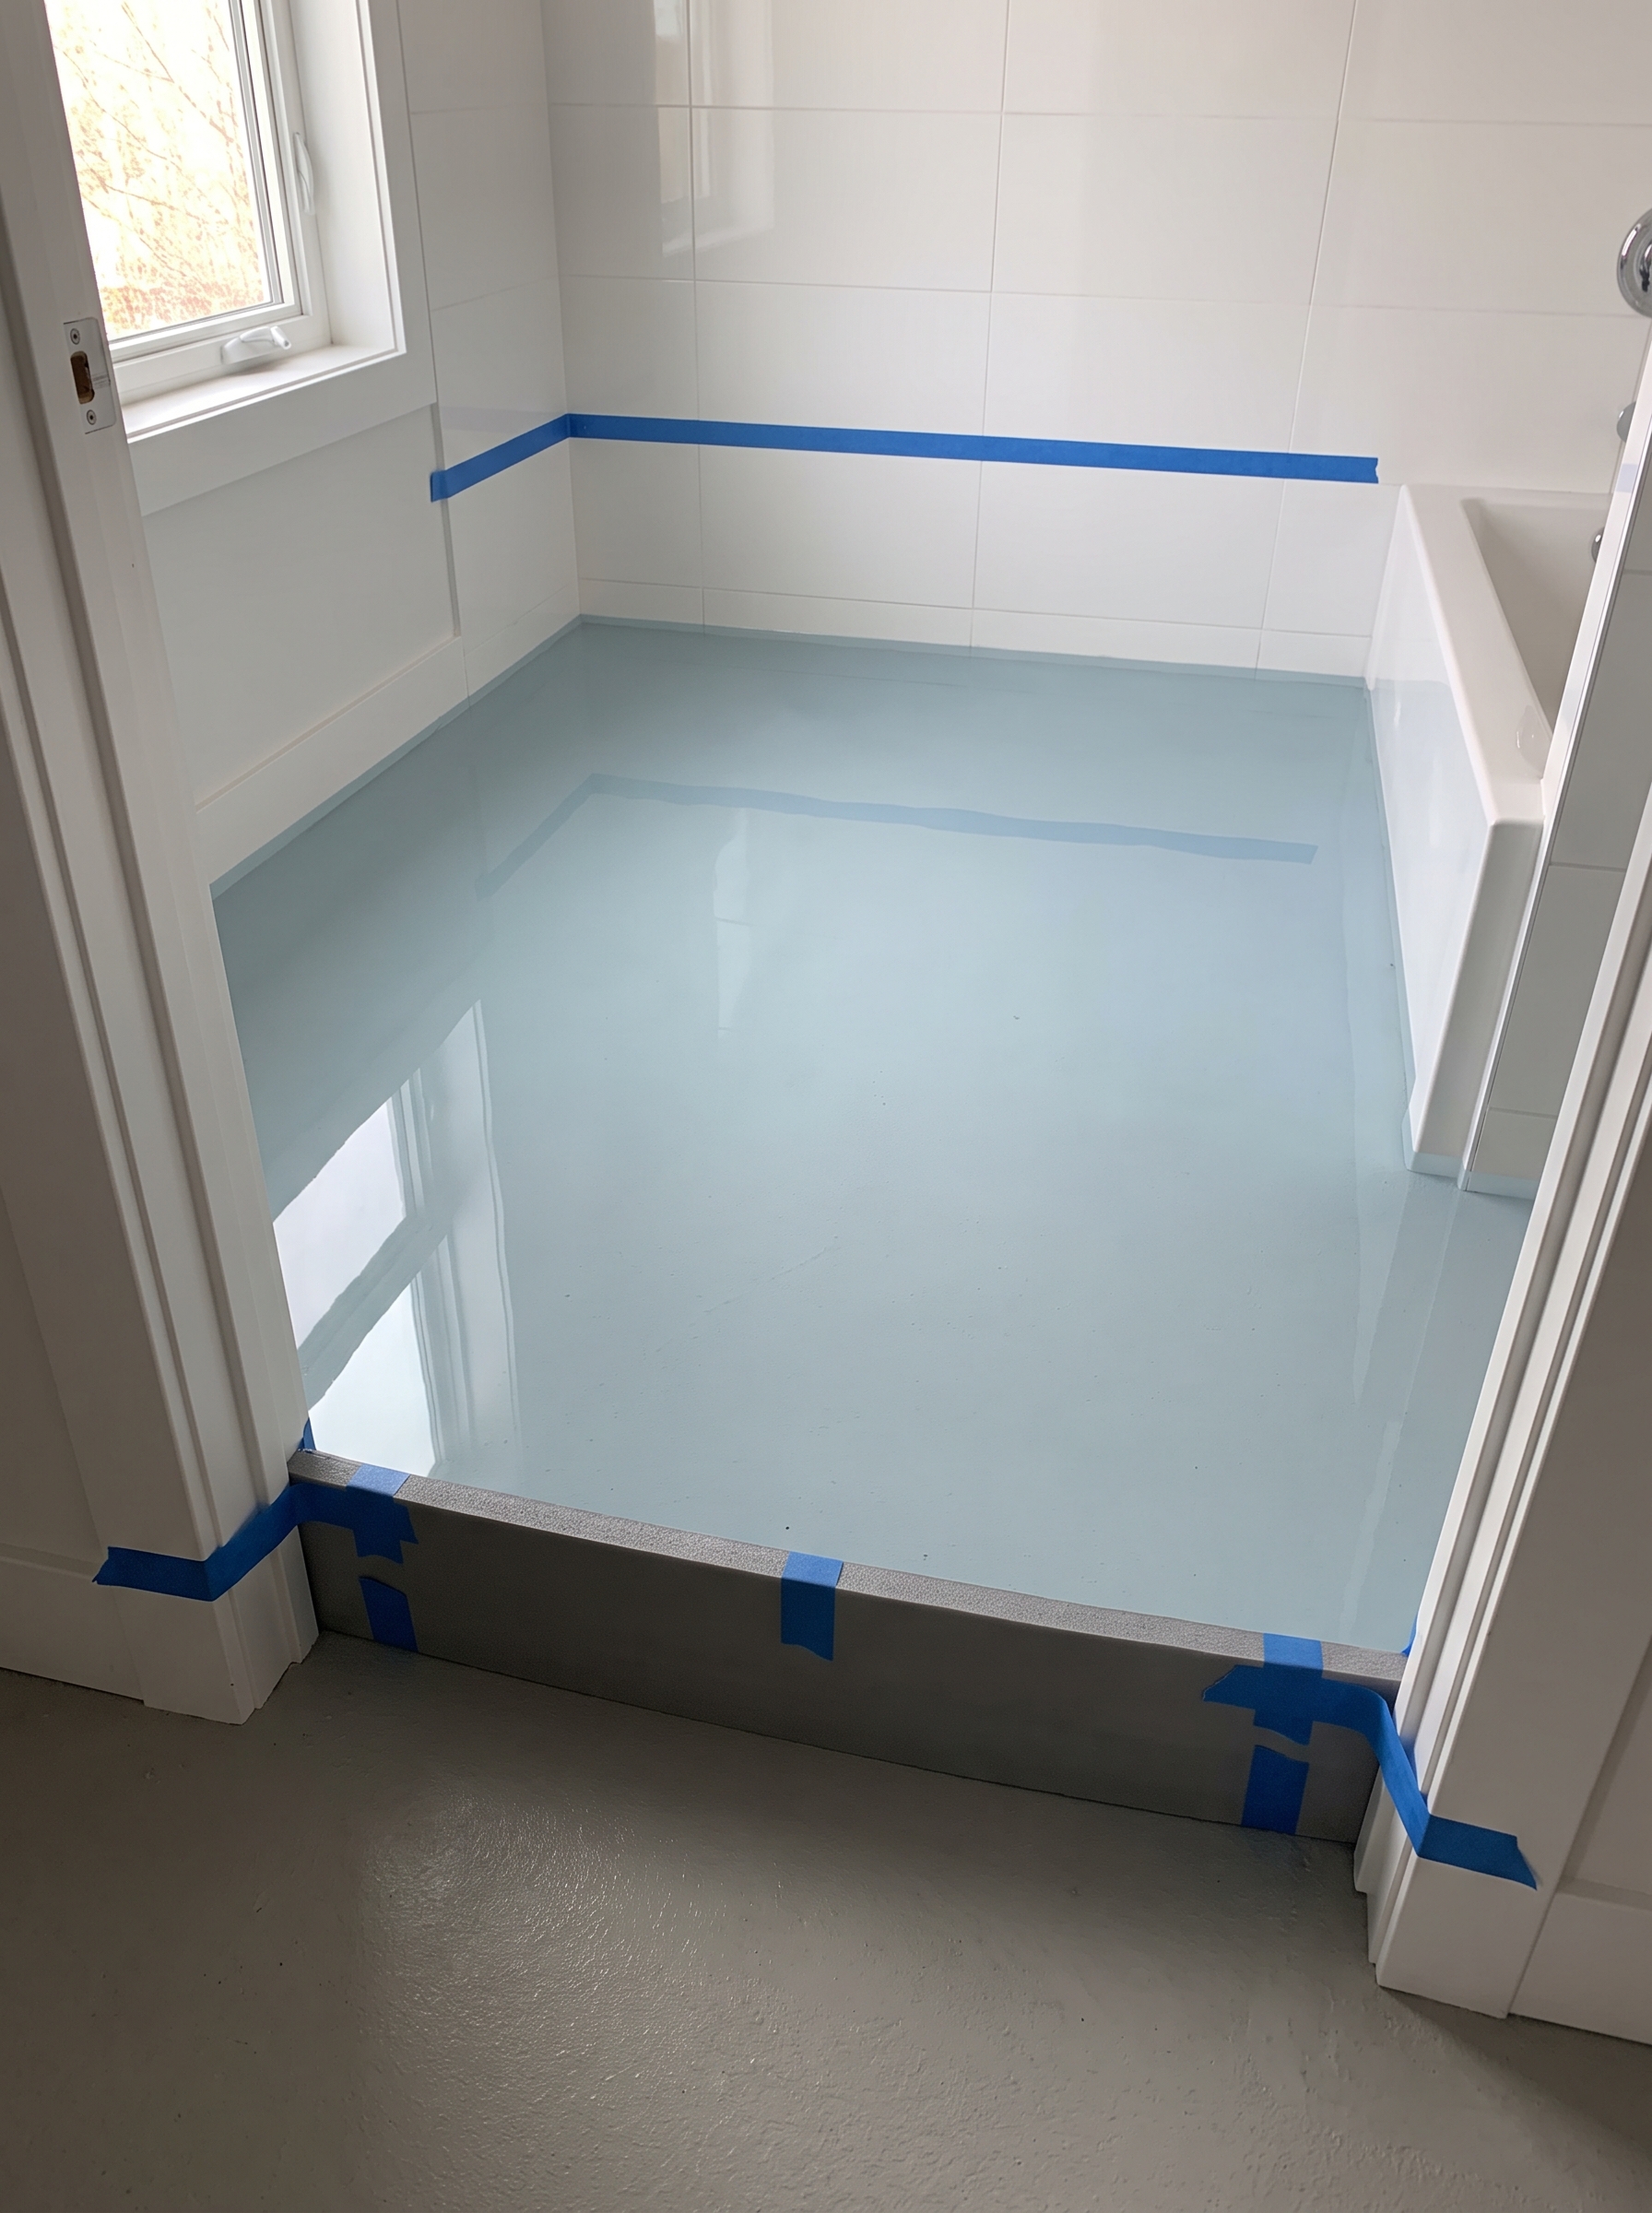
Dam the doorway with a strip of rigid foam, taped at both jambs like the one in the photo. Plug the floor drain with a test plug if you have one. Fill with water to about 1 inch at the deepest point, then mark the level on the wall with painter’s tape.
At that depth a 5×8 floor holds about 25 gallons, so set towels by the door. Leave the water for 24 hours, the minimum professionals hold. Watch the tape mark: if it drops, or a stain appears on the ceiling below, you have a leak.
Found one? Drain the floor, patch the spot, recoat and test again. Cheap now. Expensive after tile. When a finished ceiling sits below the bathroom, ask a helper to watch it from underneath during the first hour, because a bad spot can drip long before the 24 hours are up.
Shop it on Amazon: ScotchBlue Original Multi-Surface Painter’s Tape, 1.5 Inch Wide (1.41 in. x 60 Yds) 1 Roll
Step 9: Tile over it, then use caulk, not grout, in the corners

Set porcelain tile in a polymer-modified thinset that meets ANSI A118.4 or A118.15. Comb it flat, back-butter large tiles so no hollow sits above the membrane, and keep the film clear of dust and solvents until the mortar goes on.
Finish the wall-floor corner with silicone or caulk, never grout. Rigid and porous, grout cracks where two planes move and lets water in. Resist the urge to grout the corner. The TCNA Handbook calls for a movement joint at changes of plane (detail EJ171, the one RedGard’s sheet cites).
Large-format tile in the photo has a clean bead of white sealant along the corner, with the caulk gun resting on a folded cloth. Thin and even wins.
Porous cement grout needs sealing once it cures. TRC Home Improvements’ installer guide suggests checking the corners and drain every six months and re-caulking any joint that has cracked or pulled away.
Keeping sound old tile? Sound, dry tile may not need a new membrane at all. Refreshing the surface costs far less, and our guide to stenciling bathroom floor tiles for under $60 shows how.
How to waterproof a bathroom floor over old tile or under underfloor heating
Old tile, well bonded and dry underneath? You can roll membrane straight over it. RedGard lists existing ceramic tile as a suitable base when it is bonded and stripped of sealer or wax. Low or cracked grout joints need filling flush, then prime.
Tiles that sound hollow when you tap them? Pull those and re-set them first. Membrane bridges nothing that is loose.
Cement board over the plywood? Fasten it down, fill its joints with thinset and bed alkali-resistant mesh tape into them before the first coat.
Underfloor heating? Order matters, and the makers disagree. Laticrete says its Hydro Ban can go above or below an embedded cable or mat, but its Strata_Heat wire should not sit directly on a rubber membrane. Ask the heating maker which order it approves.
Worried about door clearance? Cured liquid membrane is only 0.015 to 0.038 inch thick, so it adds almost nothing at the threshold.
White powder on a concrete slab? Efflorescence, a salt that migrates to the surface, needs brushing off and the slab cleaning before priming, because membrane needs a clean surface to bond. New slab? Wait out the 28-day cure.
Why the order matters more than the brand
Bathroom waterproofing rewards sequence over brand. A floor that is flat, primed, taped, coated twice, carried up the walls and flood-tested will outlast a premium product rolled onto a dusty, bouncing subfloor. Finished tile hides every shortcut, which is exactly why the test comes before it.
Picture the stain on the ceiling below, the reason most people search for this in the first place. Spending a day and about 25 gallons of water buys you certainty. Finding a leak after tiling costs the tile. That is how to waterproof a bathroom floor without learning about the leak from the room underneath.
Found this useful? Save the pin so it is waiting when you are ready to start your own floor.