How a DIY Vanity Paint Refresh Saves Hundreds of Dollars
You don’t hate your bathroom — you hate your vanity’s outdated oak finish from 2004. A new vanity costs $400–$1,200 installed. A DIY bathroom vanity paint refresh costs $50–$100 and one weekend. That’s not a compromise — it’s a smarter choice, because the cabinet box under most vanities is perfectly functional. The problem is only surface-deep.
Here’s what most tutorials skip: choosing the right paint matters more than your brush technique, and proper prep eliminates 90% of chipping issues within the first year. This guide gives you the exact product types, the step-by-step process, and the mistakes that ruin finishes — so your painted vanity looks intentional, not improvised.
7 Steps to a Flawless DIY Vanity Paint Refresh
1. Remove Every Piece of Hardware First
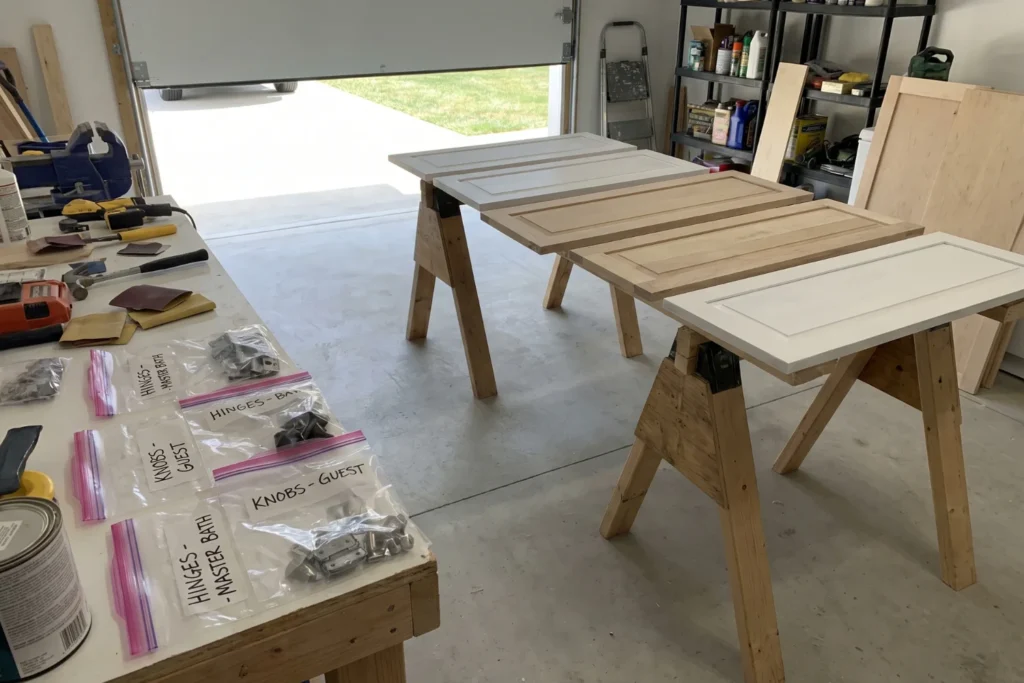
Taking off doors, drawers, and pulls before you touch sandpaper is the difference between a DIY project that looks intentional and one that screams “I painted around the hinges.” This step takes 15 minutes with a drill and saves hours of taping and frustration.
I painted my guest bathroom vanity two years ago and almost skipped this step because the hinges seemed annoying to remove. Once I popped the doors off and laid them flat on sawhorses, each coat dried smoother and faster than any vertical painting I’d attempted before. Flat surfaces don’t drip.
Label each hinge and its location with painter’s tape and a marker. When you reassemble, everything aligns without guessing.
[ ] Remove doors and drawers
[ ] Bag all hardware in labeled zip-lock bags
[ ] Set up a flat painting station (sawhorses or cardboard on the floor)
2. Clean With TSP — Not Just a Damp Rag
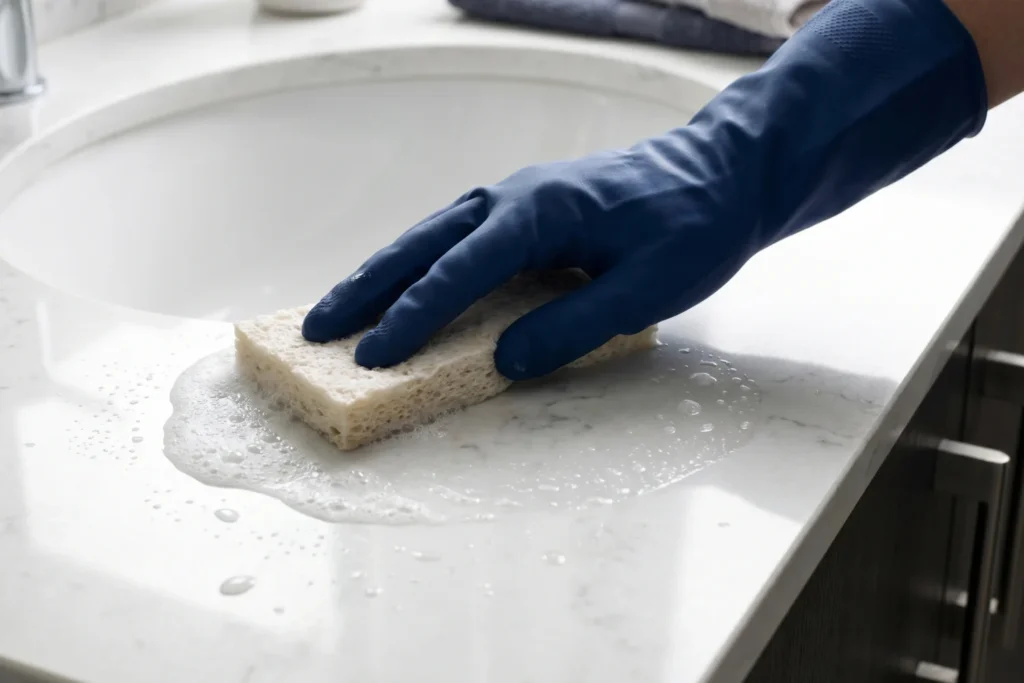
Bathroom vanities accumulate a film of hairspray, toothpaste residue, and hand lotion that paint cannot bond to, no matter how good your primer is. Trisodium phosphate (TSP) or a TSP substitute cuts through this invisible barrier in one wipe-down.
Have you ever painted something and watched the finish peel off in sheets a month later? That’s usually a cleaning problem, not a paint problem. TSP costs about $5 at any hardware store and takes 10 minutes to apply. Let it dry completely before sanding.
Quick Answer: TSP removes the invisible grease and residue layer on bathroom cabinets that prevents paint from bonding. Without it, even high-quality primer can fail within weeks. Wipe down, rinse, and let dry before proceeding to sanding.
3. Scuff Sand — You Don’t Need to Strip It Bare
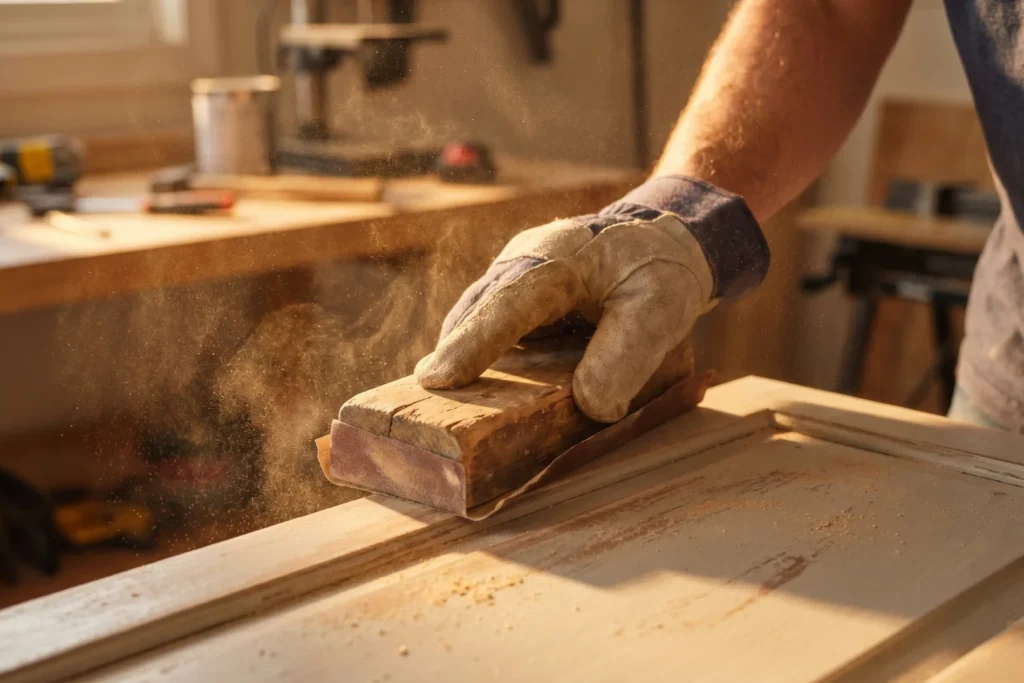
Light scuff sanding with 120–150 grit sandpaper creates microscopic grooves for primer to grip — you’re not removing the old finish, just roughening it. This takes 20 minutes per vanity and requires zero power tools.
The competitor claim that you can skip sanding entirely is technically possible with certain bonding primers, but in humid bathroom environments, I’ve seen skipped-sanding vanities start peeling within six months. Twenty minutes of hand-sanding buys you years of durability. Wipe dust with a tack cloth afterward — regular rags leave fibers behind.
- 120-grit for glossy factory finishes
- 150-grit for already-matte surfaces
- 220-grit between paint coats (lighter touch)
Save this: Scuff sanding takes 20 minutes and prevents peeling for years — never skip this step in a bathroom.
4. Prime With a Bonding Primer — Not Regular Primer
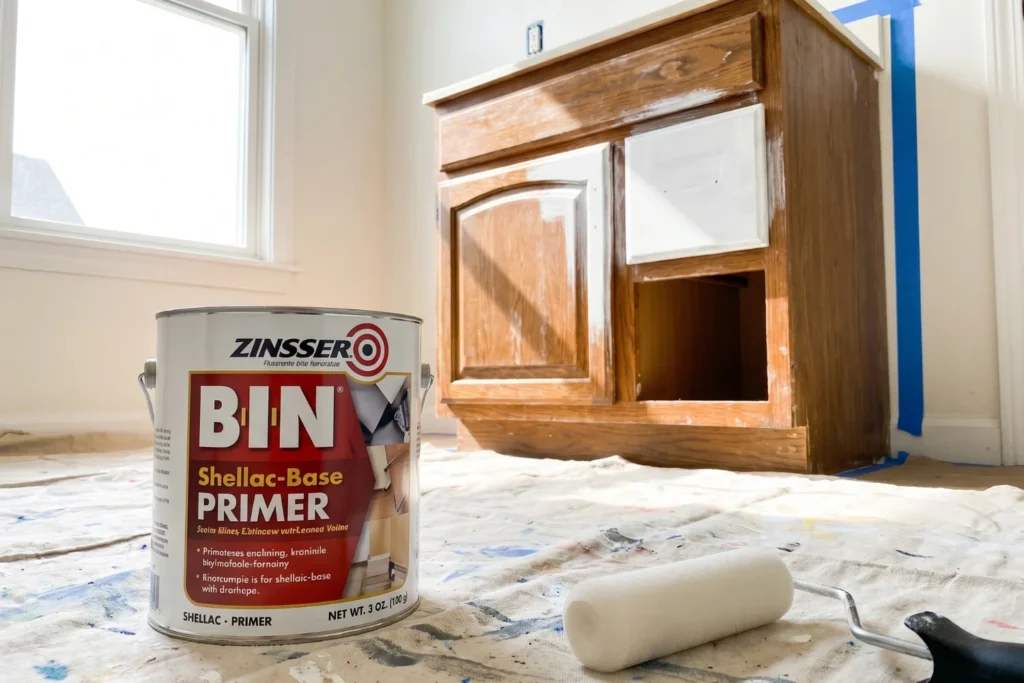
Standard interior primer isn’t designed for slick cabinet surfaces or bathroom humidity — a bonding primer like Zinsser BIN or KILZ Adhesion creates a chemical grip that regular primers can’t match. This single product choice determines whether your finish lasts one year or five.
I used Zinsser BIN shellac-based primer on a laminate vanity that every paint forum said “couldn’t hold paint.” Three years later, zero chips. The shellac base seals stains, blocks bleed-through from wood tannins, and dries in 45 minutes. One coat is enough.
“Bonding primer is where the money should go — spend more here and save on your topcoat.”
[ ] Apply one even coat of bonding primer with a foam roller
[ ] Let dry 45–60 minutes (shellac-based) or 2 hours (water-based)
[ ] Do NOT sand the primer unless you see drips
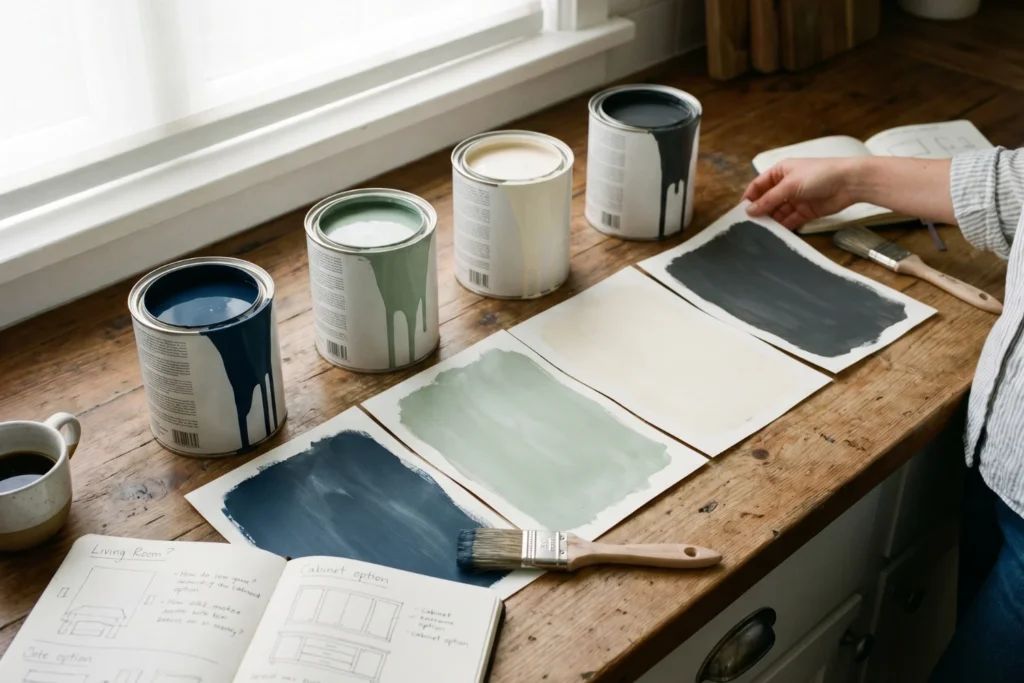
5. Choose the Right Paint Type — This Is Where Most People Fail
The best paint for a bathroom vanity is a cabinet-specific acrylic-alkyd hybrid (like Benjamin Moore Advance or Sherwin-Williams Urethane Trim Enamel) that self-levels and cures hard enough to resist daily moisture contact. Regular wall paint — even “bathroom paint” — is too soft for a surface you touch, set things on, and splash water near daily.
Here’s the thing: Rust-Oleum Cabinet Transformations kits include everything (deglosser, bond coat, topcoat) and work well for beginners who want a foolproof system. But if you want to choose your own custom color, a quart of Benjamin Moore Advance in a satin finish gives you 600+ color options with the same durability.
- Benjamin Moore Advance — self-leveling, satin or semi-gloss, $30/quart
- Sherwin-Williams Urethane Trim Enamel — extremely hard cure, $28/quart
- Rust-Oleum Cabinet Transformations — all-in-one kit, ~$80 for a full vanity
- Behr Cabinet & Trim Enamel — budget-friendly at $35/gallon, good for larger vanities
Quick Answer: The best paint for bathroom cabinets is a cabinet-specific acrylic-alkyd hybrid like Benjamin Moore Advance or Sherwin-Williams Urethane Trim Enamel. These self-level for a smooth finish and cure hard enough to resist bathroom humidity and daily use.
6. Apply 2–3 Thin Coats With a Foam Roller
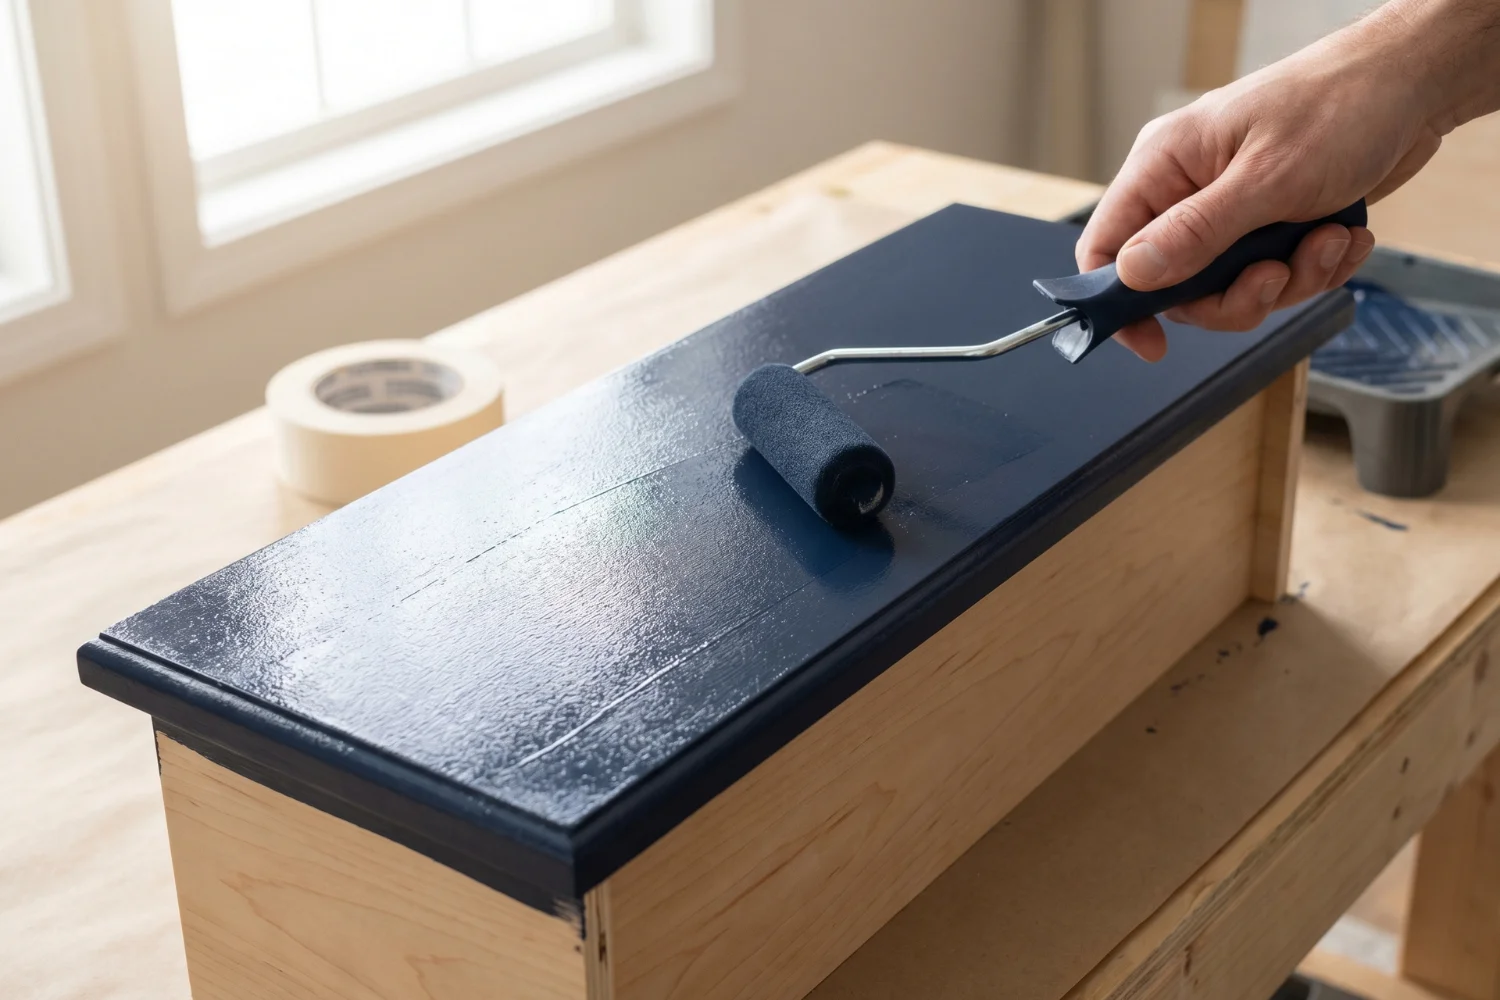
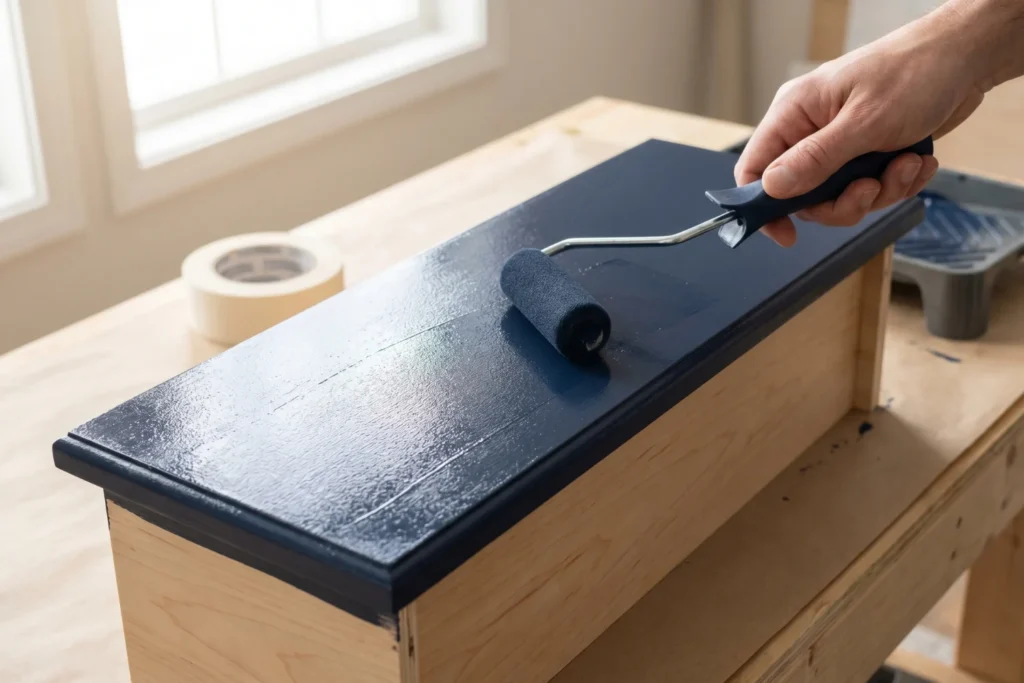
Thin coats dry faster, self-level better, and build a harder final finish than one thick coat — use a 4-inch high-density foam roller for large surfaces and a 2-inch angled brush only for tight corners. Each coat should feel almost too thin while wet.
The biggest beginner mistake is loading too much paint onto the roller. You want to see slight texture immediately after rolling — it will self-level as it dries. If it looks perfect wet, it’s too thick and will sag.
Sand lightly with 220-grit between coats after each coat dries fully (minimum 4 hours for acrylic-alkyd, 24 hours is better). This removes any micro-debris and gives the next coat something to grip.
[ ] Coat 1: thin, even, let dry 4–24 hours
[ ] Light sand with 220-grit, wipe with tack cloth
[ ] Coat 2: thin, even, let dry 4–24 hours
[ ] Optional Coat 3: only if coverage looks uneven
Save this: Thin coats + foam roller + sanding between coats = smooth professional finish every time.
7. Cure Fully Before Reassembling — Patience Wins
Paint feels dry in hours but takes 2–3 weeks to fully cure and reach maximum hardness — reassemble your vanity gently after 48 hours, but avoid placing heavy items or scrubbing the surface for at least 14 days. According to Benjamin Moore’s technical data sheets (2024), Advance reaches full cure hardness at 30 days.
This is where most “my painted vanity chipped after a month” stories originate. The paint wasn’t defective — it just wasn’t cured when someone dropped a curling iron on it. Treat your vanity like a healing tattoo for the first two weeks.
“A painted vanity that chips in month one wasn’t bad paint — it was impatience during cure time.”
If you’re planning additional updates while your vanity cures, 10 Bathroom Remodel Ideas That Transform Small Spaces Without Breaking the Budget covers changes you can make around the vanity without touching it.

Shop It or DIY It: Every Idea Has a Budget Version
Every step in this project has a premium option and a budget hack — your finish quality depends more on technique than spending. Here’s the breakdown:
| Step | Product Option | Budget Hack |
|---|---|---|
| Cleaning | TSP concentrate (~$5) | White vinegar + dish soap in a pinch |
| Sanding | 3M sanding sponge pack (~$8) | Dollar-store sanding block works identically |
| Primer | Zinsser BIN shellac (~$14/quart) | KILZ Original from any hardware store (~$10) |
| Paint | Benjamin Moore Advance (~$30/quart) | Behr Cabinet & Trim from Home Depot (~$35/gallon) |
| Roller | Wooster foam mini rollers (~$12/4-pack) | Dollar-store foam rollers (replace more often) |
| Hardware | New brass pulls (~$4–$8 each) | Spray-paint existing pulls with Rust-Oleum metallic |
| Full kit | Rust-Oleum Cabinet Transformations (~$80) | Buy primer + paint separately for ~$45 total |
The total cost for a full vanity refresh ranges from $30 (extreme budget with existing supplies) to $100 (buying everything new in premium brands). Compare that to the $400–$1,200 replacement cost.
Save this: Full vanity refresh supply list — everything you need for under $100.
Designer Secrets Most People Miss
The difference between a painted vanity that looks “DIY weekend project” and one that looks “custom built-in” comes down to three decisions most tutorials never mention.
Colors
Most people pick white because it feels safe. But white shows every water splash, toothpaste drip, and fingerprint — especially in satin or semi-gloss finishes. Deeper colors hide daily wear better and photograph dramatically for before-and-after reveals.
According to Sherwin-Williams’ 2024 Color Forecast, deep blue-greens and warm charcoals outperformed white in bathroom cabinet selections for the second consecutive year. Navy (try SW Naval or BM Hale Navy) reads expensive. Sage green (SW Evergreen Fog) feels current without being trendy.
The one color rule: if your countertop has warm undertones, pick a paint color with warm undertones. Mismatched temperature makes everything look unintentional. If you’re also considering updating what sits on top of the vanity, 12 Bathroom Counter Ideas That Actually Work (2026 Guide) pairs well with a fresh paint color.
“Navy blue hides daily wear better than white and reads as three times more expensive.”
Lighting
A freshly painted vanity under bad lighting looks worse than an old vanity under good lighting. Swap any overhead-only fixture for side-mounted sconces at eye level — this eliminates shadows that make paint look uneven.
The National Kitchen & Bath Association (NKBA) recommends a minimum of 75–100 lumens per square foot in bathroom vanity zones (2023 guidelines). Most bathrooms have roughly 40. Even adding one inexpensive LED strip under the medicine cabinet changes how your paint color reads.
“Side-mounted sconces make paint look smoother by eliminating the overhead shadow that highlights every imperfection.”
Storage
A beautiful painted vanity cluttered with products on top defeats the purpose. Before you paint, commit to moving 80% of countertop items inside the cabinet or onto wall-mounted shelves.
Clear the stage before you dress the set. Two floating shelves above the toilet ($15–$25 from Target or IKEA) absorb everything that currently lives on your vanity surface. The visual payoff of your paint job doubles when the surface is clear.
“Clear the countertop before you paint — you’re building a stage, not a storage shelf.”
Once you’ve nailed the finish, the mistakes people make during daily use will determine whether it lasts.
Quick Wins Under $50 That Actually Work
This is what actually moves the needle when your paint is drying and you want the whole bathroom to feel different by Sunday night.
[ ] Swap hardware for matte black or brushed brass pulls ($3–$6 each on Amazon) — instantly modernizes the silhouette without additional painting.
[ ] Add a peel-and-stick backsplash behind the faucet ($12–$20 for a sheet) — protects your fresh paint from water splash damage while adding visual interest.
[ ] Replace your bathroom mirror frame with a $15 clip-on frame kit — this draws attention upward and away from any imperfect areas you’re still learning to love.
[ ] Switch to matching white or linen towels, even cheap ones ($20 for a set) — cohesive textiles make a painted vanity look planned rather than patched.
Save this checklist to your home decor board.
For dramatic proof of what proper technique looks like in a small space, Before & After: Small Bathroom Remodel You Won’t Believe shows the full transformation potential.
FAQ
What is the best paint for bathroom cabinets?
Quick Answer: The best paint for bathroom cabinets is an acrylic-alkyd hybrid designed for trim and cabinets, such as Benjamin Moore Advance or Sherwin-Williams Urethane Trim Enamel. These self-level for smoothness and cure hard enough to resist humidity.
The best option depends on your budget and color needs. Cabinet-specific formulas outperform standard wall paint because they cure to a harder shell that resists moisture, fingerprints, and daily wear. Rust-Oleum Cabinet Transformations works well as an all-in-one system if you prefer not to select separate primer and paint products.
Do I need to sand bathroom cabinets before painting?
Quick Answer: Yes — light scuff sanding with 120–150 grit creates microscopic grooves that help primer bond. You don’t need to strip the old finish, just roughen it. This 20-minute step prevents peeling for years.
The main reason sanding matters is adhesion. In a bathroom’s humid environment, paint bonds fail faster than in bedrooms or living rooms. Even “no sand” primers perform better with a light scuff. Skipping this step is the number-one cause of paint failure reported in DIY forums.
How do you paint a bathroom vanity without brush marks?
Quick Answer: Use a 4-inch high-density foam roller for flat surfaces and a high-quality angled brush only for tight corners. Apply thin coats, sand with 220-grit between each coat, and let the paint self-level as it dries.
The key technique is thin application. Thick coats trap brush strokes and roller texture permanently. Foam rollers leave a finer stipple than fabric rollers, and that stipple disappears as acrylic-alkyd paints self-level during drying. Work in long, even strokes and resist going back over partially-dried areas.
How long does a painted bathroom vanity last?
Quick Answer: A properly prepped and painted bathroom vanity lasts 5–10 years before needing touch-ups. Longevity depends on paint quality, proper priming, full cure time, and avoiding abrasive cleaners on the surface.
The main factor is the initial preparation and cure period. Vanities that received TSP cleaning, bonding primer, and 30 days of gentle use during cure consistently outlast those where steps were skipped. Clean with mild soap only — avoid bleach-based bathroom cleaners directly on painted surfaces.
Conclusion
You spend the first and last minutes of every day in your bathroom. That space shapes your mood more than any living room Pinterest board ever will. A DIY bathroom vanity paint refresh isn’t a consolation prize because you can’t afford a remodel — it’s the highest-return project in your home for the lowest time and money investment.
Start today:
[ ] Buy TSP and a sanding sponge on your next errand — total cost: $12
[ ] Pick your paint color this week — grab a sample pot and test on the inside of a cabinet door
[ ] Block one weekend on your calendar — this project is done in two days
One weekend from now, you could walk into a bathroom that actually makes you feel good.
Save this article to your bathroom ideas board so you always have it when you’re ready.
You’ll Also Love
- 12 Bathroom Counter Ideas That Actually Work (2026 Guide)
- 10 Bathroom Remodel Ideas That Transform Small Spaces Without Breaking the Budget
- Before & After: Small Bathroom Remodel You Won’t Believe
- 15 Bathroom Ideas on a Tight Budget That Actually Look High-End