How to Replace Bathroom Caulk in 9 Simple Steps
To replace bathroom caulk, cut out every trace of the old bead, clean and dry the joint for a full day, then lay one thin line of 100% silicone and let it cure for 24 hours. If mold comes back within weeks, water is getting behind the joint.
Caulk is the cheapest part of a bathroom and usually the first thing to fail. It yellows, peels at one corner, and grows black spots that no spray will lift. Most people never remove old caulk at all. They run a fresh bead over the top and wonder why it looks worse a month later.
Whether a joint lasts years or weeks comes down almost entirely to preparation. Silicone will not stick to old silicone, soap film or a damp surface. Get those three things right and laying the bead is the easy part.
The nine steps below cover the tub, the vanity, the shower tray and the toilet base, not only the bathtub most guides stop at. They run in the order you do the work, from deciding whether a joint needs caulk at all to the first shower afterward.
This post contains affiliate links. If you buy through them, I may earn a small commission at no extra cost to you.
Table of Contents
Step 1: Check whether the joint needs caulk or grout
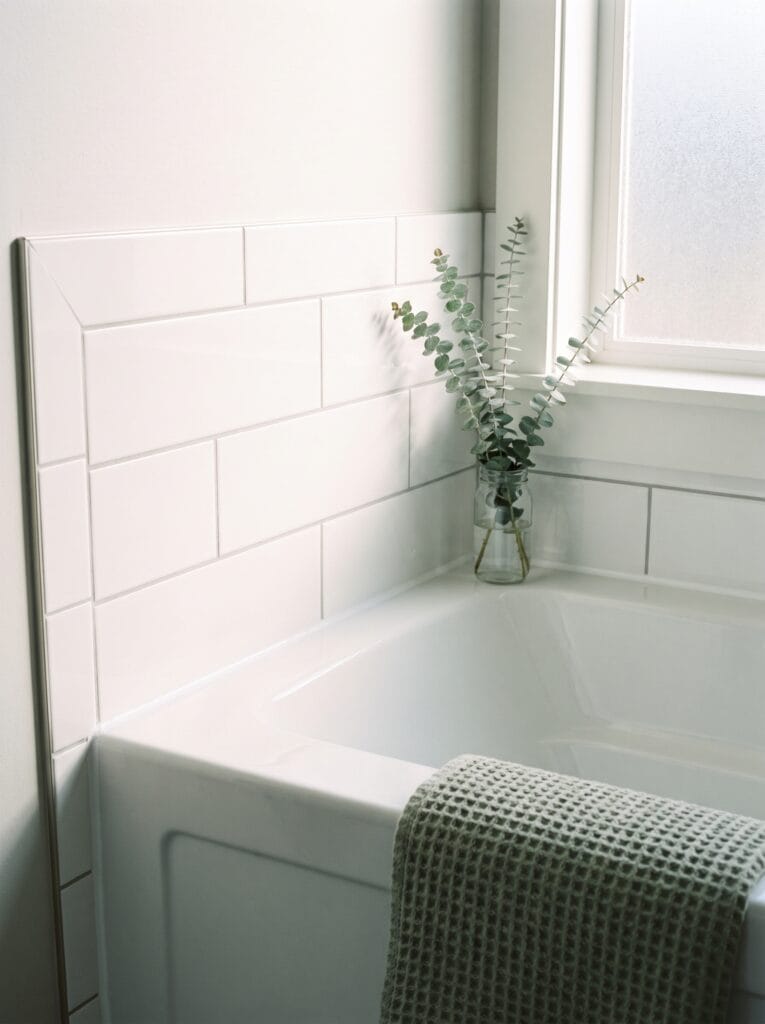
Bathroom caulk goes wherever two surfaces meet at an angle or two different materials touch. Grout goes between tiles on a flat wall or floor. Mixing the two up is the most common reason a new joint cracks within a season.
The joints that need caulk are easy to list: the line where a tub meets the tile, the inside corners of a shower, the seam between a vanity top and the wall, the base of a toilet and the edge of a shower tray.
Those joints move. A tub drops slightly when it fills, walls shift with the seasons, and wood vanities swell in steam. Grout is rigid, so it cracks along every one of those lines, while silicone flexes with them.
Cracked grout between flat wall tiles is a separate job. Leave it for now. Caulk only the joints that change direction.
Step 2: Press the old bead to see if it is dirty or failing

Run a fingernail along the old bead before you buy anything. Healthy caulk feels firm and springs back. Failing caulk lifts at the edge, cracks when pressed, or feels chalky under your finger.
Look closely at the color as well. Surface mildew wipes off with a bathroom cleaner, but black spots that sit inside the bead mean mold has grown into the silicone itself, and no amount of scrubbing will reach it.
Check the ends hardest. A bead can look fine in the middle while it has pulled away from the stone at each end, which lets water run straight into the cabinet or the wall below.
Any one of those signs means it is time to replace caulk, not clean it. Dirty but firm? Clean it and leave it alone.
Step 3: Buy 100% silicone in the right formula

Buy 100% silicone caulk for anything that gets wet, and look for those exact words on the label. Tubes marked siliconized acrylic or made with silicone are mostly acrylic. They shrink and crack in a shower.
Acrylic still has a job. It takes paint, so use it where a vanity side or a piece of trim meets a painted wall that never sees standing water. Everywhere else, silicone wins.
Choose a formula sold for kitchen and bath use, which includes a mildew inhibitor. Clear hides a poor color match with the old bead. White looks crisper against a white tub and tile.
Read the cure time on the label before you start. Some formulas are shower-ready in a few hours, while others need a full day, and that decides when you can plan the job.
Shop it on Amazon: GE Supreme Silicone Kitchen & Bath Sealant, 10.1 oz, Clear
Step 4: Cut and pull out every trace of the old caulk

Slice along both edges of the old bead with a sharp utility knife, holding the blade flat against the tile. Then hook one end and pull. With luck it comes away in one long strip.
Switch to a plastic scraper on acrylic or fiberglass tubs. A metal blade scratches those surfaces in seconds, and every scratch becomes a new place for mold to start.
The thin film left behind matters most, because new silicone will not bond to old silicone. Scrape until the surface feels squeaky clean, then rub off what remains with a silicone remover or a rag dampened with mineral spirits.
Go slowly here. This step decides how long the new joint lasts.
Shop it on Amazon: ALLWAY CT31 3-in-1 Caulk Tool for Removal and Application
Step 5: Kill the mold and let the joint dry for a full day
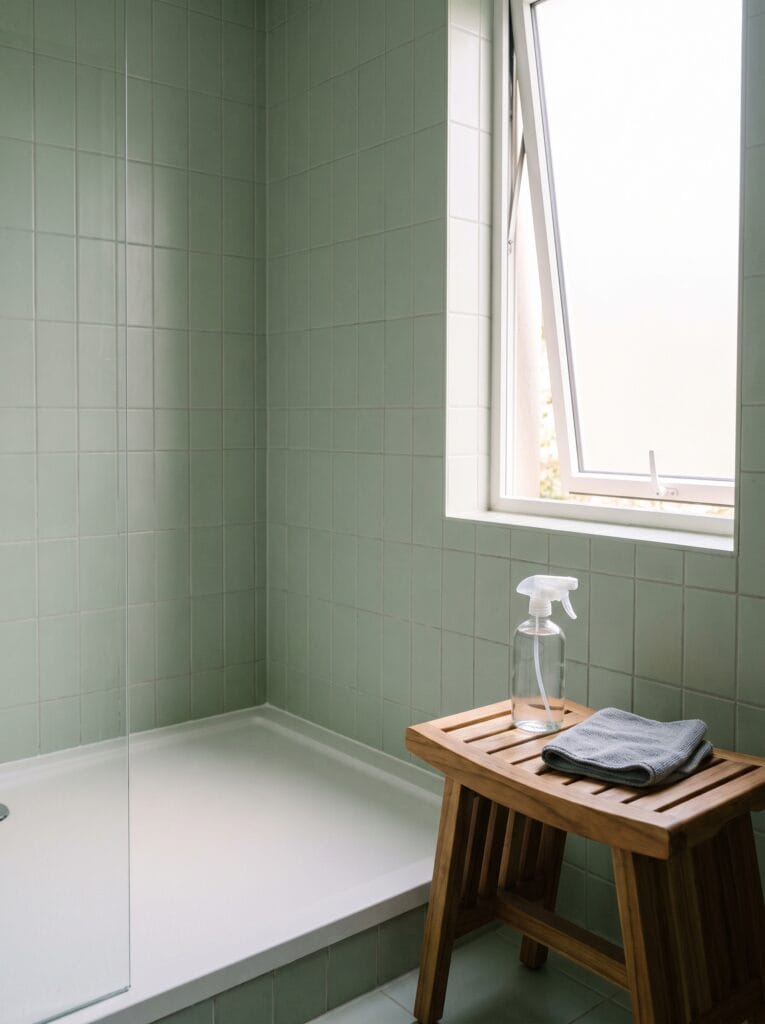
Scrub the bare joint with a mildew cleaner or a mix of one part bleach to ten parts water, using an old toothbrush in the corners. Rinse well. Then wipe it down with isopropyl alcohol, which lifts soap film and evaporates fast.
Now wait. Silicone laid over a damp joint traps moisture underneath and starts peeling within weeks. Leave the joint open for 24 hours with the window tilted open or the fan running.
The same drying rule applies to shower caulk around a tray or the base of a glass panel. Those joints sit in water daily, so they punish a rushed job faster than a tub edge does.
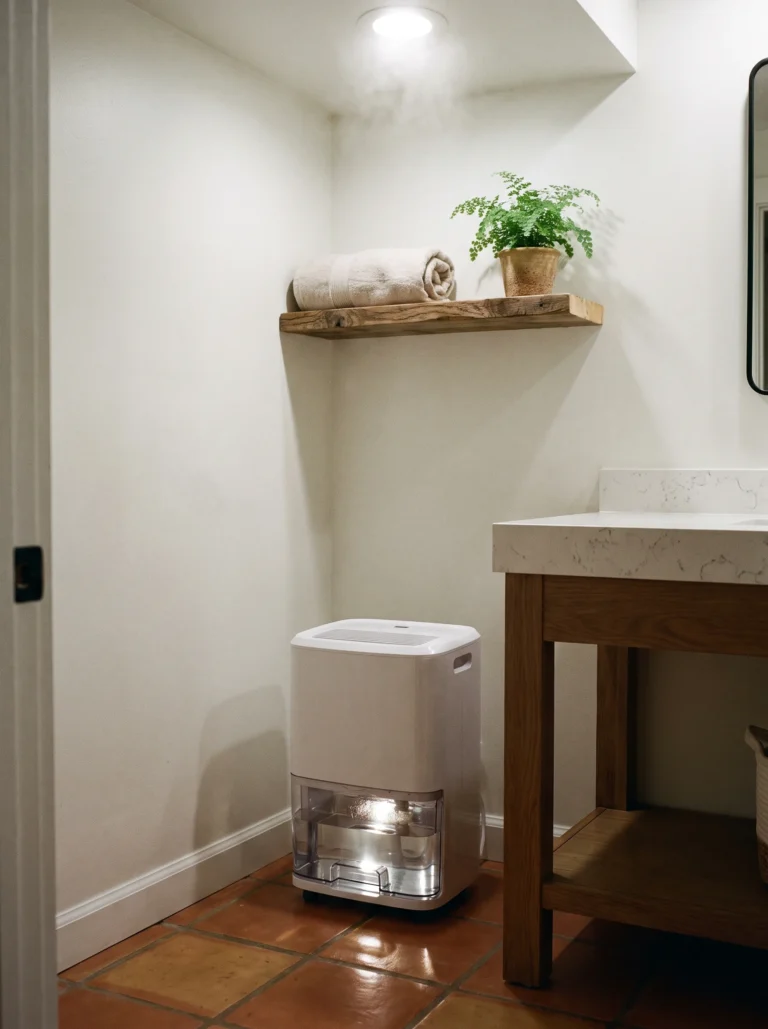
A gap that was wet or smelled musty behind the old caulk tells you the room stays humid too long after showers. Fix that first, and if opening a window is not an option, our guide to ventilating a bathroom with no window covers what works instead.
Step 6: Fill the tub and tape both edges of the joint
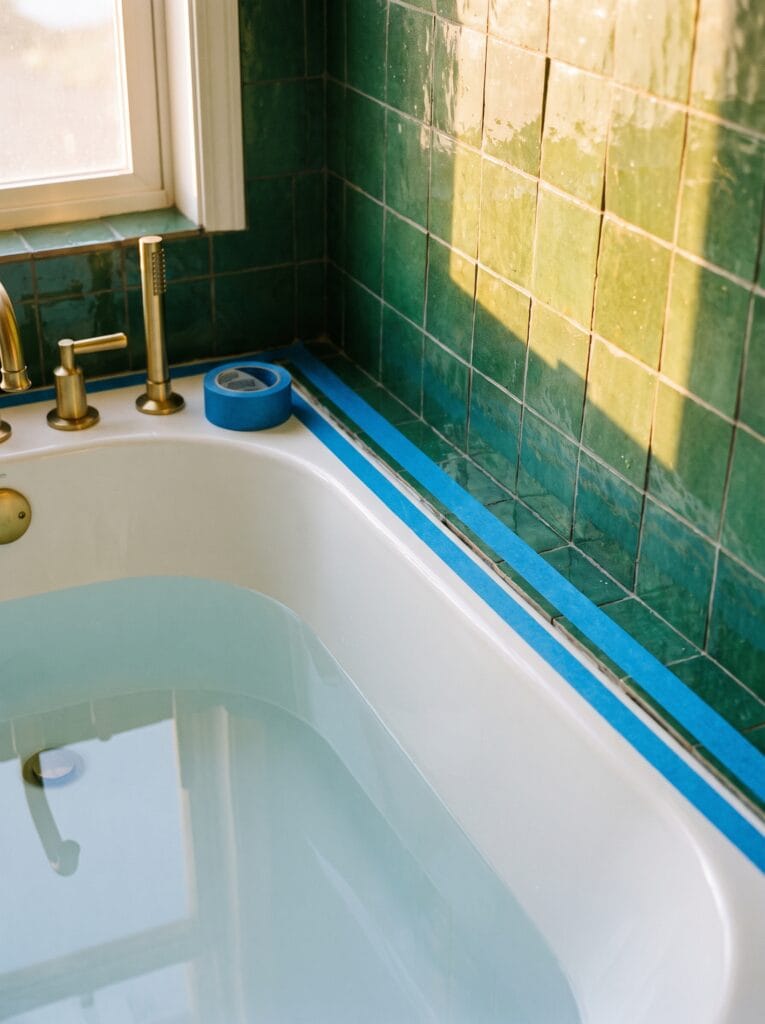
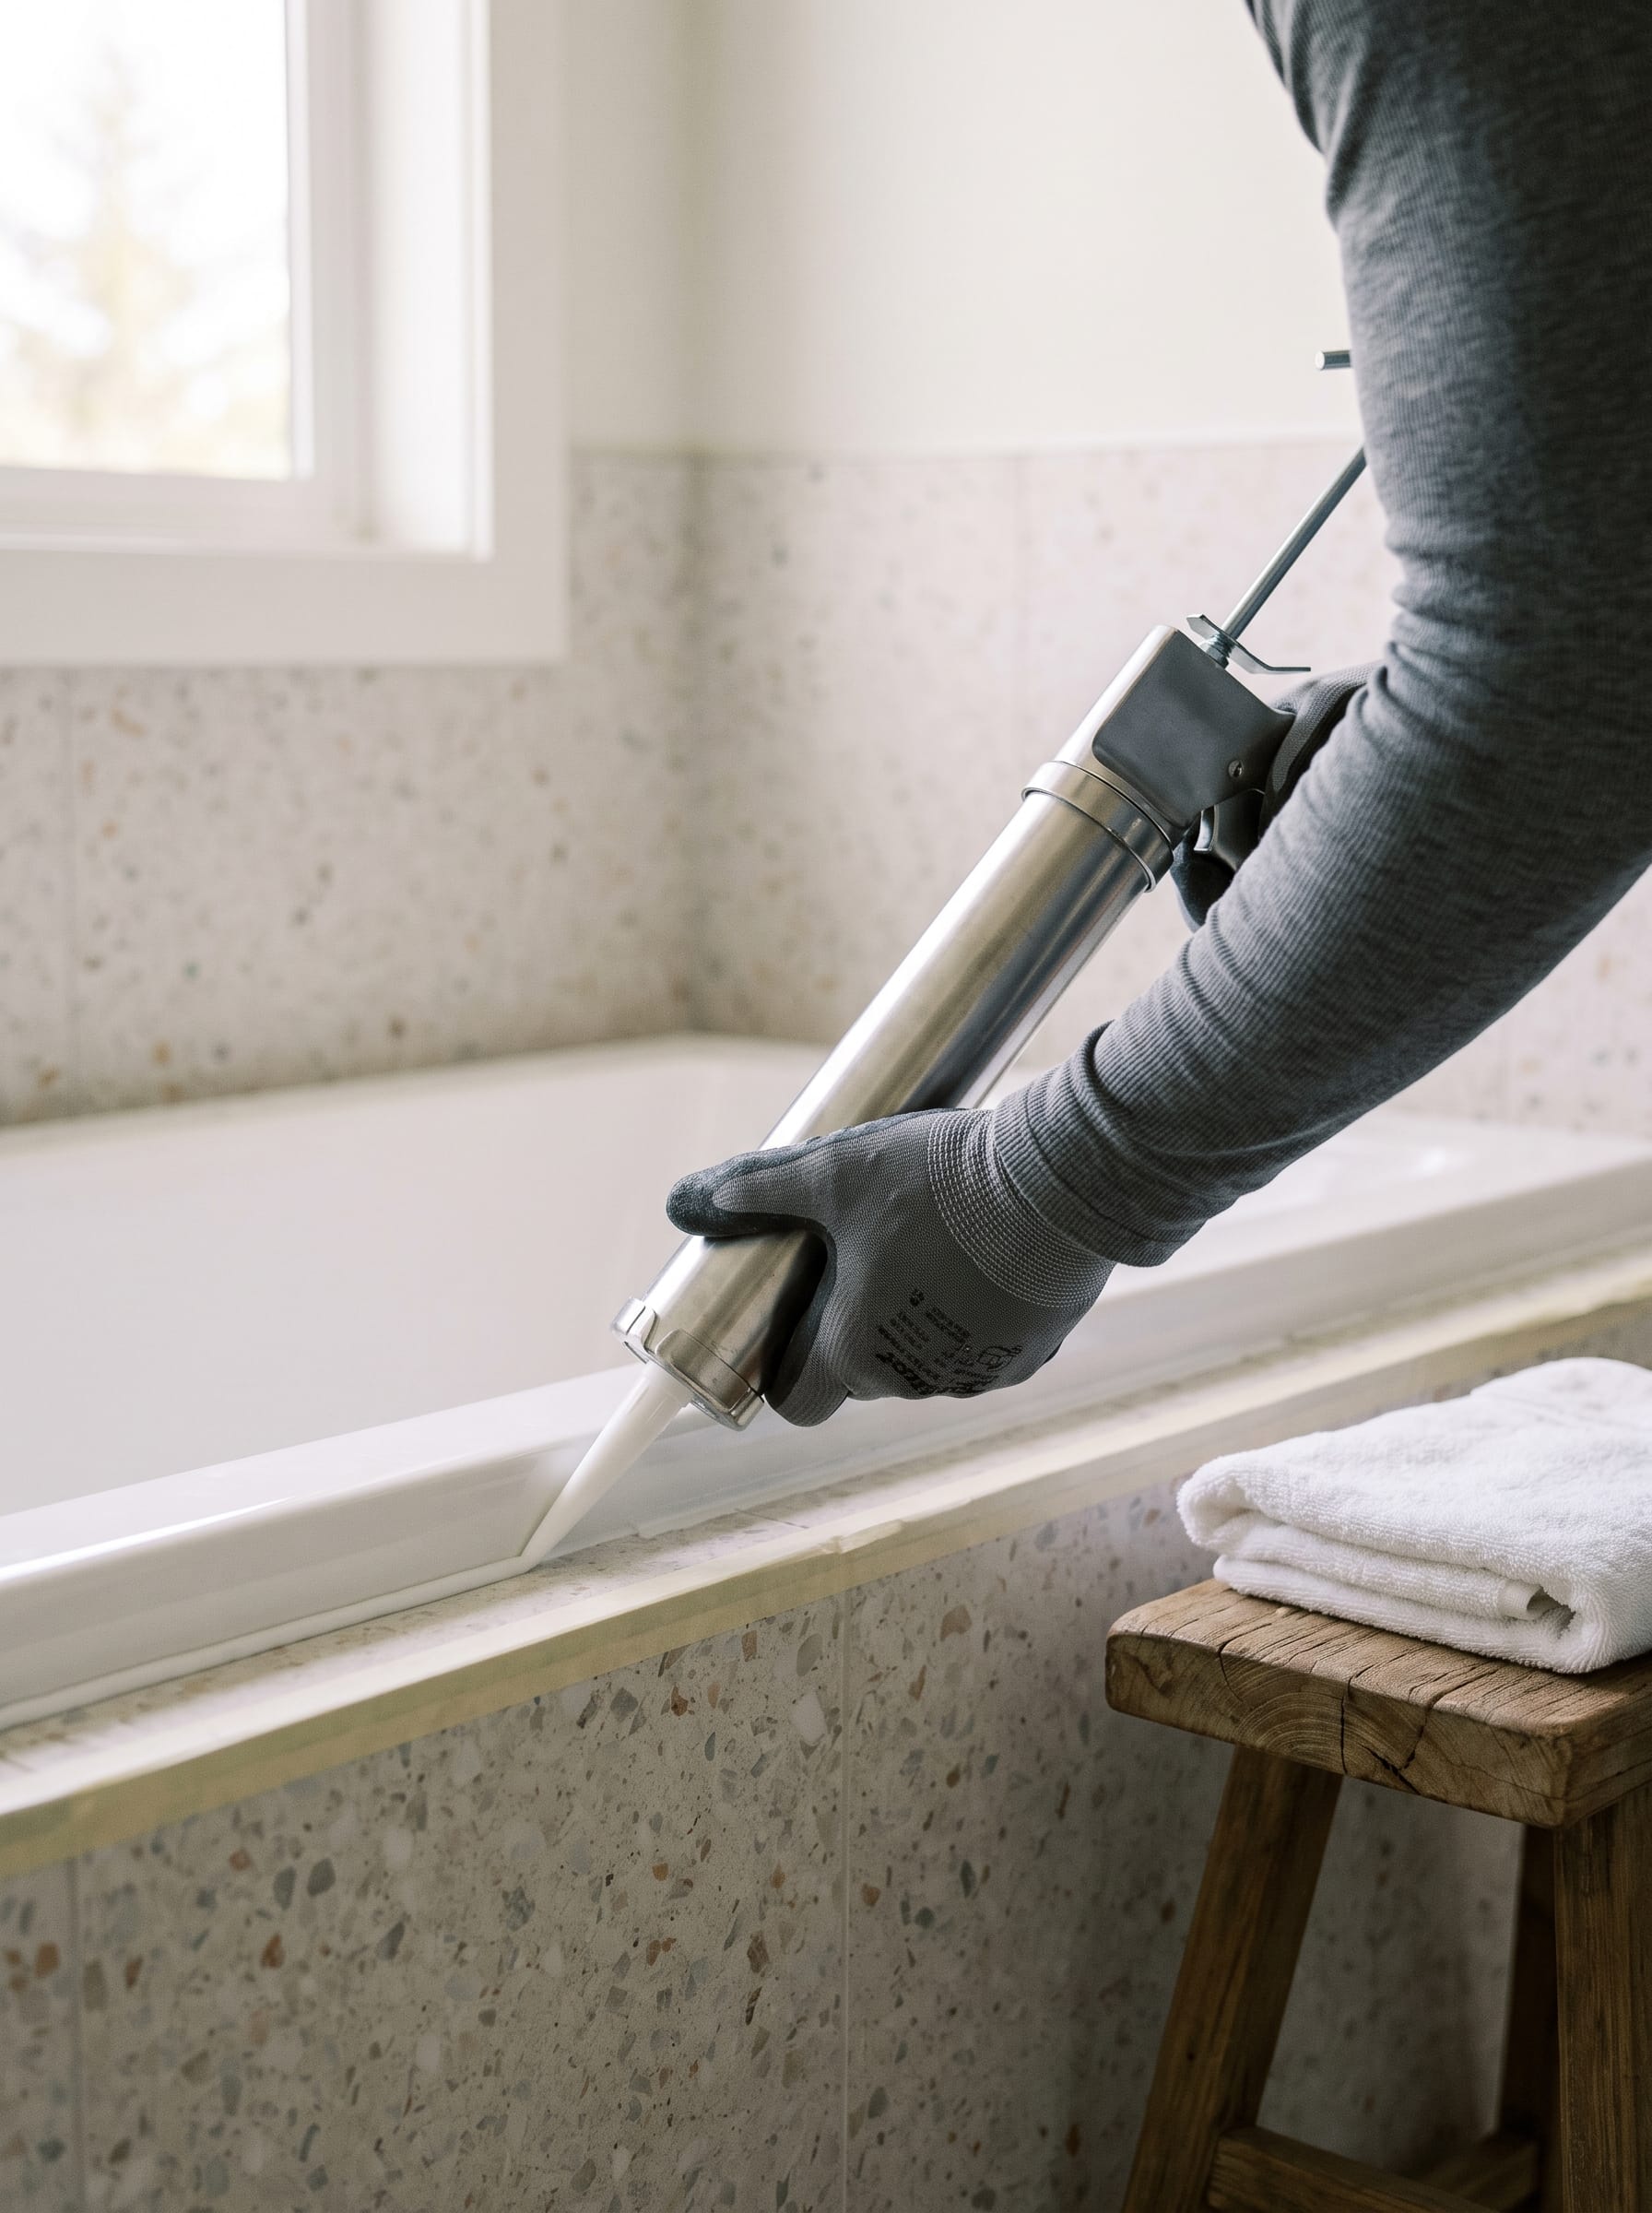
Fill the bathtub with water before you caulk it. A full tub sits lower, which opens the joint to its widest. Caulk it in that position and the bead compresses instead of tearing each time someone steps in.
Run painter’s tape along both sides of the joint, leaving a gap about 1/8 to 1/4 inch wide. Press the edges down with a fingernail so silicone cannot creep underneath.
Wider gaps need a backer first. If the opening is more than about 1/4 inch, press foam backer rod into it. Silicone then bridges the gap in a thin, flexible layer instead of filling a deep void that cures slowly and unevenly.
Shower trays and sinks skip the water trick. Tape them and move on.
Step 7: Cut the nozzle small and run one steady bead

Cut the nozzle at a 45-degree angle, starting small. A hole about the width of the gap is plenty, and you can always cut more later. Pierce the inner seal with the wire on the gun.
Push the bead ahead of the nozzle instead of dragging it behind. Pushing forces silicone down into the joint. Keep the pressure even and the pace steady.
Start in the far corner and work toward yourself so your hand never passes over wet silicone. Finish each joint in one continuous pass, corner to corner. Stops and restarts leave small lumps that stay visible for as long as the caulk lasts.
A drip-free gun makes a bigger difference than most people expect. It releases pressure the moment you let go of the trigger, so silicone stops flowing when you pause to reposition.
Shop it on Amazon: Newborn 930-GTD Drip-Free Smooth Hex Rod Cradle Caulking Gun
Step 8: Smooth the bead once and pull the tape while it is wet
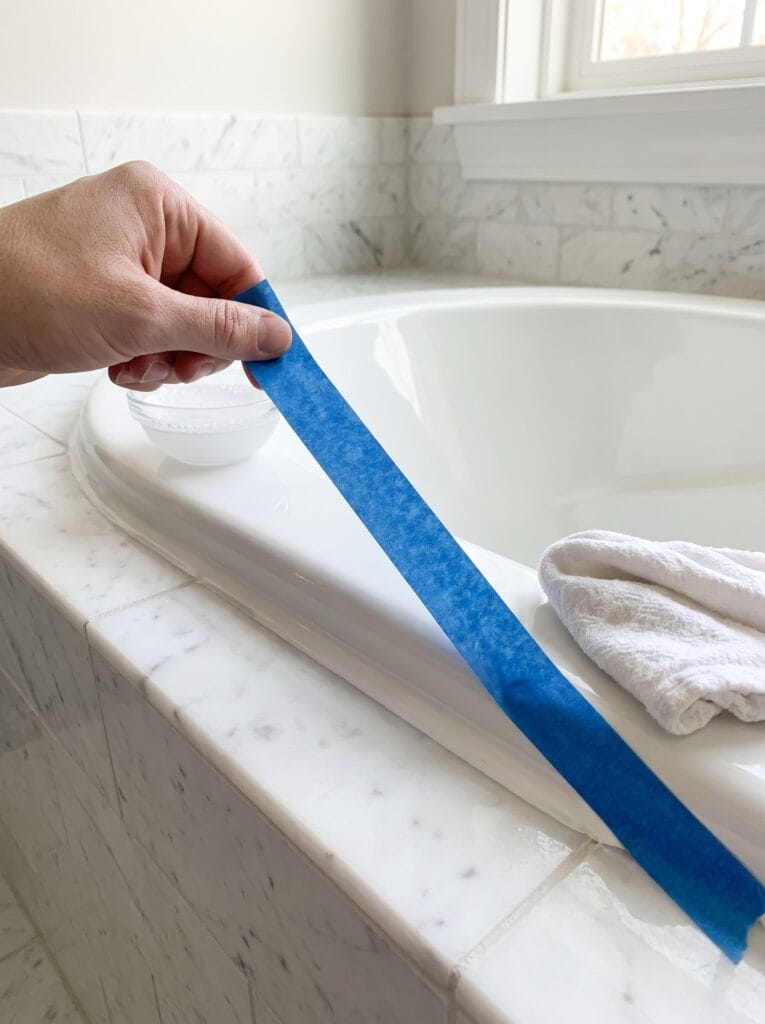
Dip a fingertip in soapy water and draw it along the bead in one smooth motion. The soap stops silicone from sticking to your skin, and a rounded caulk tool does the same job if you prefer.
Once is enough. Going back over it drags the surface and leaves ridges.
Pull the tape right away, while the silicone is still wet. Peel it back at a low angle, away from the joint, and the edges come out crisp. Wait an hour and the tape will tear the skin that has already formed on top.
Wipe up any smears with a damp cloth before they set.
Step 9: Leave the bathroom caulk alone for 24 hours

Most silicone is dry to the touch in about half an hour and fully cured in about 24 hours. Cured is the number that counts. Water on a half-cured bead can wash out the surface and leave it cloudy or soft.
Drain the tub only once the cure time on the tube has passed, and keep the shower off until then. Deep beads and cold rooms take longer. Add a few hours in winter.
Keep the fan running or the window open while it sets. Curing silicone gives off a vinegar smell that fades within a day.
If this job is part of a bigger refresh, such as a new vanity top or tub, our materials, fixtures and layout guide helps you choose surfaces that are easier to seal from the start.
What to do when new caulk turns black within a month
Picture a tub joint recaulked in spring. By early summer, a gray shadow shows through the bottom edge of the new bathroom caulk. The silicone is fine. Moisture is sitting behind it.
That usually traces back to a joint sealed while still damp, mold left alive in the gap, or water getting in from somewhere else, such as a cracked tile or a loose tub spout.
Cut the new bead out rather than bleaching the surface. Dry the gap with a fan for two days, treat it again, and check the tile above for cracks before you seal it a second time.
If the spots return after that, stop recaulking and press on the tiles near the tub. A soft or hollow spot means the wall behind needs a professional to look at it.
The rule to remember: mold that grows back through fresh silicone is a water problem, not a caulk problem.
Why the prep order matters more than the bead
A perfect bead on a dirty, damp joint fails. An average bead on a clean, dry one lasts for years. That is why most of these steps happen before the gun ever comes out.
When your bathroom caulk starts lifting again, come back to the same order: cut it out, clean it, dry it, tape it, lay the bead and let it cure. Skip none of them and the new joint should outlast the old one by a long way.
Saving this for your next weekend job? Pin it so the nine steps are on your phone when you are kneeling by the tub.