How to Install Bathroom Wall Sconces in 10 Simple Steps
Mount bathroom wall sconces so the bulb sits 60 to 66 inches off the finished floor, measured to the lit part of the fixture and not to the box behind it. That puts the light at roughly eye level and cancels the shadows an overhead fixture throws under your brow and chin. If everyone in your house is notably tall or short, work from your own eye level instead.
Almost every guide repeats that range and then stops. None of them mention that the number describes the lit part of the fixture, while the thing you actually screw to the wall is an electrical box sitting somewhere behind it.
This assumes a real bathroom rather than a showroom. The box may already be in the wall at the wrong height, the ceiling may slope, or a cabinet door may swing straight into the space.
The ten steps below run in order, and each one narrows what the next one has to solve. Step two is worth reading even if you skip the rest, because a damp rating is a code issue rather than a matter of taste.
This post contains affiliate links. If you buy through them, I may earn a small commission at no extra cost to you.
Table of Contents
Step 1: Find your household’s real eye level, not the average

Sixty to sixty six inches assumes an adult somewhere near five foot eight, which may describe nobody in your house. Stand at the mirror and have someone pencil your actual eye level onto the wall, then repeat that for everyone who uses the room daily.
The useful number is the average of those pencil marks rather than the average of a population you have never met. Light arriving at eye level strikes your face from the side and fills the shadows under your brow, nose and chin, which is the entire reason the fixture exists.
Too high and you recreate the downward shadows an overhead light gives you, too low and the bulb sits in your field of view.
Step 2: Check the damp rating before you buy anything

Every fixture carries a location rating, and a bathroom needs a damp rating as the absolute minimum. Dry rated fixtures are built for living rooms and hallways where nothing ever condenses on the socket, so beside a shower the metal corrodes and the finish lifts years early.
Damp covers anything exposed to humidity but not direct spray, which describes the wall beside a vanity in almost every bathroom. Wet rated is the stronger classification, required wherever water can actually reach the fixture, such as inside a shower enclosure or directly above a tub.
Look for the rating stated plainly in the listing, never implied by the word bathroom sitting in the product name.
Shop it on Amazon: LUXRITE Damp Rated LED Bathroom Vanity Sconce
Step 3: Choose the bulb before you choose the fixture
The bulb decides how the mirror treats your face far more than the fixture around it ever will. Aim for a colour rendering index above 90, which is the figure that keeps skin tones honest instead of pushing them grey or yellow.
Colour temperature between 2700K and 3000K reads warm without tipping into orange, and it matches the light you already have elsewhere in the house. Anything above 4000K is daylight balanced and belongs in a workshop rather than a room you use at six in the morning.
Buy the bulbs first and hold one against the wall before committing to a fixture. A shade that looked perfect in a photograph can turn a good bulb into a glare source.
Step 4: Measure to the bulb, not the junction box

The number everyone quotes is 60 to 66 inches, and almost nobody says what it measures to. It describes where the light itself sits rather than where the electrical box goes. Those are two different heights, and the gap between them is why careful people still end up with sconces mounted three inches too high.
Most sconces hold their lit portion above the backplate by anywhere from two to eight inches, depending entirely on the design. Check the listing for the distance from mounting centre to bulb, then subtract that figure from your target height.
Doing that one subtraction is the whole trick, and skipping it leaves a fixture that is perfectly level and still wrong.
Step 5: Decide whether to flank the mirror or mount above it

Side mounting wins for grooming and top mounting wins for space, and that is genuinely the whole comparison. The choice cannot be reversed later without patching and repainting the wall, so settle it before anything gets drilled.
Two sconces either side, bulbs at 60 to 66 inches, light a face evenly because cross light from both directions cancels the shadow a single source creates. That is why every make up mirror ever built works this way. It needs roughly 28 inches of clear wall though, and below that the fixtures crowd the glass.
One fixture above the mirror clears both sides, which suits a narrow vanity or a powder room with nowhere to flank anything. Mount it 75 to 80 inches from the floor and expect softer shadows under the chin.
Step 6: Space the pair 28 to 40 inches apart
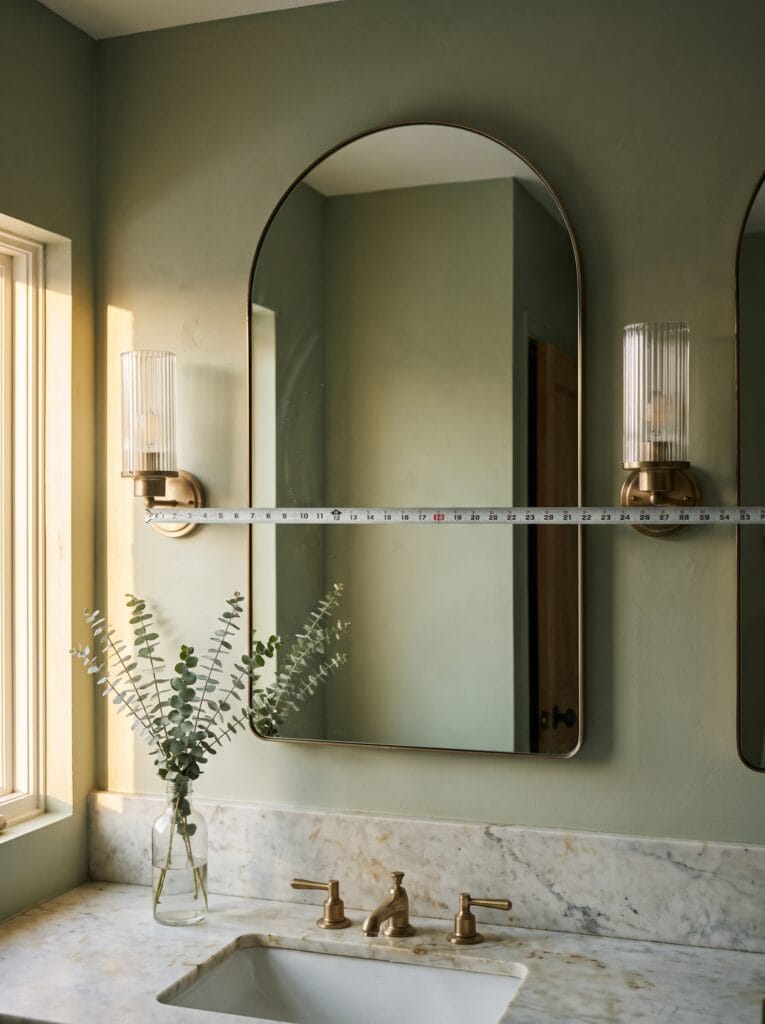
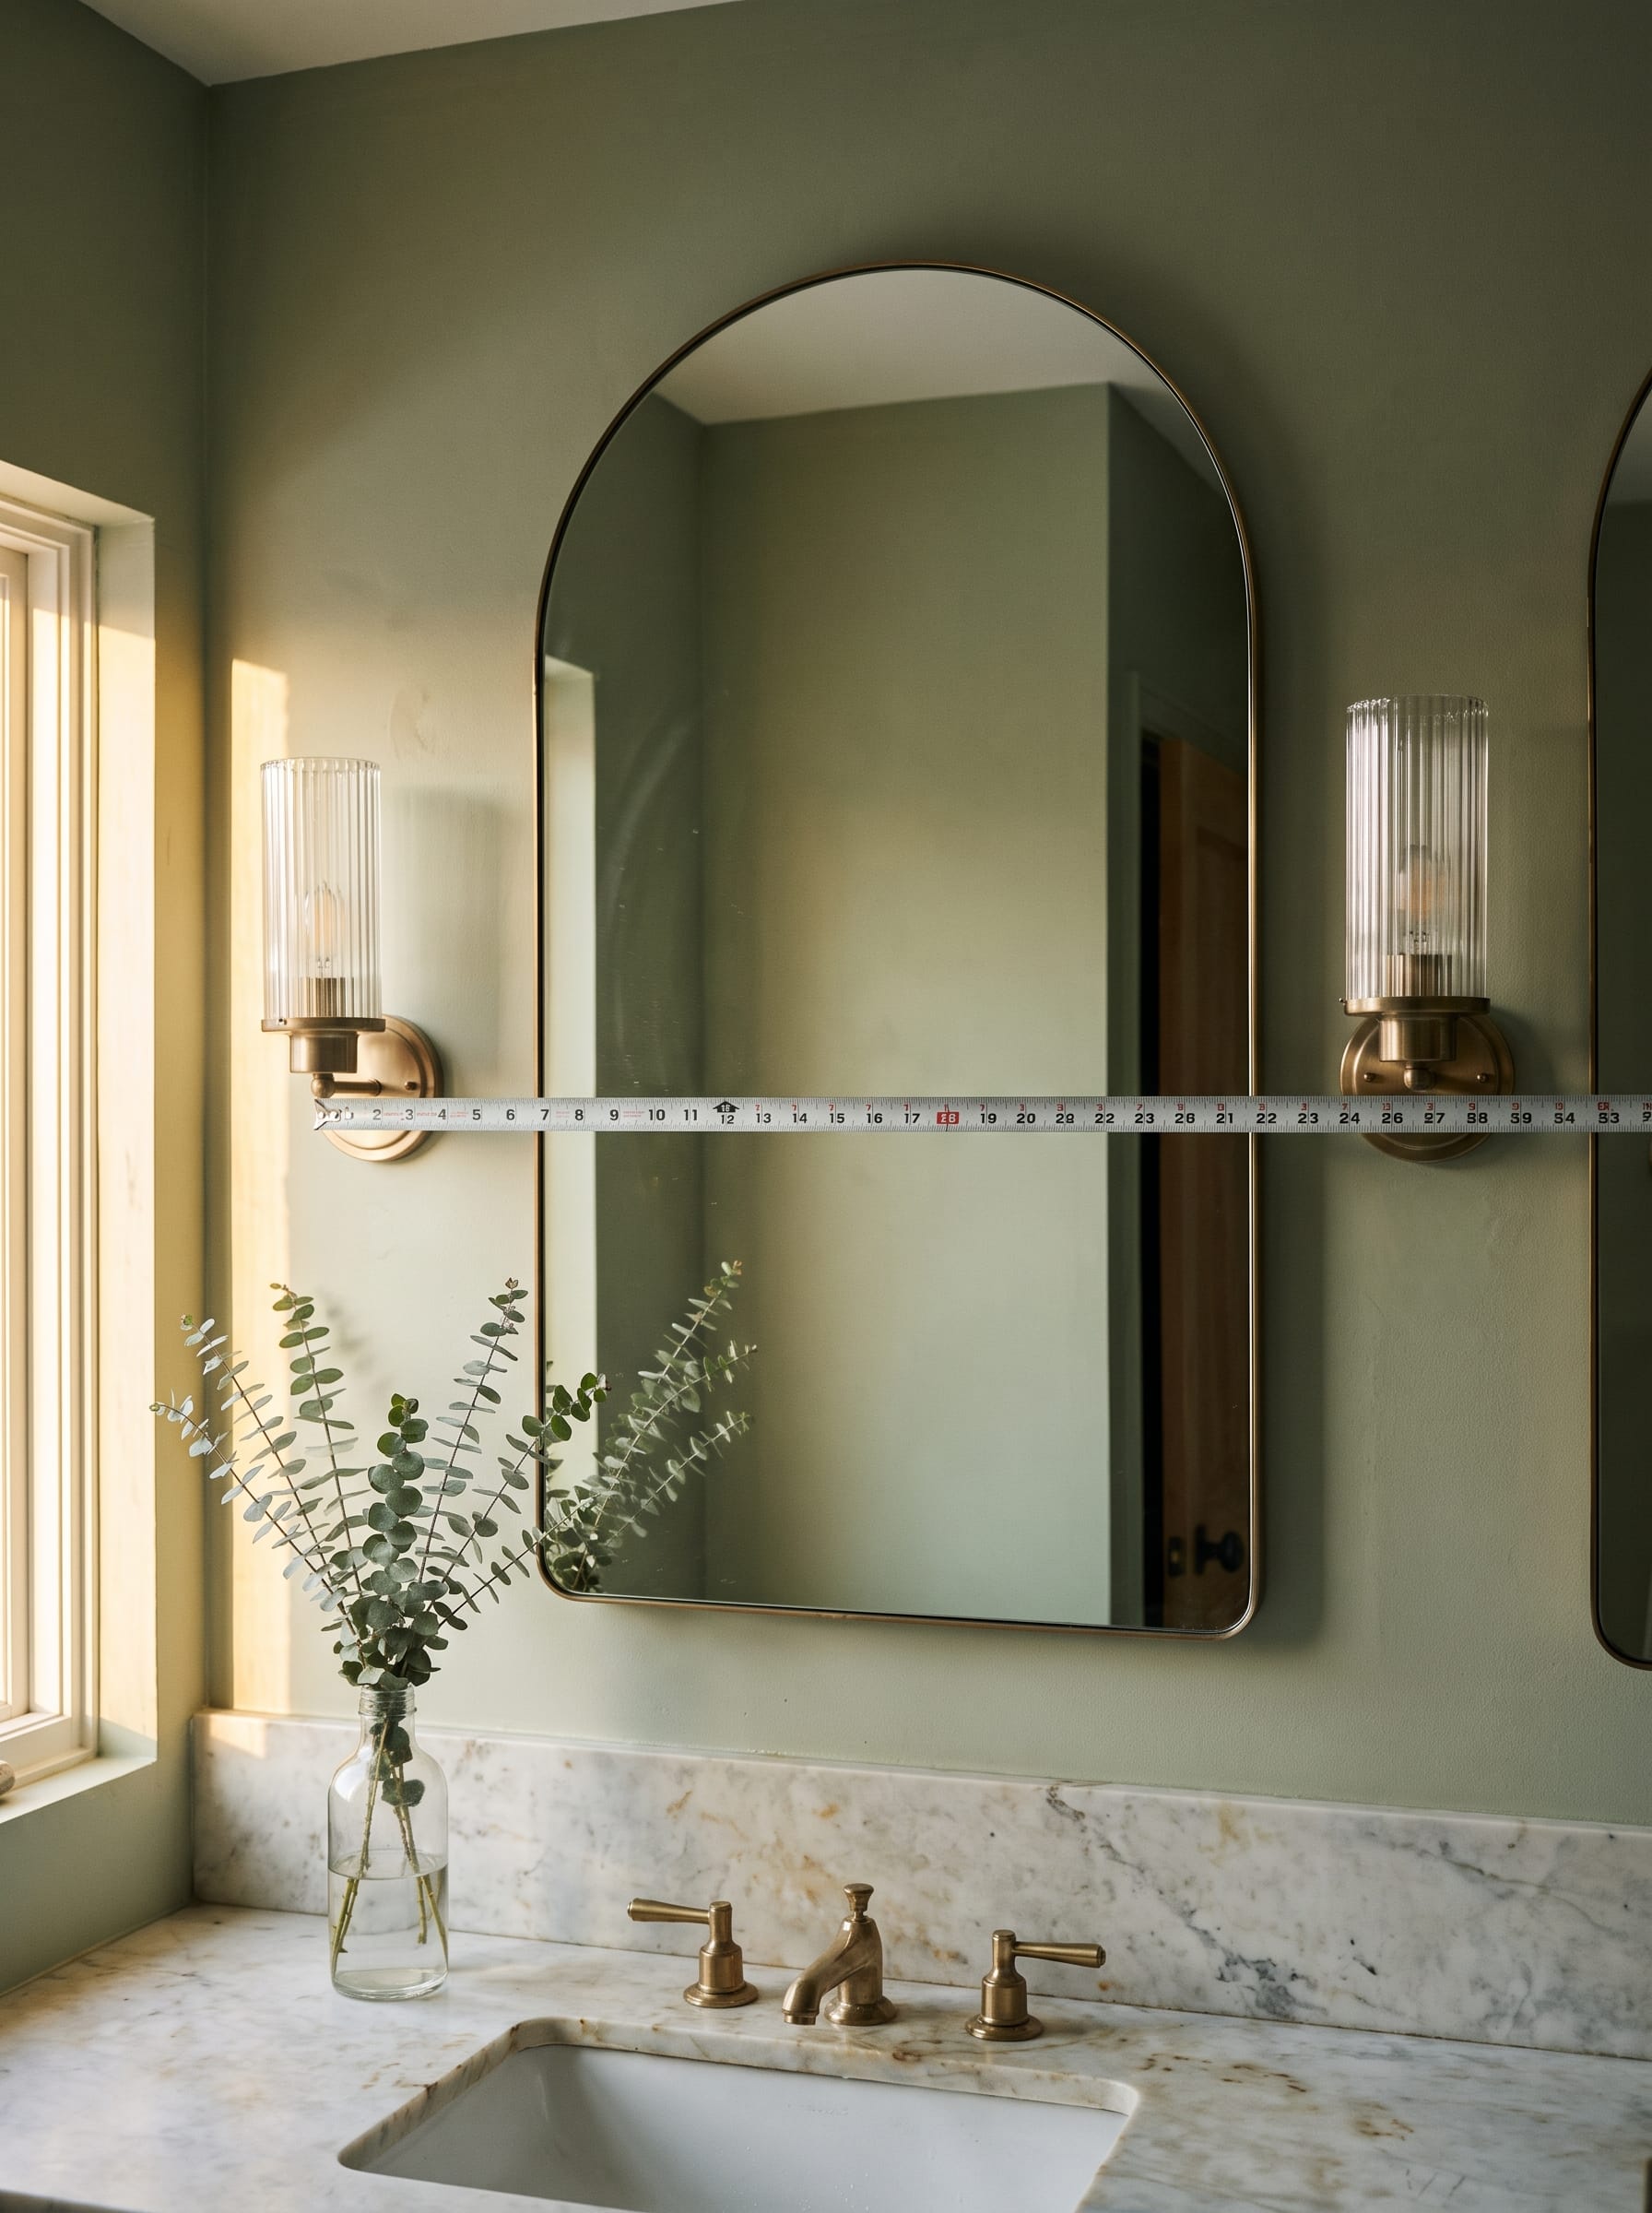
Take the gap between the two fixtures centre to centre and aim for 28 to 40 inches. Under 28 the light pools in one spot instead of spreading across your face, and over 40 the beams stop overlapping, which puts back the shadow you installed them to remove.
Leave at least 3 inches between the mirror edge and the nearest point of each fixture. Sconces set tight against glass throw reflections back at you and make cleaning the mirror edge awkward for the next ten years.
Match both gaps exactly rather than approximately, because the eye reads asymmetry here instantly and it is the detail separating a tidy install from an obvious first attempt.
Step 7: Mark the wall and check it level before you drill

Mark the box centre rather than the fixture centre, and get both sides onto the wall before you drill either one. A pencil cross costs nothing and moves freely, which is exactly what a drilled hole in tile does not.
A self levelling cross line laser makes this faster than a tape and a pencil, particularly when two sconces have to match each other exactly. If you are working with a tape instead, measure both heights up from the floor rather than across from each other.
Step back and look at the marks from the doorway before the drill ever comes out, because the view from arm’s length is not the view you will live with.
Step 8: Work around an electrical box that is in the wrong place

Very few people installing bathroom wall sconces are wiring a room from scratch. There is already a box sitting in the wall at whatever height the original builder happened to choose, and it is rarely anywhere close to right.
Start with a fixture that has a long backplate, since a 12 inch plate hides a box that is off by five or six inches without anyone touching the wiring. Fit an extension ring where the box is merely recessed too deep rather than positioned wrongly. Run surface conduit where the wall is tiled and cutting into it is genuinely out of the question.
Moving the box properly is the fourth option and the only one that needs an electrician. If you are renting, skip all four and use a plug in sconce with a cord cover, which needs permission from nobody.
Shop it on Amazon: iMBAPrice UL Listed Electrical Box Extender
Step 9: Adjust for sloped ceilings, tall mirrors and cabinet doors
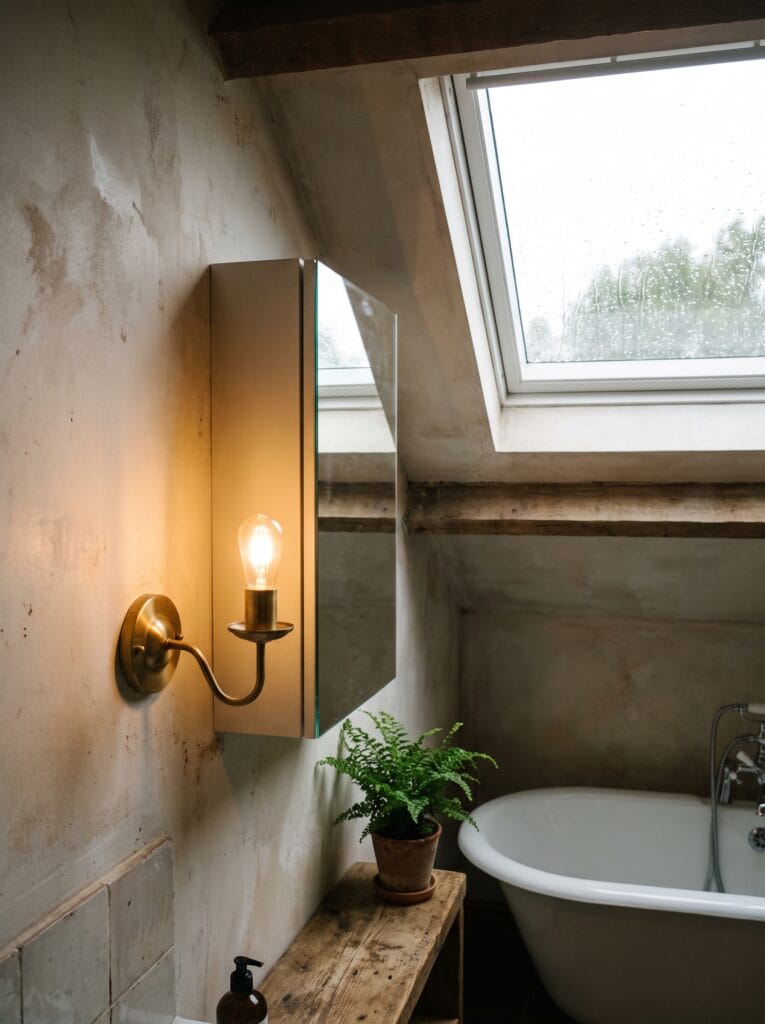
Three situations break the standard height, and all three turn up constantly in older houses. A sloped ceiling can force the fixture below 60 inches, which is fine provided the bulb still clears your eye line while you stand at the basin.
Tall mirrors leave no wall to flank, so align the sconce with the top third of the glass instead of fighting for the middle of it. Recessed medicine cabinets create the opposite problem, because the door swings out into the exact space the fixture occupies.
Check the sconce projection against the door arc before drilling and leave two inches of clearance. Plenty of bathroom mirror ideas work around this by going frameless.
Step 10: Set the height for seated and shorter users

Standard heights assume a standing adult, which quietly leaves out wheelchair users, children, and anyone who sits at the vanity to do their hair. Seated eye level runs roughly 43 to 51 inches, well below the usual band.
Mounting one sconce lower is no compromise at all when it makes the mirror work for whoever uses it most. Put the switch between 15 and 48 inches from the floor, which is the requirement most often missed in a bathroom refit.
Dimmers help more than a second fixture, because they let one mounting height serve two very different people.
What to do if the sconces are already up
Already mounted and wrong? Try a bulb change and a dimmer before reaching for a drill. Lower wattage with a higher colour rendering index fixes a surprising number of complaints that present themselves as height problems.
Swapping a shade that throws light upward for one that throws it forward handles most of the rest, and neither job touches the wall. Measure the error properly before deciding on anything more drastic than that.
Anything under three inches is usually worth living with, because patching and repainting costs more attention than the improvement returns.
Start at eye level, not at the junction box
The order is what makes this work rather than the numbers themselves. Your own eye level sets the target, the bulb position inside the fixture sets the box height, and only after both of those does anything get drilled.
Most people work backwards from the box already in the wall, which is exactly how a fixture ends up level, tidy and three inches too high. The box is the constraint to design around, not the place to start from.
More on lighting a difficult room, and on choosing the fixtures that suit one, sits in the materials, fixtures and layout collection.
Found this useful? Save the pin so you have the height numbers with you when you are standing at the wall.