How to Choose a Bathroom Faucet Finish: The Hard Water Test
Test your water hardness first, then choose a brushed or matte bathroom faucet finish if the reading is high and a polished one only if it is genuinely low. Hard water is what decides whether a finish still looks good in two years, and almost every buying guide skips it in favour of a pros and cons table. Match the texture to your water, then match the colour to the room.
Most finish guides are catalogues rather than guides. They line up chrome, brushed nickel, matte black, brass and oil rubbed bronze, describe each one fairly, and then leave the actual decision sitting entirely with you.
That approach works in a showroom and fails in a real bathroom. The water coming out of your tap is doing something specific to metal every single day, and it does not care which finish photographed best.
The eight steps below run in order, and each one narrows the field for the next. Step one costs about six dollars and rules out roughly half the finishes on the shelf before you have looked at a single product photo.
This post contains affiliate links. If you buy through them, I may earn a small commission at no extra cost to you.
Table of Contents
Step 1: Test your water hardness before anything else
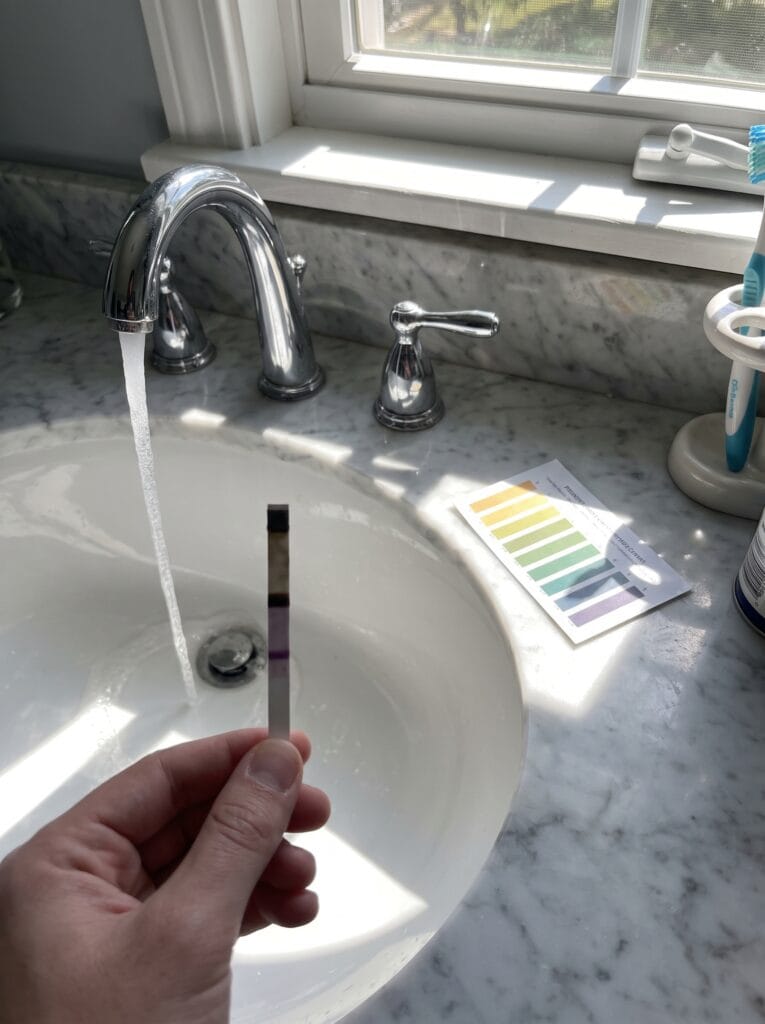
Hold a hardness strip under the running tap for a second, then compare it against the printed chart after fifteen seconds. Anything above roughly 120 parts per million counts as hard water, and once you pass 180 the choice of finish stops being decorative and starts being a maintenance decision.
If you would rather not buy strips, your water utility publishes a free annual quality report and hardness is always listed in it, either in parts per million or in grains per gallon. Multiply the grains figure by 17.1 to convert it into the parts per million number that most product guidance uses.
Write the number down somewhere you will still have it later, because step five needs it again and it is exactly the thing people forget between the bathroom and the shop.
Step 2: Count the traffic this bathroom actually gets
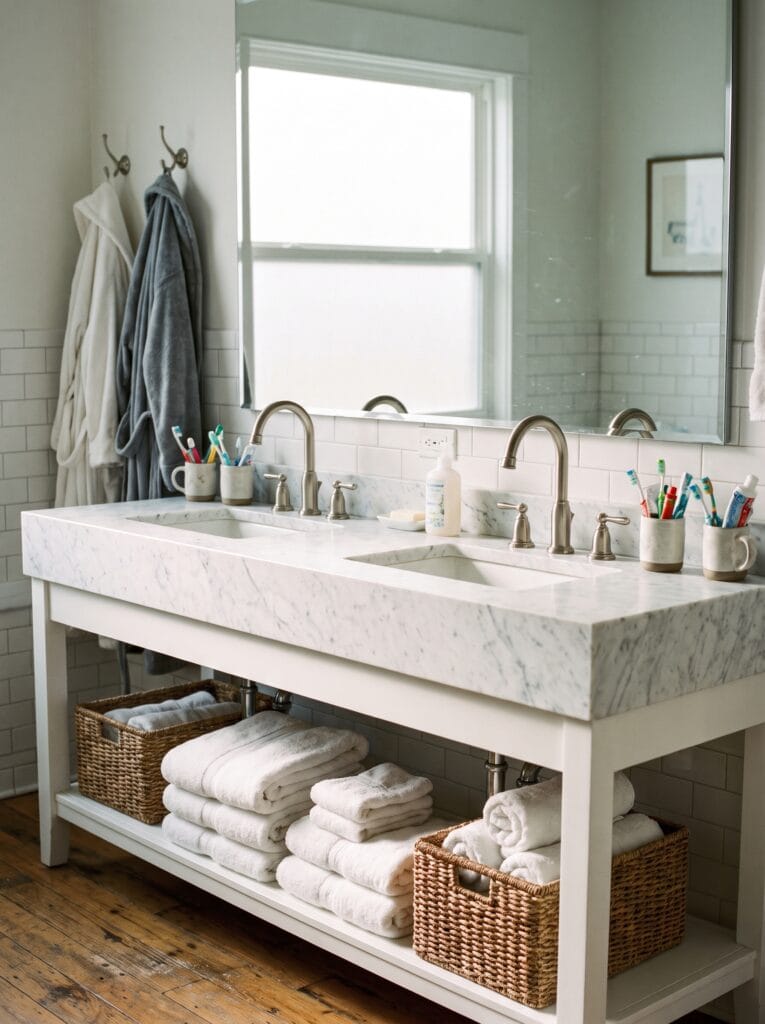
A guest powder room used twice a week and a family bathroom used by four people every morning are not the same buying problem, even though the shelf presents them as one. The second puts something like twenty times more water, soap and hand contact onto the same piece of metal over a year.
Be honest about cleaning while you are counting, because this is where most finish regret actually begins. A polished faucet in a busy bathroom needs wiping every couple of days to look anything like the product photograph, and almost nobody keeps that up past the first fortnight.
High traffic combined with honest cleaning habits pushes you firmly toward brushed and matte finishes, whatever the showroom lighting made polished chrome look like.
Step 3: Inventory the finishes you are not replacing
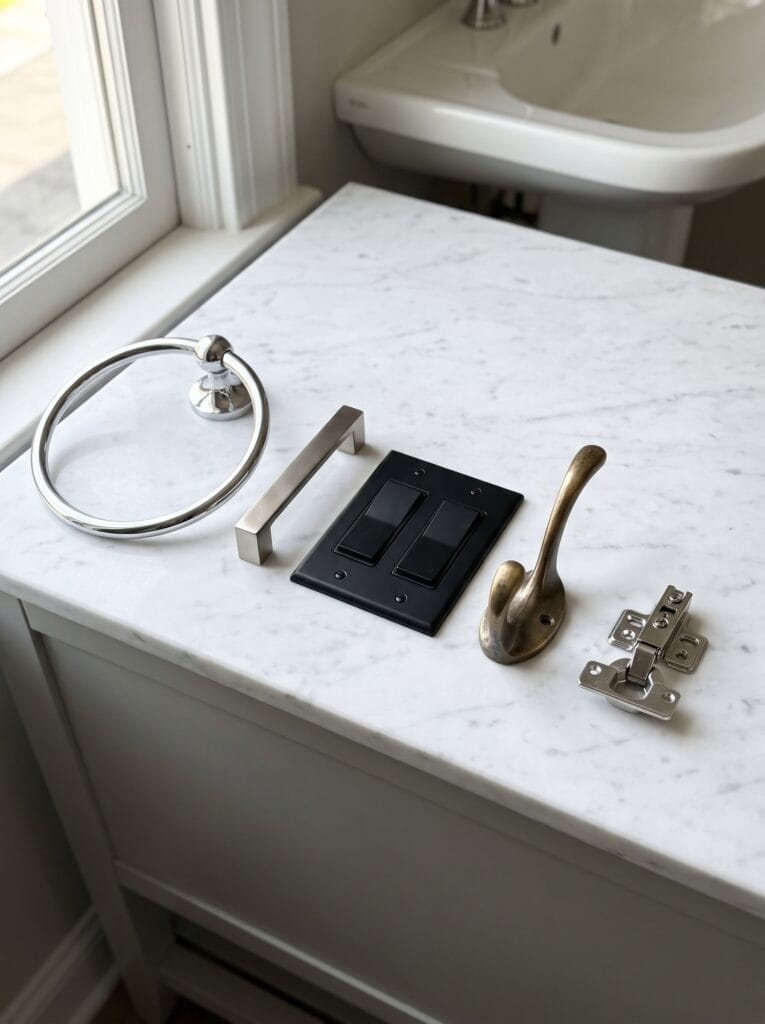
Stand in the bathroom and physically list every metal item you are keeping: towel ring, cabinet pulls, light fixture, shower trim, door handle, and the visible cabinet hinges. Most people find three or four different finishes already sharing the room without ever having made that decision, because each one arrived separately over several years.
Now pick whichever finish appears most often and treat it as the dominant one for the room. Your new faucet either joins that group or deliberately contrasts with it, and what fails is drifting into a fifth unrelated finish because it looked good on its own.
Two finishes in a bathroom reads as a decision, while four reads as an accident that happened slowly over the course of a decade.
Step 4: Choose your texture before your colour
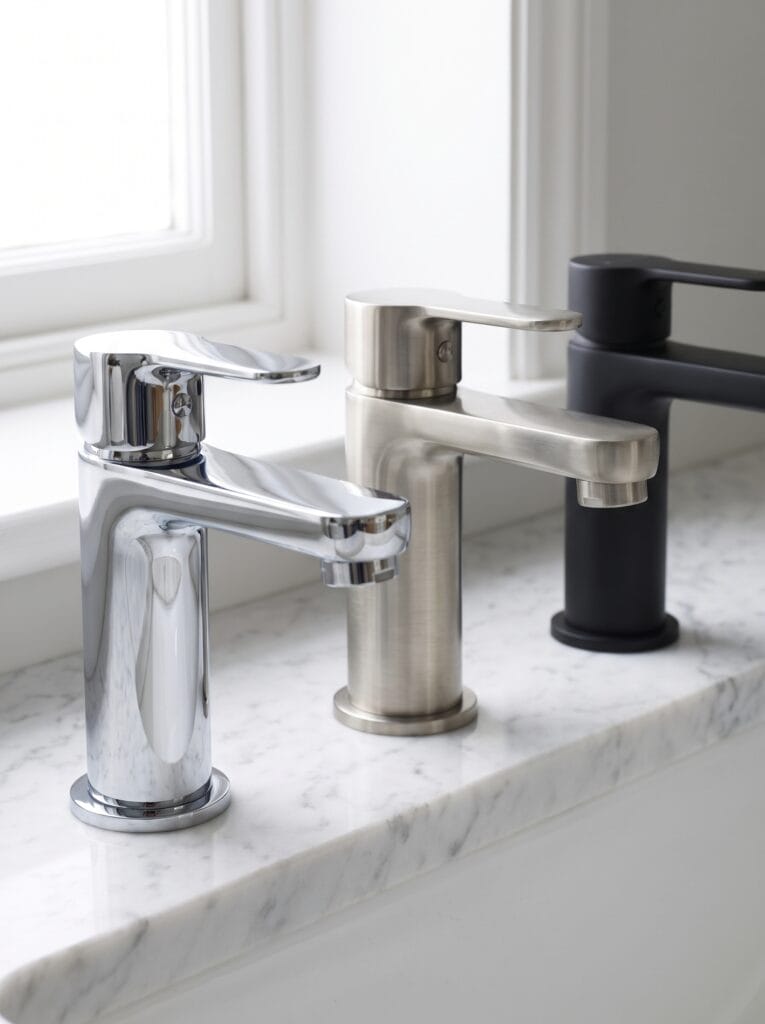
Texture decides how a finish ages, while colour only decides how it looks on the first day. A polished surface reflects light like a mirror, which means every water spot, fingerprint and speck of toothpaste gets reflected right along with the room around it.
Brushed finishes carry a fine directional grain that scatters light and breaks those same marks up before your eye ever registers them as dirt. Matte goes further still and reflects almost nothing, which hides water spots best of all, though it shows greasy fingerprints rather more than most people expect it to.
Choosing the texture first narrows twenty finishes down to about seven in a single decision. If you are set on polished anyway, budget for a microfibre cloth that lives in the bathroom rather than under the sink, because the cloth is the thing that makes polished survivable.
Shop it on Amazon: Microfiber Magic Streak Free Cleaning Cloth 6 Pack
Step 5: Narrow to two finishes with the hard water matrix
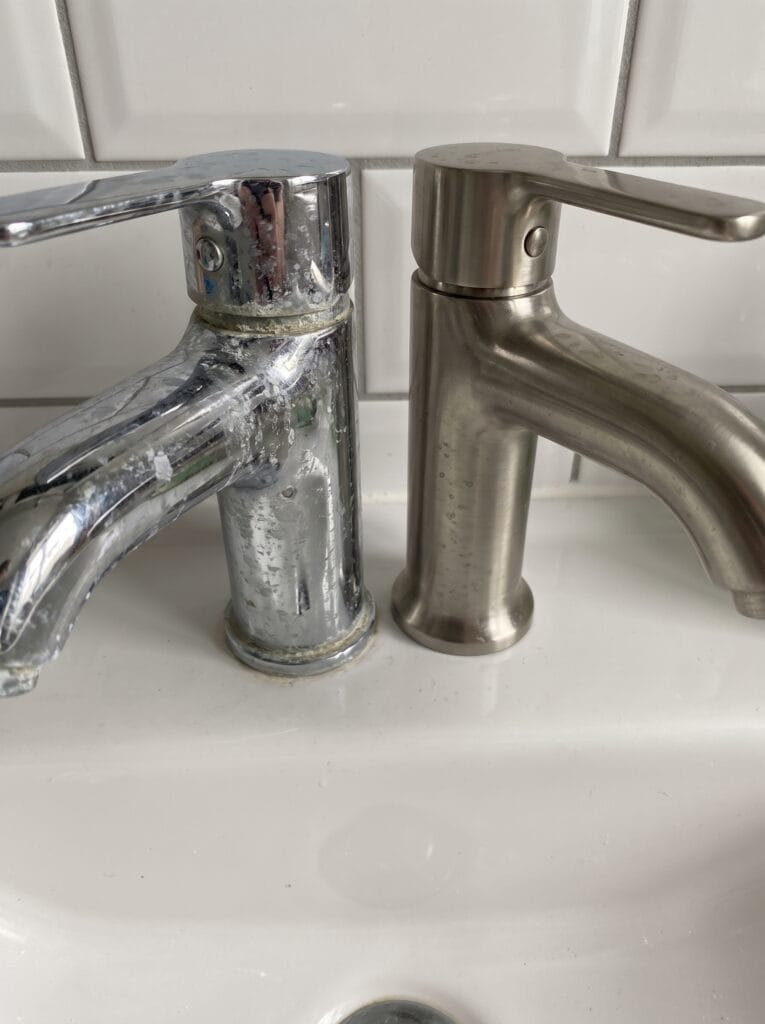
Take the number from step one and run the shortlist through it. Polished chrome and polished nickel show hard water worst, because the white mineral film settles on what is effectively a mirror and has nowhere to hide. Brushed nickel and brushed gold hide the same deposit best, since their grain already breaks up the reflection.
Matte black sits awkwardly in the middle, hiding fingerprints well while showing dried limescale as pale chalky streaks against the dark surface. Oil rubbed bronze and antique brass cope comfortably, largely because their whole appearance is built on uneven tone already, so mineral marks blend into it.
Above 180 parts per million, cross polished chrome off the list entirely unless you genuinely enjoy descaling a tap most weekends.
Step 6: Check the coating, not just the colour
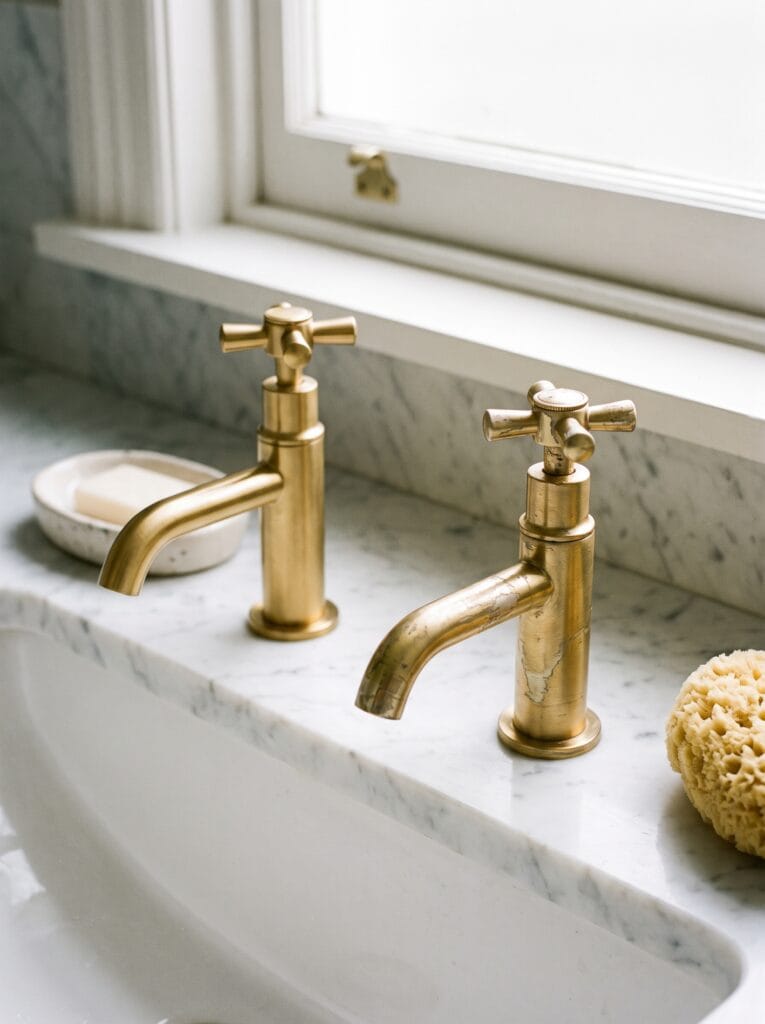
Two faucets in identical brushed gold can be built completely differently underneath, and that difference is what decides whether the colour is still there in five years. The finish is a coating applied over a base metal, which is usually brass and occasionally zinc on the cheaper models.
Physical vapour deposition, sold as PVD, bonds that coating at a molecular level and resists scratching, tarnish and corrosion far better than anything else on the market. Standard electroplating is thinner and wears through at the handle and the spout first, which is precisely where hands make contact with a tap most often.
If a listing does not mention PVD anywhere in its specification, assume it is plated and judge the price against that rather than against the photograph.
Step 7: Decide if you want a living finish or a fixed one
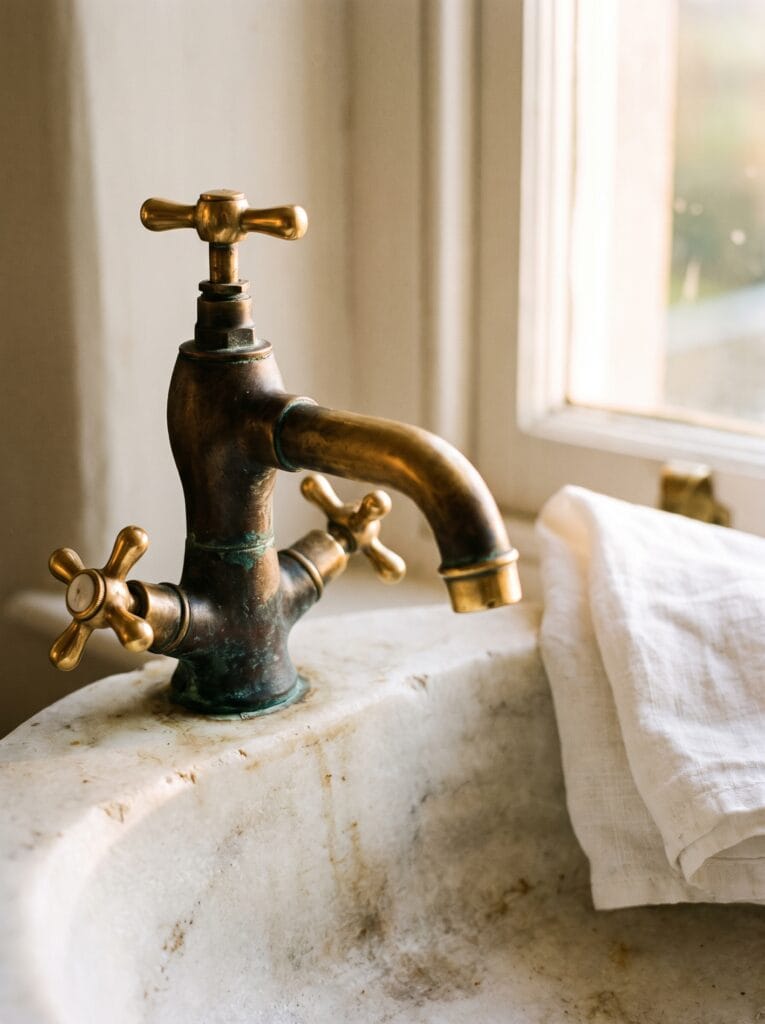
Unlacquered brass and raw bronze are living finishes, which means they are designed to change rather than to stay exactly as they arrived. They darken wherever water sits, brighten wherever hands touch them daily, and eventually develop green verdigris around the base where the tap meets the basin.
Sellers frame this as character, and in the right bathroom it genuinely is character rather than marketing. In the wrong bathroom it is a tap that looked expensive for about four months and now reads as neglected to everybody except the person who chose it. The difference is entirely whether you wanted the change.
Choose a living finish because you actively want the patina, never because you assumed the lacquered version was simply a pricier option. Our guide to a modern black and gold bathroom shows how a fixed warm finish behaves over the same period instead.
Step 8: Buy the faucet first, then commit the rest of the room
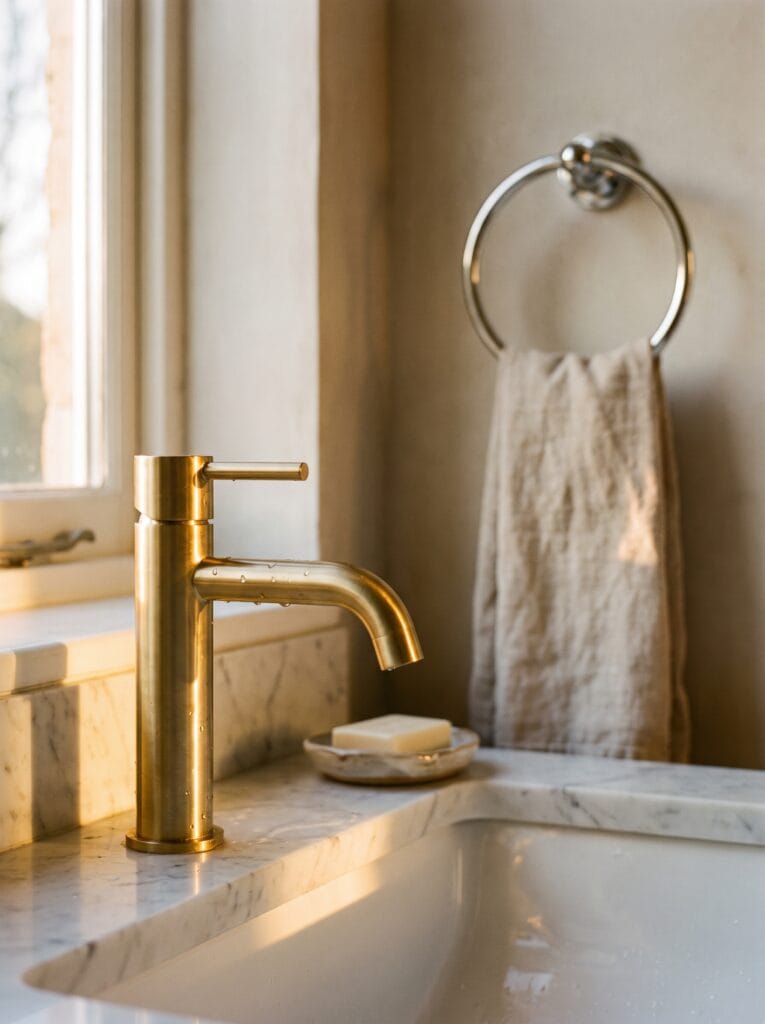
Order the faucet on its own and live with it for a week before you replace the towel bar, the cabinet pulls or the mirror frame. Metal finishes photograph very differently from how they read under your own bathroom lighting, and anything in the gold or brass family shifts the most.
A brushed gold that looked warm and soft on screen can land distinctly yellow under a cool white LED. Seeing it installed for a few days tells you whether to carry that finish through the rest of the room or to stop at the tap and keep everything else deliberately neutral. That week costs nothing at all and prevents the expensive version of this mistake.
Keep the hardness strips afterwards, because a water softener, a house move or a change of supply all move the number. Re-testing takes fifteen seconds and tells you whether these rules still apply.
Shop it on Amazon: Varify Water Hardness Test Kit
What to do if you want polished chrome in hard water anyway
Sometimes the room genuinely calls for polished chrome and no amount of hardness data is going to change your mind about that. It is a perfectly legitimate choice, but it arrives with a maintenance contract attached rather than a warning label.
Keep a microfibre cloth within arm’s reach of the basin and dry the tap after the last use of the morning, which takes about four seconds and stops the deposit forming at all. Descale properly once a month instead of scrubbing at it weekly, because limescale dissolves with mild acid and does not respond to effort.
Polished chrome in hard water is entirely possible, it is simply the one finish that asks something of you every single day.
Start with the test strip, not the showroom
The order is what makes this work, rather than the finish list itself. Your hardness number rules out the finishes that will quietly frustrate you, your traffic and cleaning habits then choose the texture, and only after that does colour become a free choice rather than a gamble.
Most people run it backwards, picking a colour from a photograph and discovering the water problem several months later. That is precisely why the second faucet somebody buys for a bathroom almost always outlives the first one by years.
For more on getting the permanent parts of a bathroom right the first time, browse our full materials, fixtures and layout collection.
Found this useful? Save the pin so you have your hardness number with you when you are standing in the aisle.