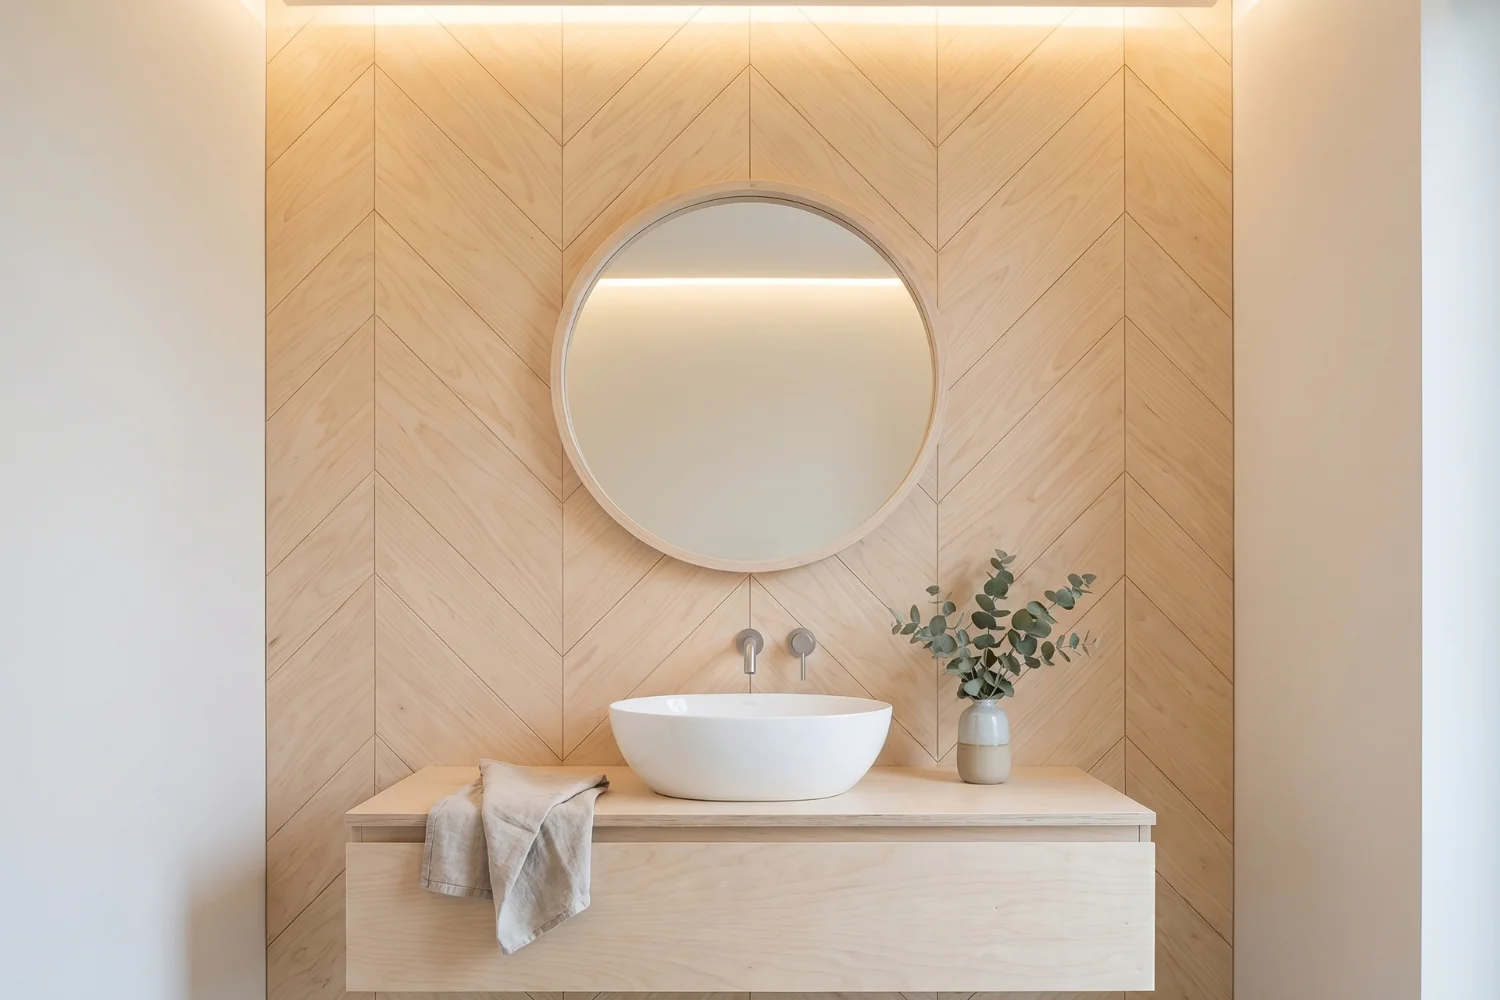
How to Build a DIY Bathroom Wood Accent Wall
You stare at that blank wall behind your toilet every single morning, and every morning it looks the same — flat, forgettable, and slightly depressing. Here’s what most DIY tutorials won’t tell you: the reason so many wood accent walls in a bathroom fail isn’t the wood choice or the pattern. It’s moisture. Bathrooms are humid environments, and skipping one sealing step can turn your weekend project into a peeling, warping mess within six months.
A DIY bathroom wood accent wall is one of the fastest ways to make a bathroom feel completely different — vertical slats, shiplap, board and batten, herringbone — and you can genuinely finish most styles in a single day for under $50. But you need the right materials, the right prep, and a realistic plan for your specific wall.
This guide covers every style, the exact tools you’ll need, moisture-proofing steps competitors skip, and budget hacks that actually hold up. Let’s build something worth keeping.
Pick Your Style Before You Pick Your Wood
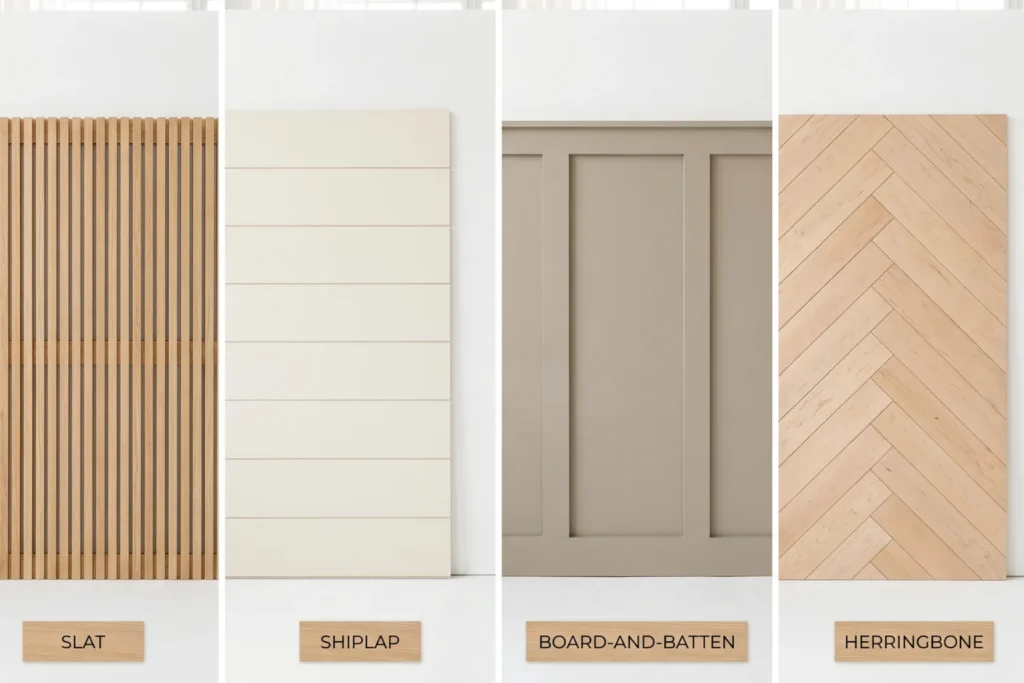
The biggest mistake isn’t choosing the wrong wood — it’s buying materials before deciding on a pattern, then forcing the wood to fit a style it wasn’t cut for.
Every accent wall pattern has different material requirements. Vertical slats need uniform-width boards. Herringbone requires precise 45-degree cuts. Shiplap works best with tongue-and-groove or overlapping planks. If you buy a stack of 1×4 pine boards and then decide you want herringbone, you’ll waste half the wood on cuts.
Here’s a quick breakdown of the four most popular styles:
- Vertical slats — Modern, airy, works in small bathrooms. Requires evenly spaced 1×2 or 1×3 boards.
- Shiplap — Horizontal planks with a slight gap. Best for farmhouse or coastal vibes.
- Board and batten — Flat base panel with raised vertical strips. Adds architectural depth.
- Herringbone — V-shaped pattern using short wood strips. Most labor-intensive but highest visual impact.
Decide your pattern first. Then buy your wood. The order matters more than people think.
Gather These Tools — Nothing Fancy Required
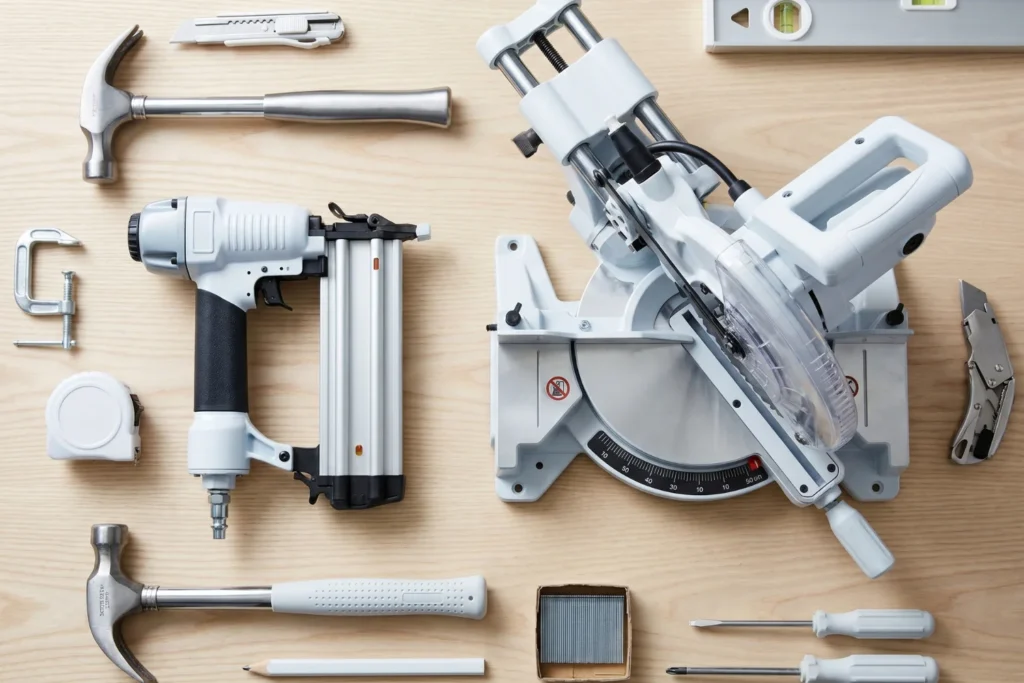
You don’t need a workshop full of power tools — a miter saw, a brad nailer, a level, measuring tape, construction adhesive, and 120-grit sandpaper will cover 90% of bathroom accent wall projects.
I built my first slat wall with a borrowed 10-inch miter saw and a $40 cordless brad nailer from a big-box store. That nailer paid for itself three projects later. If you don’t own a miter saw, most Home Depot and Lowe’s locations will make straight cuts for free — just bring your measurements.
Here’s what you actually need:
- [ ] Miter saw or circular saw (or free in-store cuts)
- [ ] Brad nailer or finish nail gun (18-gauge)
- [ ] Level (a 4-foot level is ideal)
- [ ] Measuring tape and pencil
- [ ] Construction adhesive (Liquid Nails Fuze*It handles moisture well)
- [ ] 120-grit sandpaper
- [ ] Stud finder
- [ ] Painter’s tape
Quick Answer: Basic tools for a DIY bathroom wood accent wall include a miter saw, brad nailer, level, stud finder, measuring tape, construction adhesive, and sandpaper. Most projects require no specialized equipment, and many stores offer free lumber cuts.
With tools sorted, the next step is the one that separates accent walls that last from ones that warp within months.
Prep the Wall First or Regret It Later
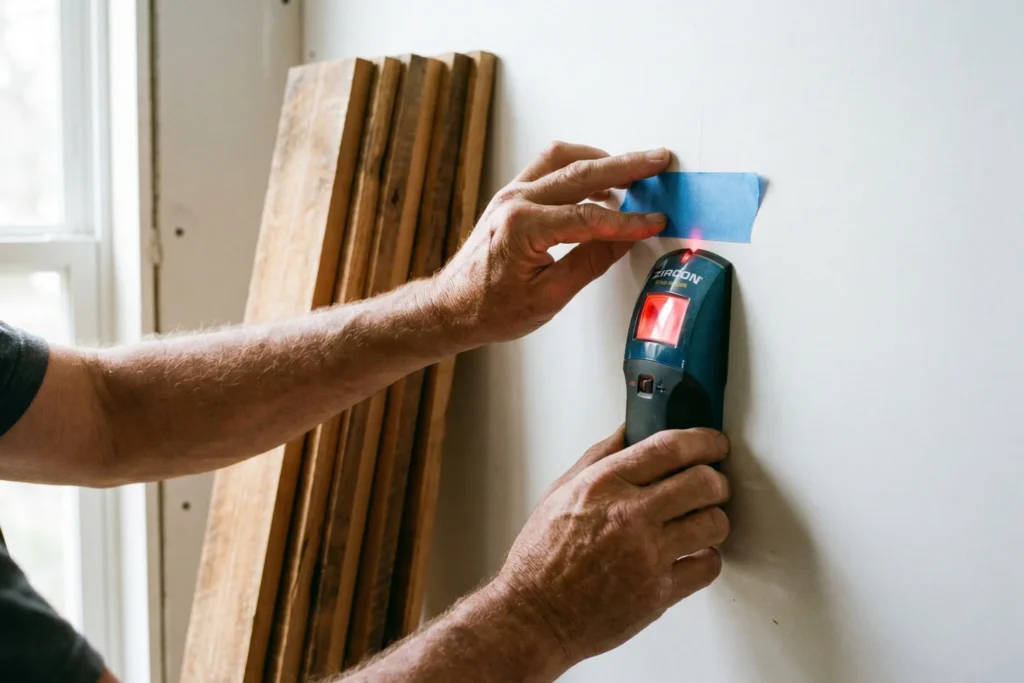
Skipping wall prep is the number-one reason DIY accent walls buckle, separate, or grow mold behind the boards — and it takes only 30 extra minutes to do it right.
Start by finding your studs and marking them with painter’s tape. Nailing into studs gives structural hold that adhesive alone can’t match, especially in a bathroom where humidity loosens glue over time. Use your stud finder to mark every stud across the wall.
Next, check the wall for moisture issues. Run your hand along the surface. If the drywall feels soft or shows any discoloration, address that before covering it with wood. According to the EPA’s guide on moisture control, persistent bathroom humidity above 60% accelerates mold growth behind wall coverings.
Sand any bumps or texture. If your wall has orange-peel or knockdown texture, the boards won’t sit flat. A quick pass with 120-grit sandpaper and a wipe-down with a damp cloth creates a clean bonding surface.
“Thirty minutes of prep saves you from redoing the entire wall six months later.”
Save this: Prep your wall by finding studs, checking for moisture, and sanding texture flat — it’s the most skipped step and the most important one.
Now that your wall is prepped, let’s start with the most popular style on Pinterest right now.
Build a Vertical Slat Wall for Modern Clean Lines
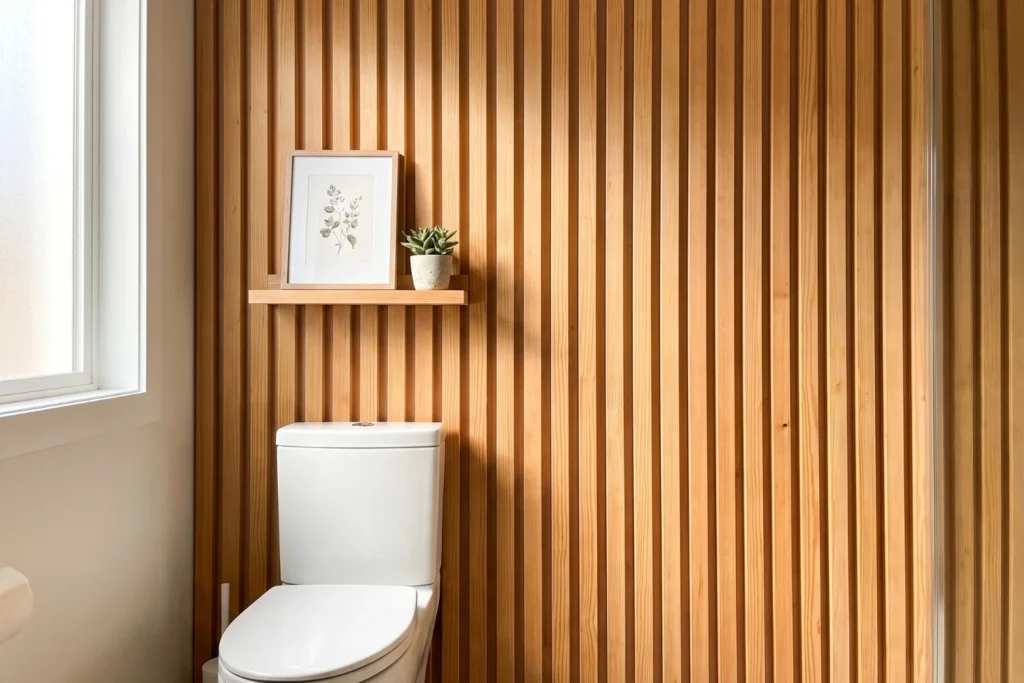
A vertical slat wall uses evenly spaced 1×2 or 1×3 boards mounted vertically from floor to ceiling, creating a modern ribbed texture that makes ceilings look taller and small bathrooms feel wider.
This is the style blowing up on TikTok and Instagram Reels right now, and there’s a reason: it’s fast, forgiving, and looks expensive. I installed a vertical slat wall in my half bath last spring using 8-foot 1×2 common pine boards from Lowe’s — $1.98 each. The whole wall cost me $38 in lumber.
Here’s the process:
- [ ] Cut boards to your wall height minus ¼ inch for expansion
- [ ] Sand each board lightly and apply one coat of polyurethane or paint
- [ ] Apply a bead of construction adhesive to the back of each board
- [ ] Press board to the wall and secure with two brad nails into studs
- [ ] Use a spacer (a scrap piece of ¾-inch wood works perfectly) between each slat
The spacer trick is everything. It guarantees uniform gaps without measuring every single board. If your spacing works well with the wall behind your toilet, you’re also working with one of the most popular spots for this project — more on that below.
Quick Answer: To build a vertical slat wall, cut 1×2 pine boards to wall height, sand and seal them, then attach with adhesive and brad nails into studs using a ¾-inch spacer for even gaps. Total cost: under $40.
Try Shiplap for Farmhouse Warmth Without the Fuss
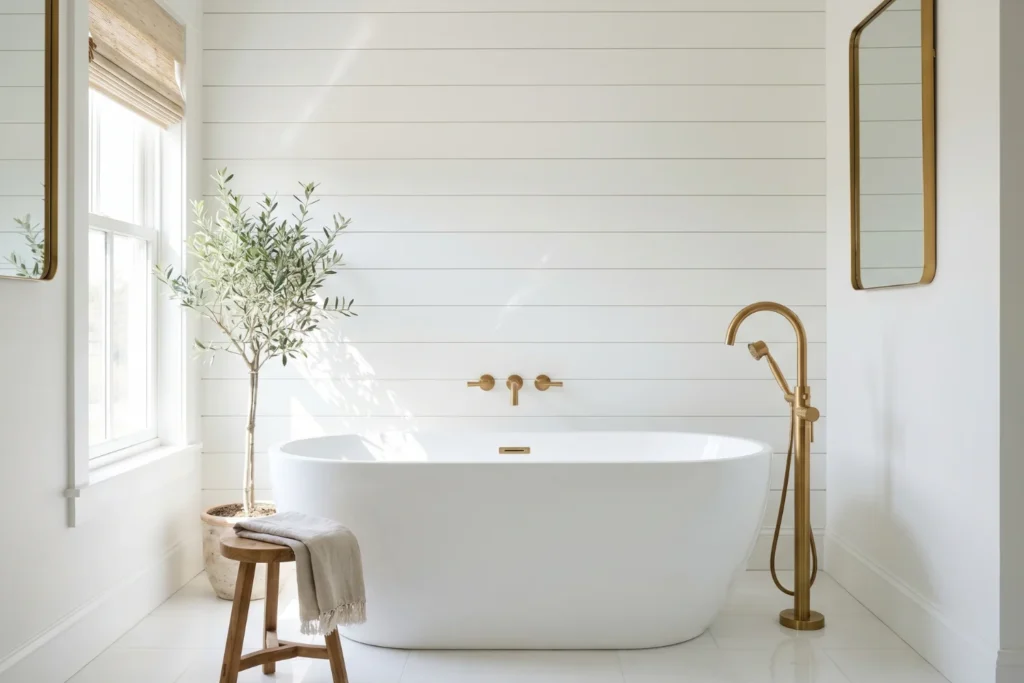
Shiplap accent walls use horizontal overlapping planks — typically 1×6 or 1×8 boards — installed with a nickel-width gap for that classic farmhouse look that works in bathrooms of any size.
The key misconception about shiplap? You don’t need actual tongue-and-groove shiplap boards. Standard 1×6 pine boards with a nickel placed between each row give the same visual effect for a fraction of the cost. If you’re working in a small bathroom, check out 20 Actionable Small Bathroom Ideas for a Bigger Feel & Better Function for ways to pair shiplap with other space-maximizing tricks.
- Paint your boards before installation — it’s infinitely easier than painting them on the wall
- Start from the bottom and work up, checking level every third row
- Use a nickel or dime as your gap spacer between rows
- Stagger your board joints so seams don’t line up vertically
Shiplap is forgiving. Herringbone is not. But if you want the most dramatic result for your effort, the next pattern delivers.
Use Board and Batten for Instant Architecture
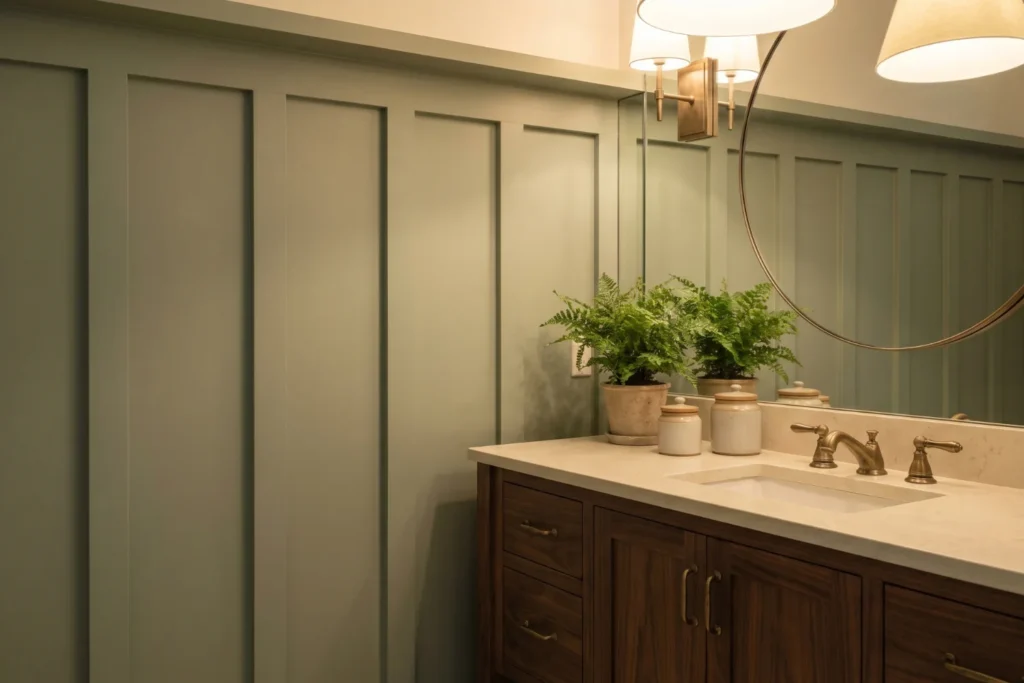
Board and batten creates the illusion of architectural millwork by layering thin vertical battens over a flat base panel — making a builder-grade bathroom look custom for under $50 in materials.
This style works particularly well in bathrooms because the flat base panel (usually ¼-inch plywood or even the existing wall) provides a moisture barrier behind the decorative battens. The vertical lines draw the eye upward, which is why designers use this pattern in bathrooms with standard 8-foot ceilings.
- [ ] Install a flat base panel or use existing smooth drywall
- [ ] Cut 1×2 or 1×3 battens to height
- [ ] Space battens 12–16 inches apart (measure your wall width and divide evenly)
- [ ] Attach with adhesive and brad nails
- [ ] Add a horizontal rail at the top and bottom for a finished frame
- [ ] Run a bead of paintable caulk along every seam where the batten meets the wall before you paint — it blends the trim into the wall and is what separates a DIY job from a built-in one
“Board and batten turns a $3 piece of trim into a $3,000 look.”
Save this: Board and batten uses simple vertical strips over a flat base to create the look of custom millwork — under $50 and one afternoon.
Go Herringbone for a High-End Look on a Budget
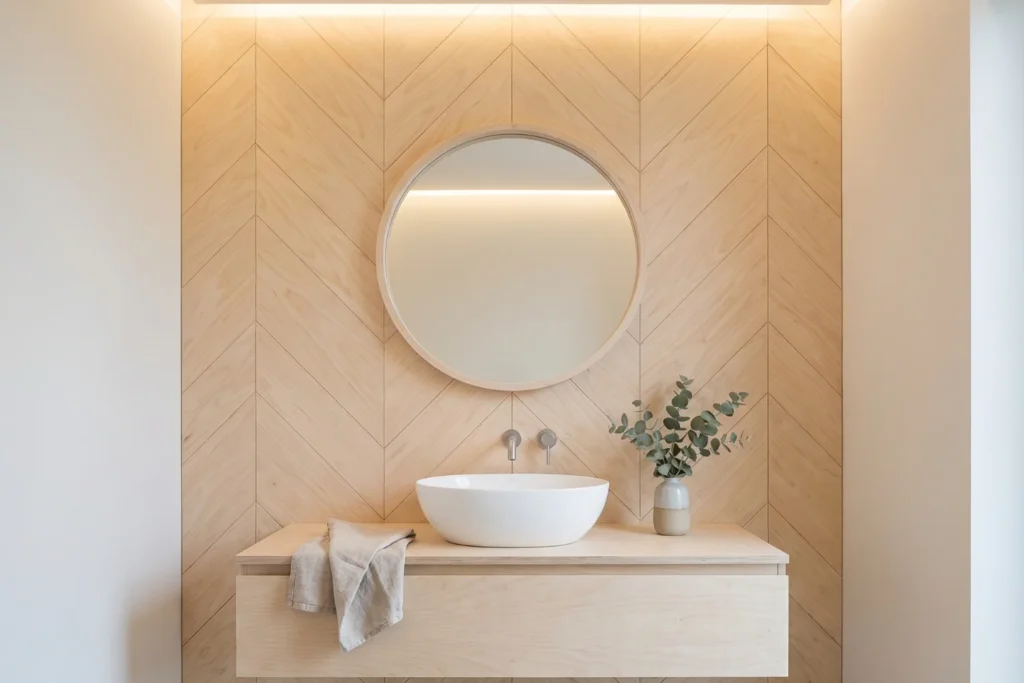
A herringbone pattern arranges short wood strips at alternating 45-degree angles to create a dramatic V-shaped design — the most visually striking accent wall style and the one most likely to get compliments.
Here’s the thing: herringbone looks complicated, but the actual technique is repetitive once you nail the first row. The challenge is precision in your cuts. Every piece needs a clean 45-degree angle, and sloppy cuts compound across the pattern.
I recommend using ¼-inch plywood ripped into 3-inch-wide strips. A full 4×8 sheet of birch plywood costs about $25 and yields enough strips for a standard toilet wall. Cut each strip to 12 inches, angle both ends at 45 degrees, and you’re ready.
- Start with a vertical center line on the wall
- Build outward from the center, alternating angles
- Use construction adhesive generously — herringbone pieces are small and need hold
- Pin each piece with a brad nail while adhesive sets
Quick Answer: Build a budget herringbone wall using ¼-inch plywood cut into 3×12-inch strips with 45-degree ends. Start from a center line, alternate angles outward, and secure with adhesive plus brad nails. One plywood sheet covers a standard accent wall.
The pattern gets all the attention. But the step that keeps it looking good a year later? That’s what separates the Pinterest-worthy projects from the Pinterest fails.
Seal the Wood Properly — This Is the Step Everyone Skips
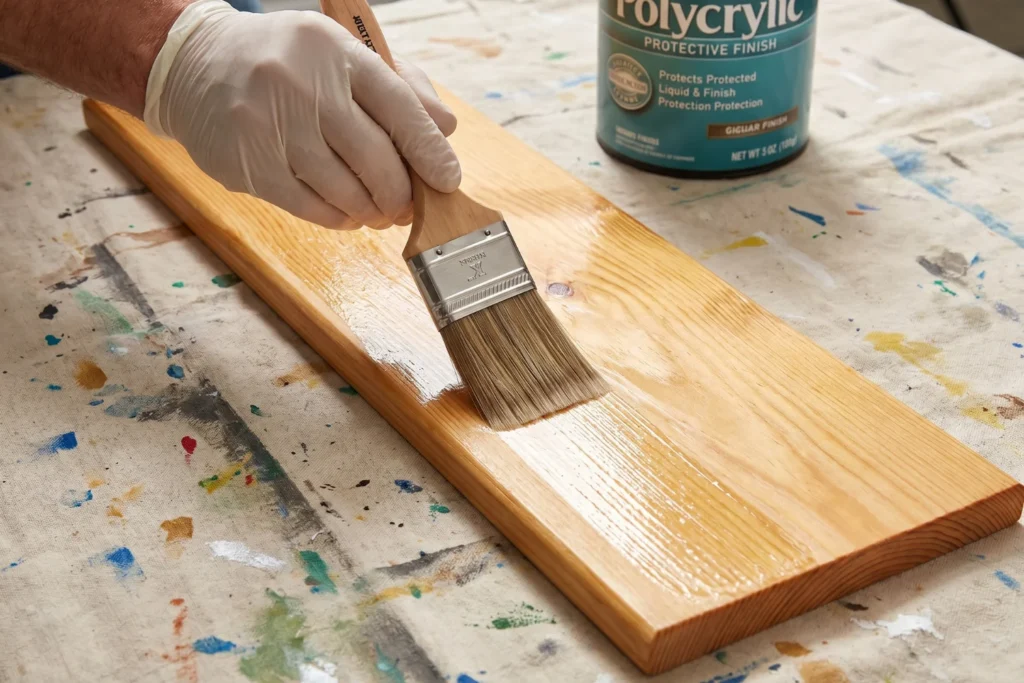
Unsealed wood in a bathroom absorbs moisture from every shower, every bath, and every humid morning — and within 3–6 months, it warps, yellows, or grows mold behind the boards where you can’t see it.
This is the gap in almost every TikTok and YouTube tutorial out there. They show the satisfying installation montage but skip the moisture protection entirely. In a bathroom, sealing isn’t optional. It’s structural.
Your sealing options, ranked by effectiveness:
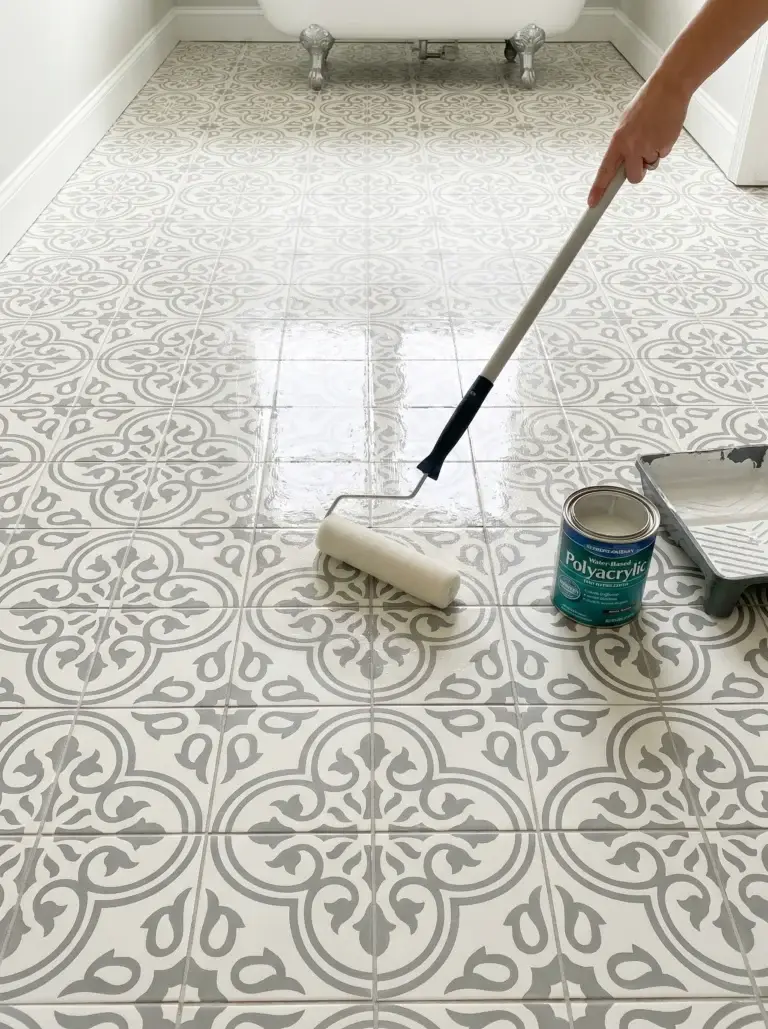
- Polycrylic (water-based) — Best all-around choice. Won’t yellow, dries fast, low odor. Apply 2 coats minimum.
- Polyurethane (oil-based) — More durable but yellows over time, especially on white-painted wood. Better for natural-finish wood.
- Exterior-grade paint with primer — If you’re painting your boards, use a kitchen/bath primer like Zinsser 1-2-3 followed by a satin or semi-gloss paint.
- Marine-grade sealant — Overkill for most bathrooms, but worth considering for walls directly adjacent to a shower.
Seal all six sides of every board — front, back, edges, and ends — before installation. The back face matters most because trapped moisture behind an unsealed board is where mold starts.
“Seal the back of every board. If you only seal the front, moisture gets trapped behind it — and that’s where the real damage starts.”
Save this: Always seal ALL six sides of every board before mounting — back side moisture is what causes warping and hidden mold.
With sealing handled, let’s talk about the single most popular spot people are putting these walls.
Put Your Bathroom Wood Accent Wall Behind the Toilet First
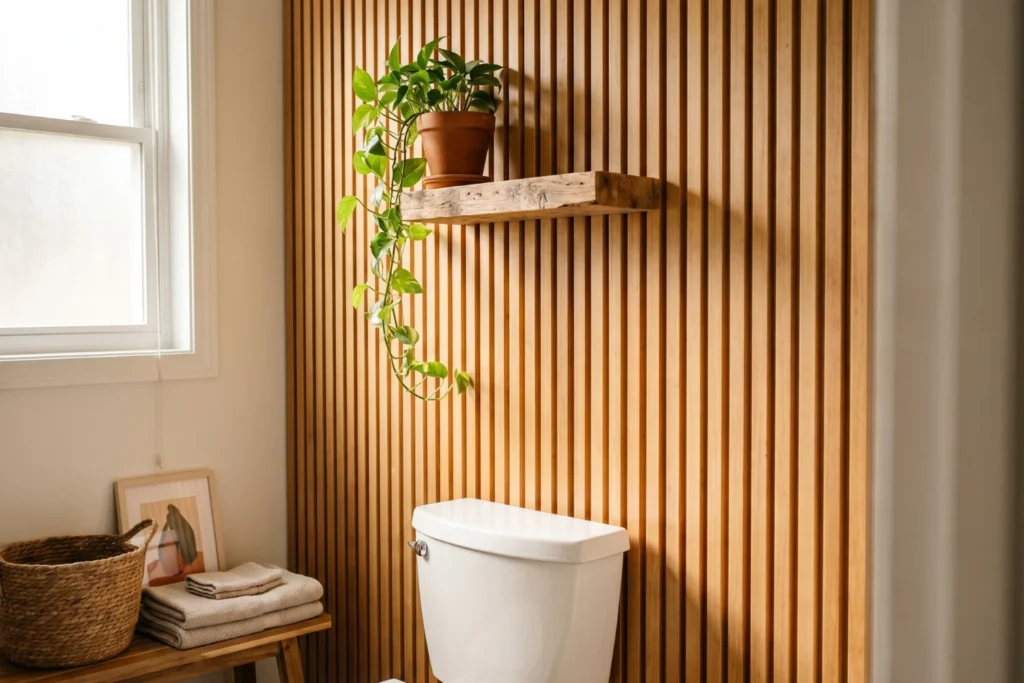
The wall behind a toilet is the most popular location for a DIY bathroom wood accent wall because it’s small (usually 30–48 inches wide), requires fewer materials, and creates the biggest visual punch per dollar.
One Pinterest creator spent less than $50 by using scrap wood and ripping 1x2s in half — and her behind-the-toilet wall became one of the most-saved bathroom pins of the year. That’s the power of a focused project: small wall, big result, minimal commitment.
Why this spot works so well:
- It’s typically the first thing you see when the door opens
- The small footprint means you can finish in 2–3 hours
- It’s far enough from the shower to reduce moisture concerns
- Mistakes are lower-stakes — you’re covering maybe 10 square feet
If your bathroom is genuinely tiny and you’re rethinking the whole layout, 15 Proven Small Bathroom Remodel Ideas That Make Any Tiny Space Feel Huge covers that from every angle.
Quick Answer: Behind the toilet is the best starting spot for a bathroom accent wall — it’s small (about 10 square feet), inexpensive to cover, and creates a strong focal point with minimal materials and time.
Add Hooks or Shelves to Make It Functional
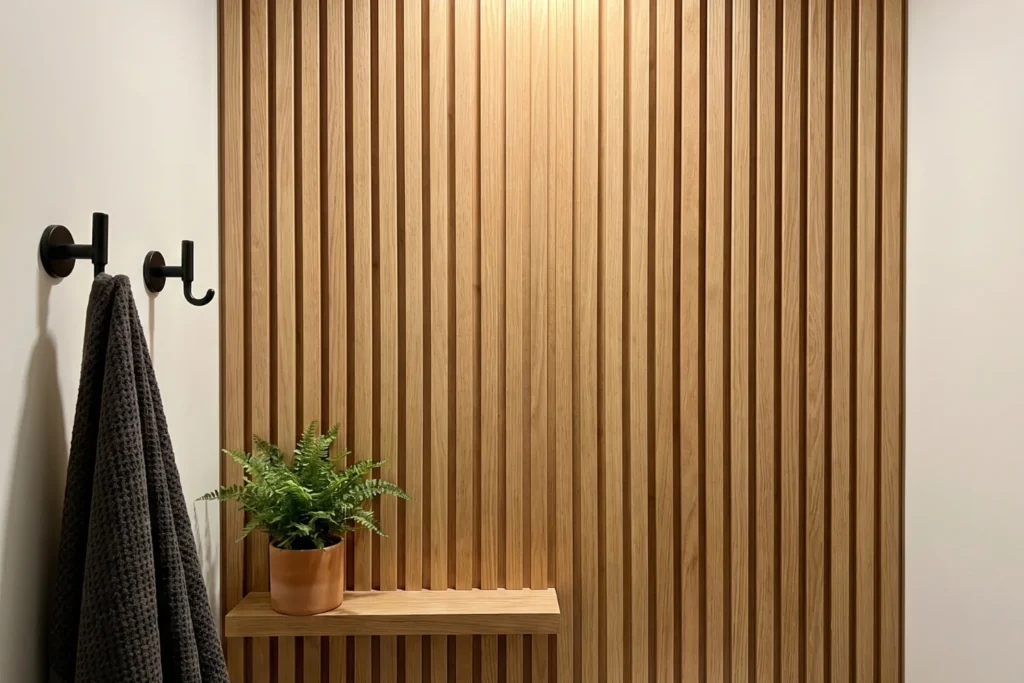
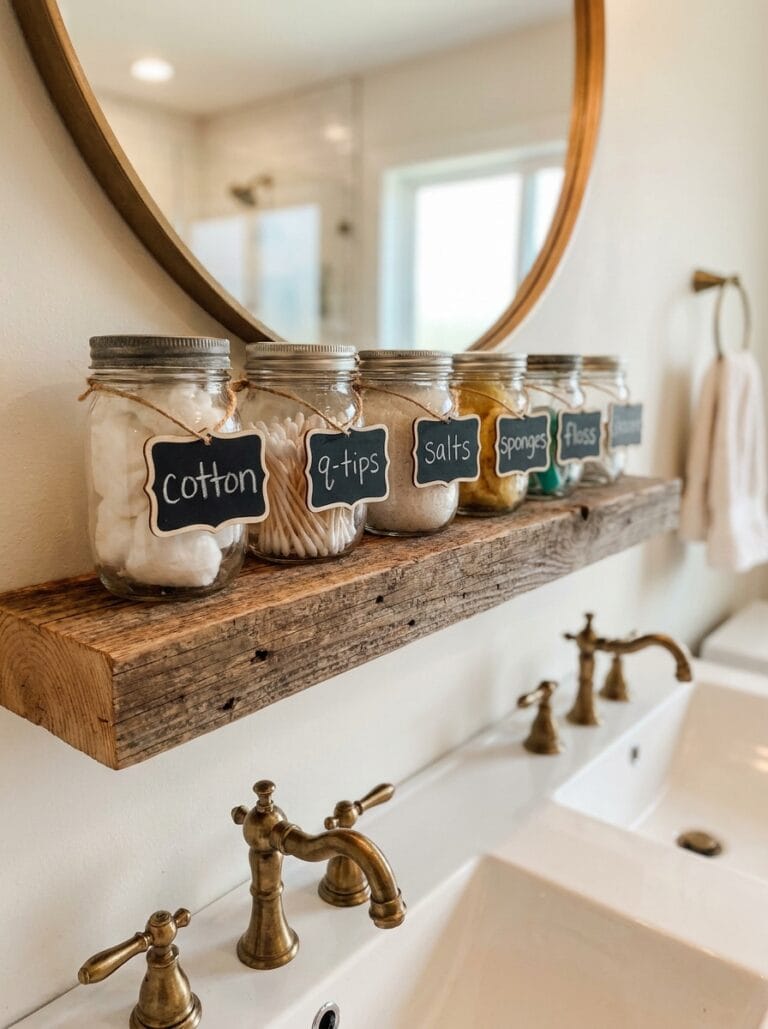
A wood accent wall that also holds towel hooks, a floating shelf, or a small plant ledge does double duty — it looks intentional and solves the “where do I hang things” problem every bathroom has.
This is where your accent wall stops being decorative and starts earning its square footage. Install hooks directly into the wood (which is already secured to studs), and you’ve got a towel rack that looks built-in. Add a slim floating shelf 18 inches above the toilet, and suddenly there’s a spot for a candle, a small plant, or extra toilet paper that doesn’t involve a freestanding rack.
- Towel hooks: Mount at 54–60 inches from the floor. Matte black or brushed brass finishes photograph well and resist water spots.
- Floating shelf: 24–36 inches wide, 5–6 inches deep. Mount with concealed brackets for a clean look.
- Plant ledge: A narrow 3-inch wood strip at eye level holds small trailing plants beautifully against slat walls.
Save this: Mount towel hooks and a floating shelf directly onto your accent wall for built-in style that solves storage problems too.
FAQ
What is the cheapest way to do a wood accent wall in a bathroom?
The cheapest approach depends on your access to tools. If you own a table saw, ripping 1×2 boards in half doubles your material yield. Otherwise, standard 1×2 common pine boards at $1.50–$2.00 each cover a small wall for under $40. Laminate flooring planks from clearance bins are another option — they’re pre-finished and moisture-resistant.
What type of wood is best for a bathroom accent wall?
The best option depends on your budget and style. Pine is cheap and takes paint or stain beautifully. Cedar has natural moisture resistance and smells incredible but costs 3–4x more per board. Birch plywood is ideal for herringbone because it cuts cleanly and resists splitting. Avoid MDF in bathrooms unless fully sealed on every surface.
Can you put a wood accent wall behind a toilet?
Behind the toilet is ideal for a first accent wall project. The wall is small, visible from the doorway, and far enough from the shower to reduce moisture risk. Many Pinterest and TikTok creators specifically target this wall because it delivers maximum visual impact with minimum materials.
How do you make a herringbone wood wall on a budget?
Herringbone becomes affordable when you use plywood instead of individual boards. One 4×8 sheet yields enough strips for a standard toilet wall. The critical step is cutting precise 45-degree angles — a miter saw makes this easy. Stain or paint the strips before installation to avoid tedious detail work on the wall.
Your DIY Bathroom Wood Accent Wall, Finished
You spend the first and last minutes of every day in your bathroom. It deserves more than blank drywall and builder-grade indifference. A wood accent wall isn’t about trends or resale value — it’s about making a room you actually use feel like it was made for you.
Start small. Start today.
- [ ] Measure the wall behind your toilet this evening
- [ ] Pick one style from this guide and screenshot it
- [ ] Price out your lumber at your nearest home center this weekend
One DIY bathroom wood accent wall. One afternoon. Under $50. That’s all it takes to change how your bathroom feels every morning.
Save this article to your bathroom ideas board so you always have it when you’re ready.
You’ll Also Love
- 20 Actionable Small Bathroom Ideas for a Bigger Feel & Better Function
- Bathroom Ideas on a Budget That Actually Look High-End
- 15 Proven Small Bathroom Remodel Ideas That Make Any Tiny Space Feel Huge
- 15 Bathroom Ideas on a Tight Budget That Actually Look High-End