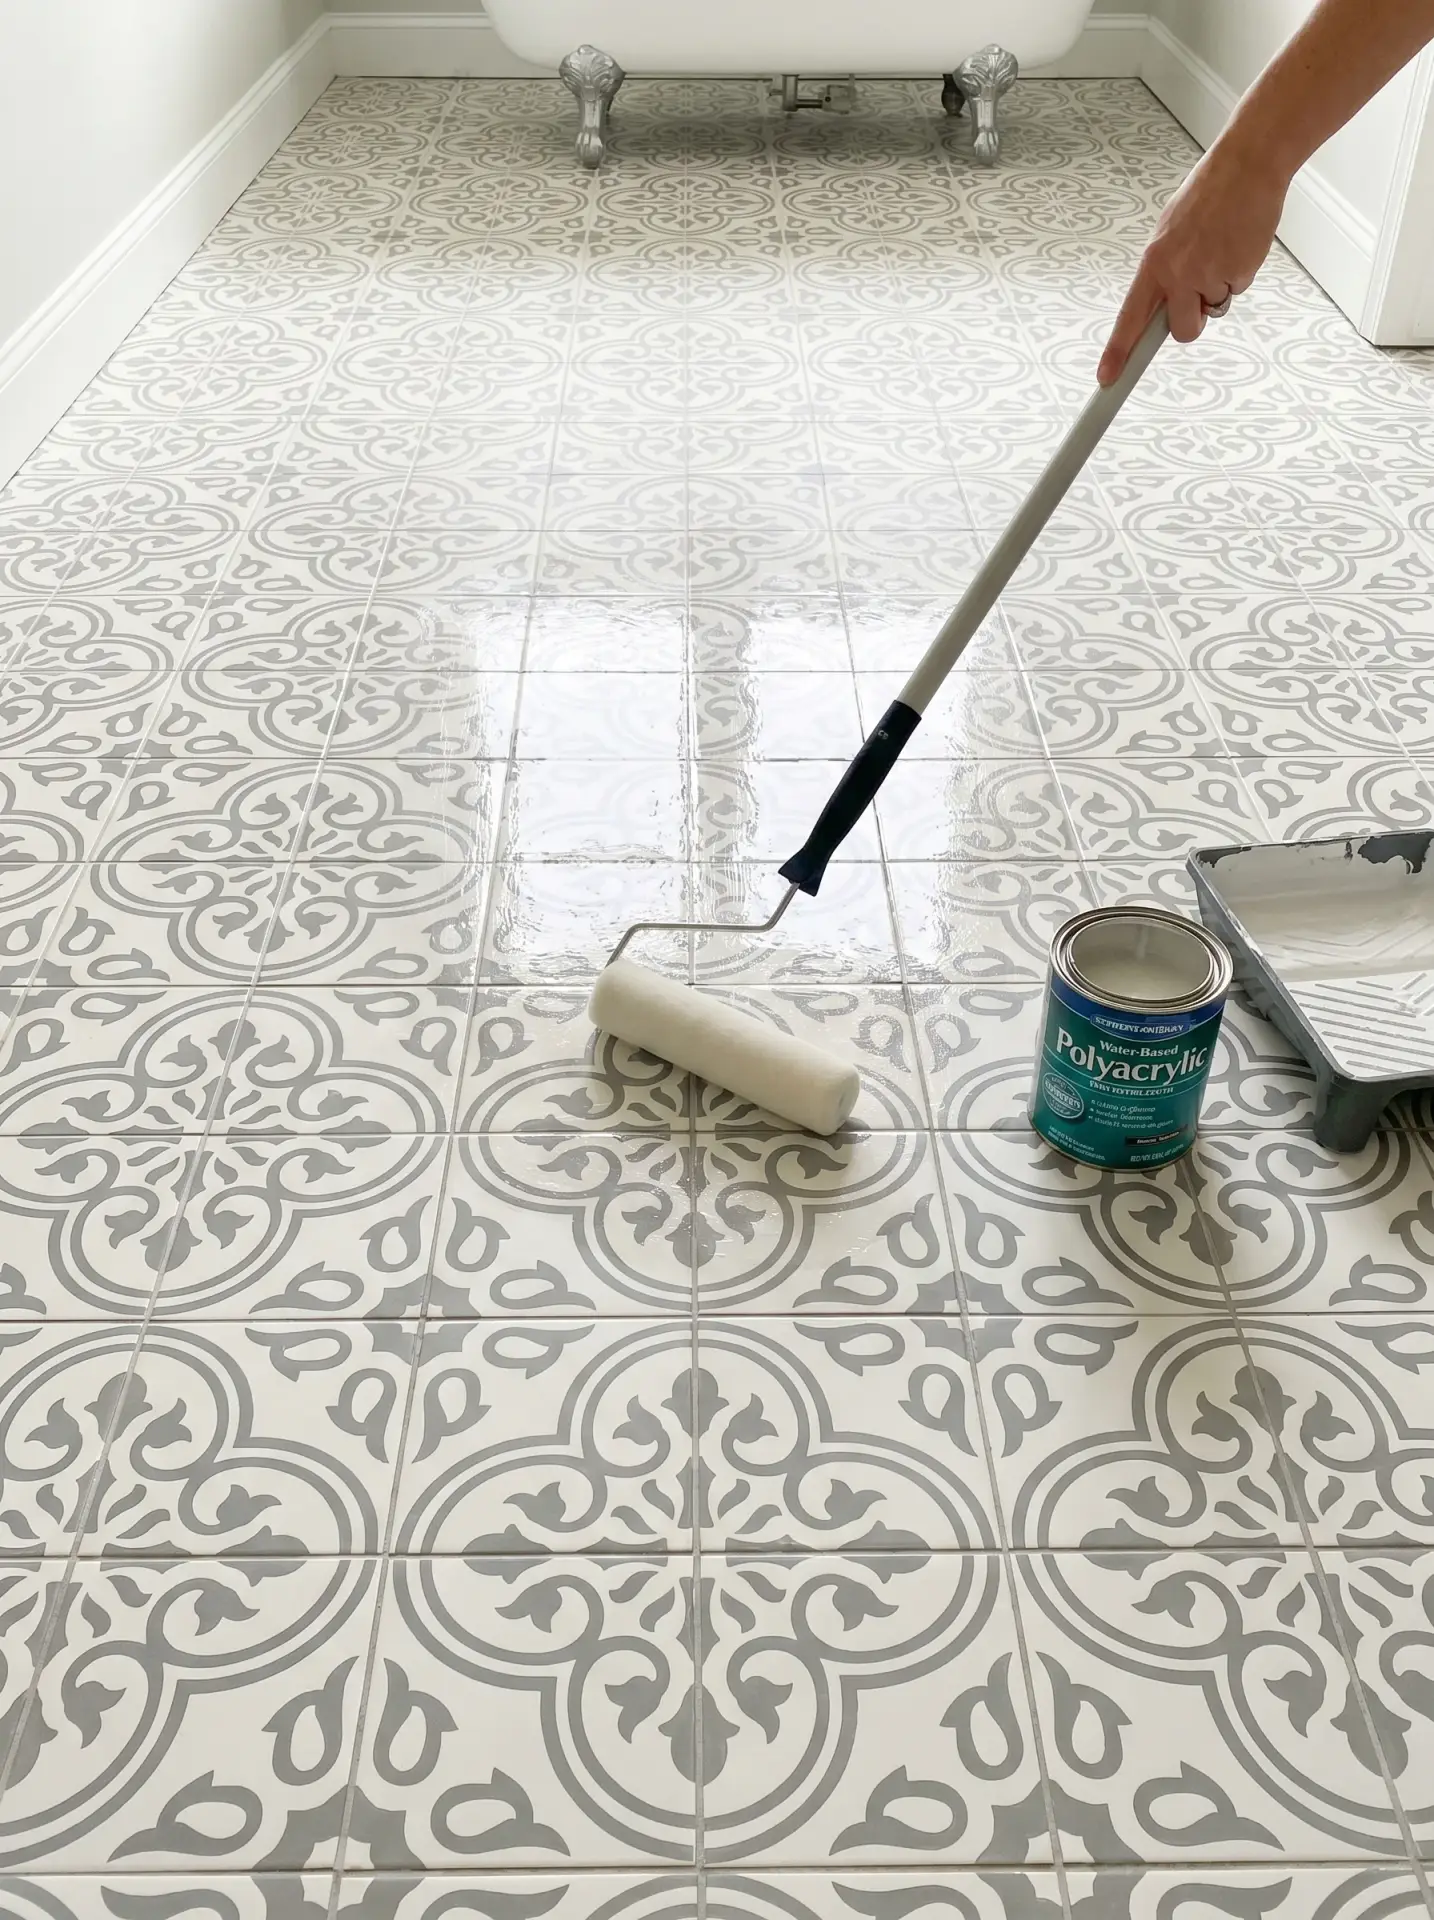
How to Stencil Your Bathroom Floor Tiles for Under $60
You hate your bathroom floor. Every morning it’s the same dated tile and the same little sigh. Ripping it out and retiling costs thousands you don’t have, so the floor stays ugly and you keep pretending it’s fine.
Nobody tells you the cheap way out. For the price of a quart of paint, a stencil, and one focused weekend, that same floor can pass for hand laid cement tile. The whole job comes in under sixty dollars, and when it’s done right, people assume you hired someone.
Shopping list, about $55 total Chalk paint, one quart: $18 Stencil: $12 to $18 Foam roller: $3 Stencil brush: $3 Bonding primer: $12 Floor sealer: $15
If you already own a roller and some painter’s tape, you’ll come in under $50.
Affiliate disclosure: this post has affiliate links. Buy through one and I earn a small commission, at no extra cost to you. I only point you to stuff I’d actually put on my own floor.
What you actually spend, and how far it goes
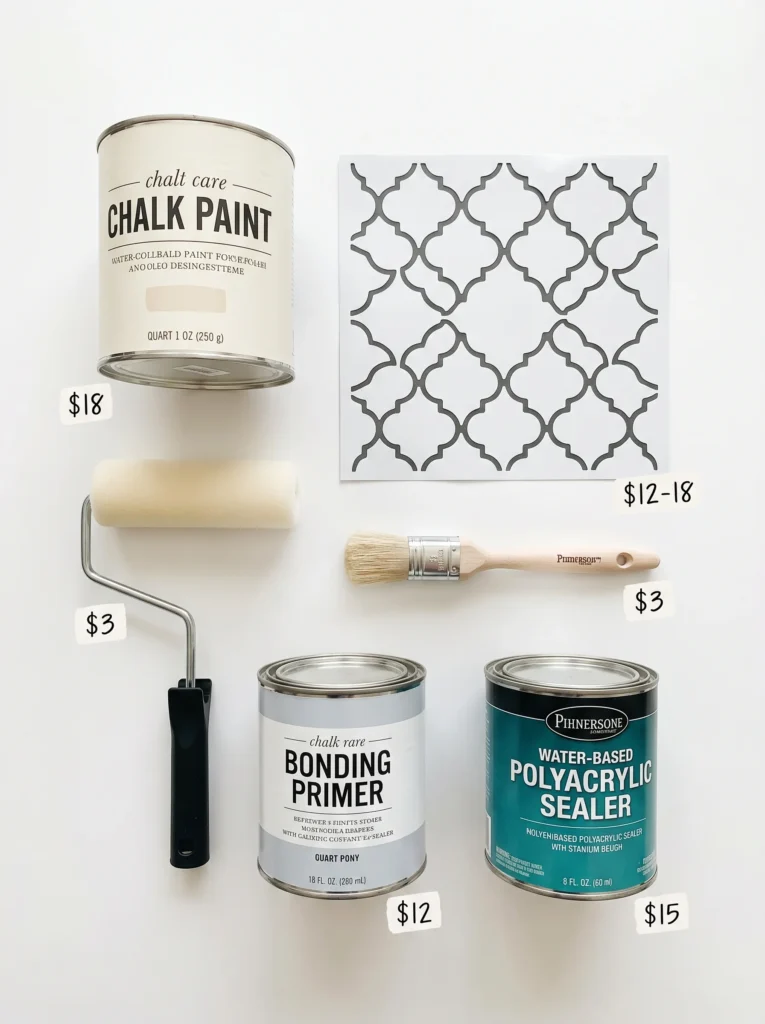
A quart of chalk paint costs around eighteen dollars and covers about seventy five square feet over two coats. Most small bathroom floors run thirty to fifty square feet, so a single quart handles your base color with some to spare.
Everything else is cheap. The stencil is your next biggest line at twelve to eighteen dollars, the roller and stencil brush are a few bucks together, primer’s another twelve, and the sealer lands around fifteen to twenty. That puts the whole thing near fifty five, which is where the honest title comes from.
Only two of those purchases actually decide whether the floor survives: the bonding primer and the floor grade sealer. Skimp on either one and the paint peels inside a month. Everywhere else you can buy the cheap version, but not here.
If your floor runs past sixty square feet, buy a second quart of paint and a second stencil, because you’ll end up cutting one up for the edges anyway.
One more idea while the room sits empty and curing: a DIY wood accent wall costs about the same as this whole project and makes the new floor look twice as good.
Why painted floors peel at the grout, not in the middle
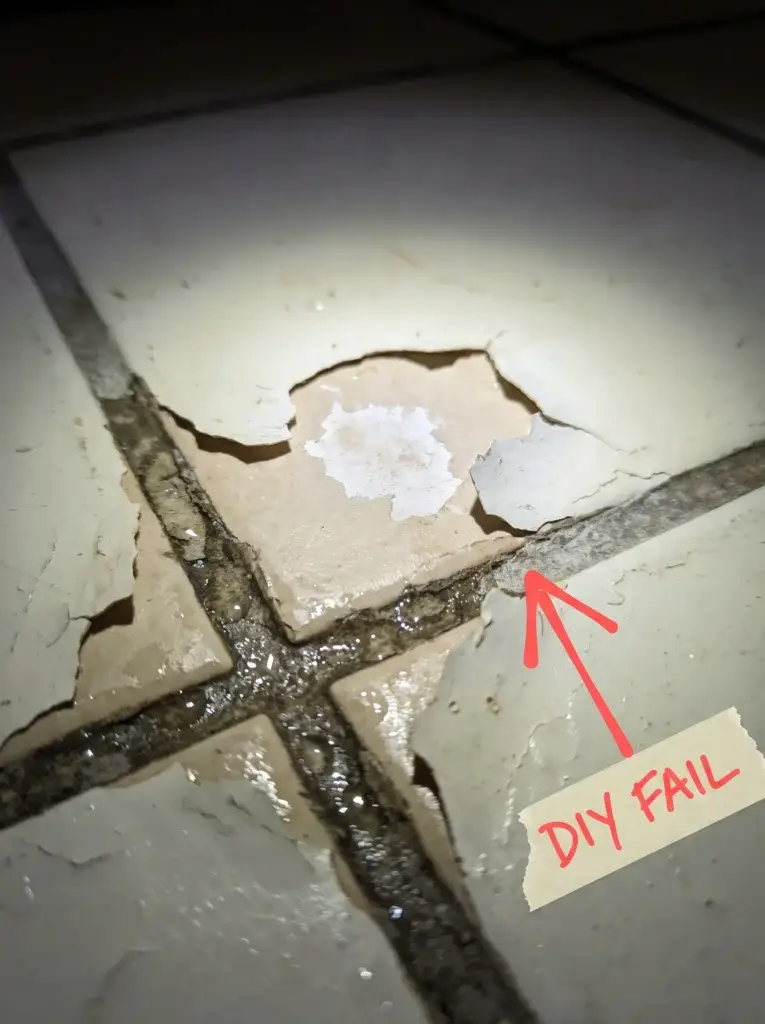
Find any floor where the paint gave out and look closely. The flat top of each tile is usually still fine. It’s the grout lines that go first, where the paint starts to curl and flake.
The culprit isn’t your feet. It’s water.
Grout sits lower than the tile around it, so it pools the water that runs off you after a shower. That moisture creeps sideways under the paint and lifts the nearest edge. One lifted edge becomes two, a flake turns into a bald patch, and suddenly the whole thing looks shabby. So the unglamorous truth is that your cleaning and your sealing matter far more than how steady your stencil hand is. Seal those grout lines tight and the floor will hold for years.
Block out three days, even if it’s your only bathroom
Treat this as a weekend, not an afternoon. The painting itself is quick. It’s the drying and curing that drag, and people who rush that part are the same people redoing the whole floor a month later.
Plan it across three days. Day one you clean, sand, and prime. Day two is the base coat and the stencil work. Day three you seal, and then you wait.
Down to a single bathroom? It’s still doable. Leave the strip of floor around the toilet for last so the toilet stays usable as long as possible, and schedule the whole thing for a long weekend when you’re least likely to be stuck at home. A gym shower or a friendly neighbor fills the gap. Whatever you do, be straight with yourself about the timeline, because trying to squeeze it into a few hours is the classic way a fresh floor gets stepped on before it’s ready.
Clean, dull, and prime, or watch it flake off in weeks

Start by cleaning the floor harder than you ever have. Body oil, old soap residue, and leftover cleaner all sit on the tile in a film you can’t see, and no paint grips through that. Scrub it with a degreaser, rinse it twice, and let it dry completely.
Then take the shine off. Most bathroom tile has a slick glaze, and paint slides right off slick surfaces. A quick pass with fine sandpaper, or a wipe of liquid deglosser, roughs it up just enough for the primer to bite.
Priming comes last in the prep, and it’s the step most likely to save you. Use a bonding primer made for glossy surfaces. Zinsser Bulls Eye 1-2-3 is a common pick because it sticks to nearly anything you put it on. Roll it thin and even, then let it cure for the full time on the can before you touch it. Think of this layer as the only thing holding your paint to a surface that wants to reject it. Two thin coats hold better than one thick gloppy one.
Zinsser Bulls Eye 1-2-3 bonding primer on Amazon
Buy a stencil bigger than your tile so slips disappear
Matching your stencil exactly to your tile size sounds tidy and is actually a trap. Every grout line turns into a mark you have to hit perfectly, and a single slip repeats itself across the whole floor where the eye snags on it right away.
Go bigger instead, or pick an offset pattern. When the design runs across the grout lines rather than sitting boxed inside each tile, small misalignments vanish into the repeat. That’s the real beginner cheat code for a floor that looks clean.
You can also dodge the stencil cost entirely. Grab a sheet of clear Mylar, tape a printed pattern underneath it, and cut your own with a sharp craft knife for a couple of dollars. Take your time on the cuts. A homemade stencil works perfectly well and keeps the budget honest.
Reusable tile floor stencils on Amazon
Roll the base coat, then learn the pounce
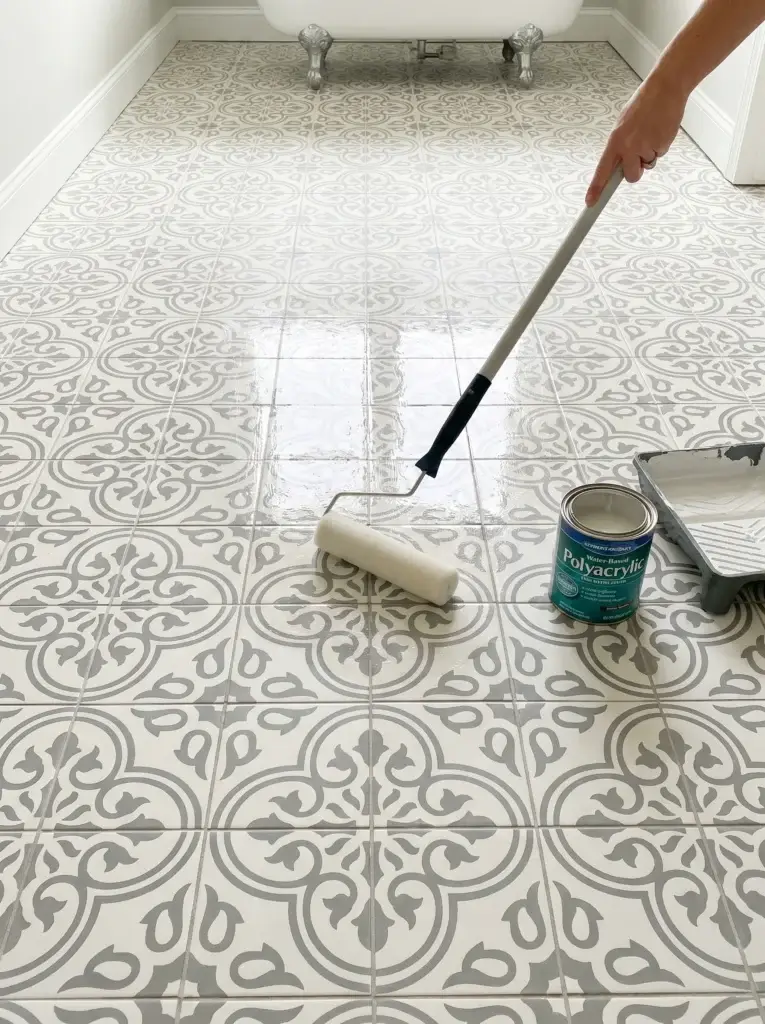
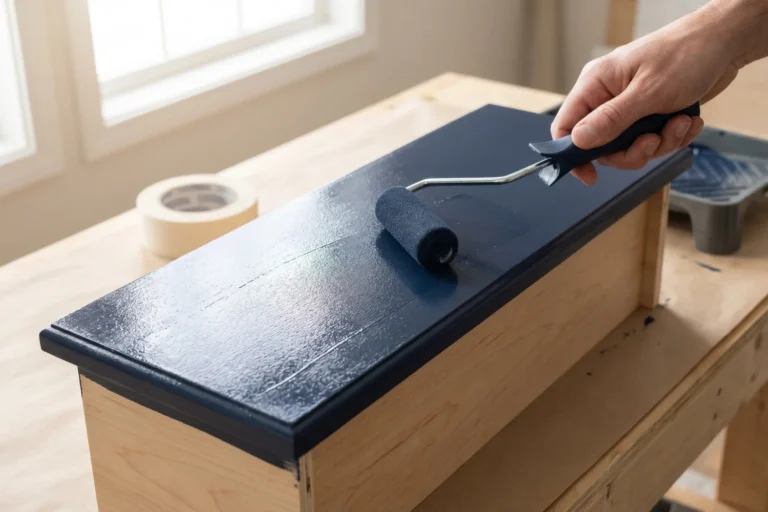
Roll your base color across the whole primed floor with a foam roller and keep every coat thin. Two light coats set harder and look smoother than one heavy one, and you’ll wait a full day between them so the chalk paint cures.
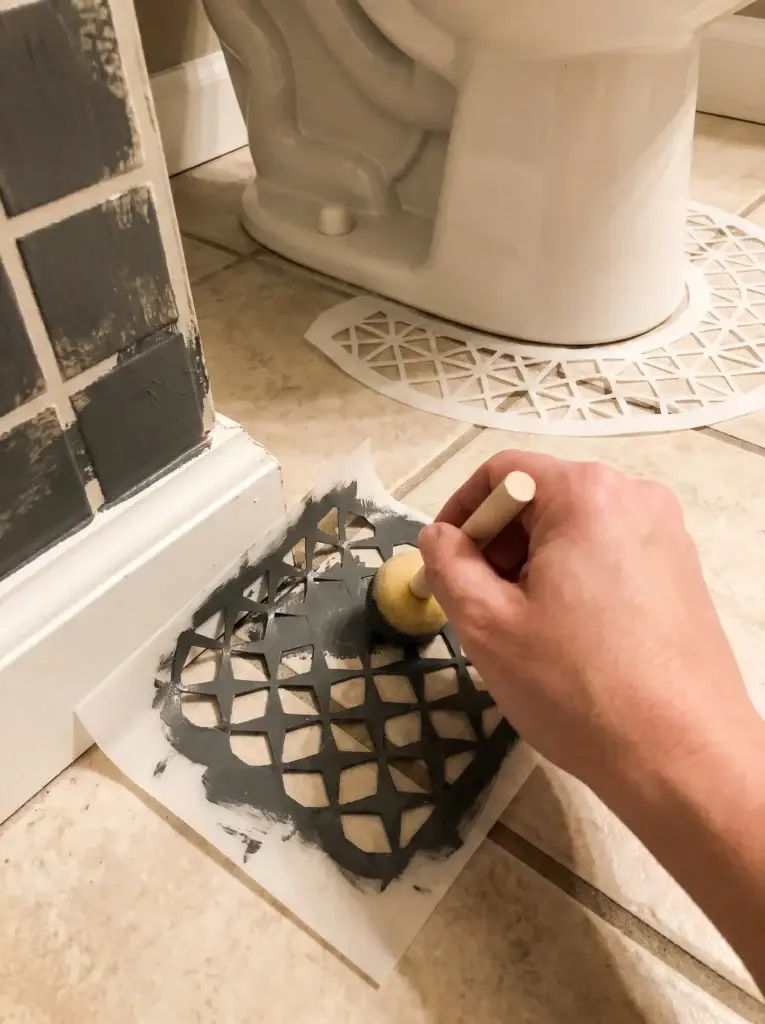
The stencil work is where crisp lines are won or lost. Load your brush, then wipe almost all of it back off onto a paper towel until the brush feels nearly dry. That’s the whole secret. A loaded brush bleeds under the stencil and turns your clean edges to mush.
Tape the stencil flat against the floor. Pounce the brush straight up and down, never dragging it sideways, so no paint sneaks beneath the edges. Lift the stencil straight up when you’re done, move to the next spot, repeat.
A checkerboard order saves you here. Do every other tile first so your hand never lands on wet paint, then circle back and fill the gaps once that first round dries. Somewhere around the fourth tile your hands find the rhythm and the rest goes fast.
Handle the corners and the half tiles at the wall

The open middle of the floor is the easy stretch. Edges are where a paint job starts looking homemade, and they happen to be exactly where someone’s eye lands when they walk in.
For the corner where the floor meets the wall, a flexible stencil bends right into it. Press it down and pounce the same as anywhere else. The curved base of the toilet works the same way, since a thin plastic stencil wraps the curve so the pattern keeps flowing instead of dead ending.
Partial tiles are mostly an illusion. Line the stencil up so the slice that shows matches its neighbors, paint only the visible part, and your eye fills in the tile that isn’t really there. For the tightest gaps, cut down that second stencil. Nail the edges and the whole floor passes for the real thing.
The small choices that keep it from looking like a craft project
A handful of decisions separate “wow, who did this” from “oh, you painted it.” Here’s where they hide.
The first is scale. A big bold pattern overwhelms a tiny bathroom, and a fine delicate one disappears in a large room, so size the design to the space you’ve actually got.
Color is the second. High contrast, like stark black on bright white, reads as obviously painted. Something softer, a muted grey on warm white or a faded blue on cream, looks like the cement tile you’re imitating. Quieter color choices come across as more expensive, oddly enough.
Finish matters more than people expect. A flat or matte sealer reads like natural stone, while a high gloss can turn plasticky. And here’s the trick almost everyone misses: tint your base color close to your existing grout. When the painted edge melts into the grout line instead of fighting it, the floor reads as one continuous surface.
Three coats of sealer, then stay off it for 72 hours
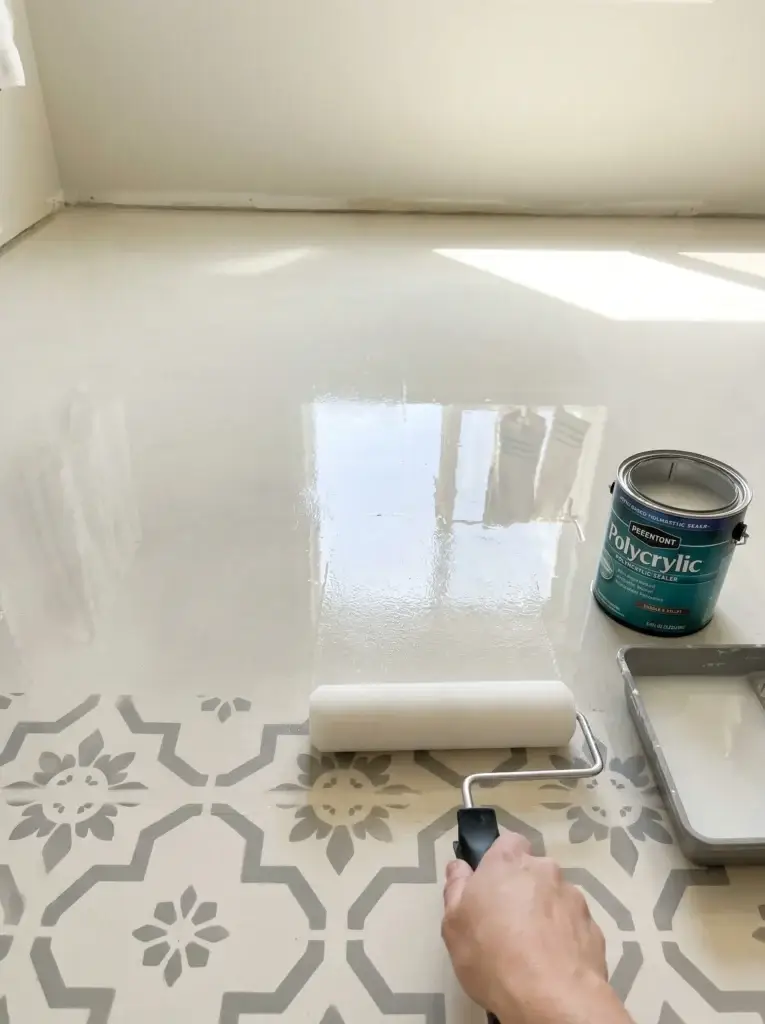
Plan on three coats of water based polyacrylic, not two. A bathroom takes on more moisture than a kitchen, so the third coat is doing real work. Stick with water based poly rather than oil based, because oil yellows over white and pale paint.
Roll each coat thin and even, and wait the full dry time on the can in between, usually two to four hours. Cut that short and you trap soft layers underneath that never fully harden.
The last step is the hardest, because it’s nothing. The poly feels dry to the touch within hours, but dry and cured are not the same thing. Stay off the floor for a full seventy two hours and keep all water away from it the entire time. That’s the wait your three day plan was built around. Give it those three days and it holds. Walk on it early and you’ll be patching cracks within weeks.
Water based polyacrylic floor sealer on Amazon
The first two weeks decide if it lasts one year or five
After seventy two hours you can walk on the floor, but it keeps hardening underneath for roughly two more weeks. What you do in that window sets how long the whole thing survives.
Walk on it gently and keep it dry for the first few days. Leave the bath mats off until the two weeks are up, since a damp mat pressed against fresh poly can leave a mark you’ll never lift. Stick to a soft cloth and mild soap for cleaning, because anything harsh or abrasive eats into a finish that isn’t ready for it yet.
Watch the grout lines especially. The moment you catch an edge starting to lift, dab a little paint on and reseal that one spot. Caught early, it’s a five minute touch up instead of a weekend redo.
For renters, this is better news than you’d think. The finish is only semi permanent, so if you ever have to undo it, sanding it back and priming over the top resets the floor. A clean, well sealed job rarely draws a landlord’s eye anyway. Read your lease first, just so nothing surprises you later.
Two questions people ask before they start renovating their stencil bathroom floor tiles
How long does a stenciled floor last?
A stenciled floor lasts three to five years when it’s prepped well and sealed with three coats. The grout lines are always the weak point, so the floors that go the distance are the ones where the owner caught the first little lift and dabbed it before it spread.
Can you stencil over cracked tiles?
You can stencil over thin hairline cracks as long as you fill them with epoxy first and let it dry flat. Don’t bother on a big crack, though, because the gap shows straight through the pattern no matter how many coats you lay over it.
Looking for more single-weekend upgrades like this one? Our bathroom ideas on a tight budget guide has fifteen more. Like this one? Save the pin so it’s waiting for you when you’re ready to start your own floor.