How to Plan a Bathroom Layout When Space Is Tight
To plan a bathroom layout when space is tight, start with the plumbing wall and the clearances, then fit the fixtures around them, not the other way round.
Keep the toilet, sink and shower on one wet wall where you can, protect the floor in front of each fixture, and fix the door before shrinking anything else. The caveat: moving a toilet drain is the one change that can double a small budget.
The nine steps below run in the order you actually make these decisions. Each one narrows the options for the next, which is why skipping ahead to picking a vanity is the most common way a tight bathroom ends up feeling even tighter.
Affiliate disclosure: this post contains Amazon affiliate links. If you buy through one, we may earn a small commission at no extra cost to you.
Table of Contents
Step 1: Measure the room and mark every fixed obstacle
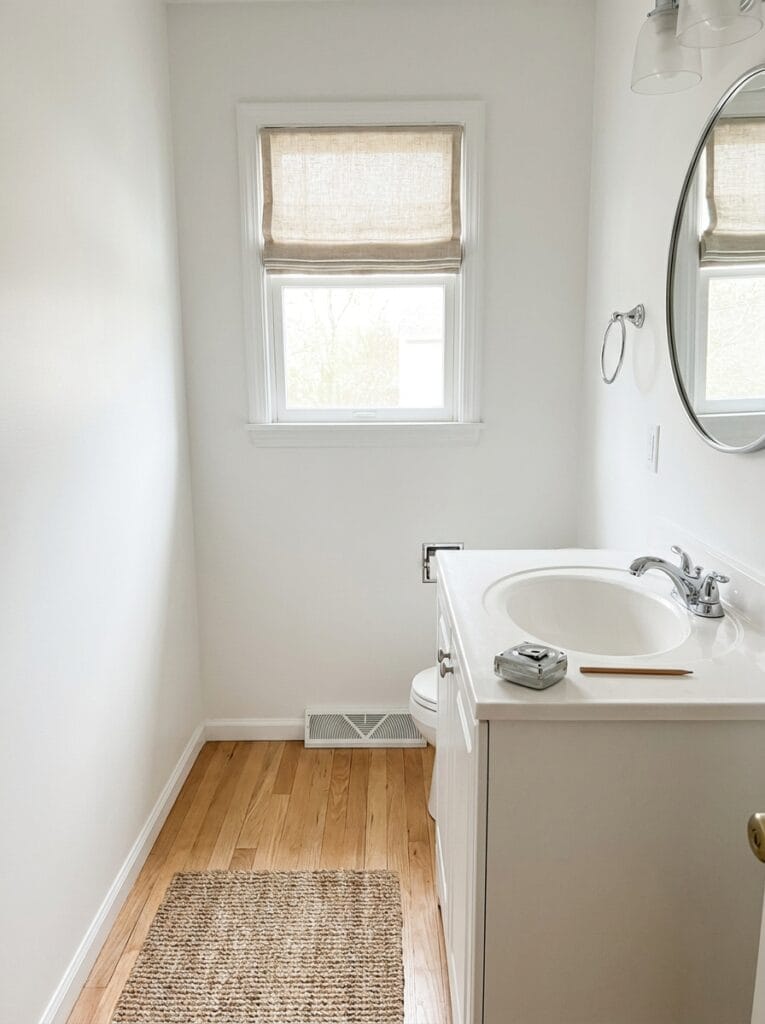
Measure each wall twice, once at floor level and once about 36 inches up. Old walls are rarely square, and a half-inch difference decides whether a 30 inch vanity fits or has to shrink to 24.
Then note everything you can’t move without a contractor: the window and its sill height, heating vents, the door width, light switches, any soffit or sloped ceiling.
Measure the toilet drain too. The distance from the finished back wall to the center of the flange, usually 12 inches, sets how far any new toilet sits from that wall.
Check the ceiling height wherever it drops. A shower under a sloped ceiling needs full standing height where the showerhead goes, usually at least 80 inches, even if the rest of the enclosure runs lower.
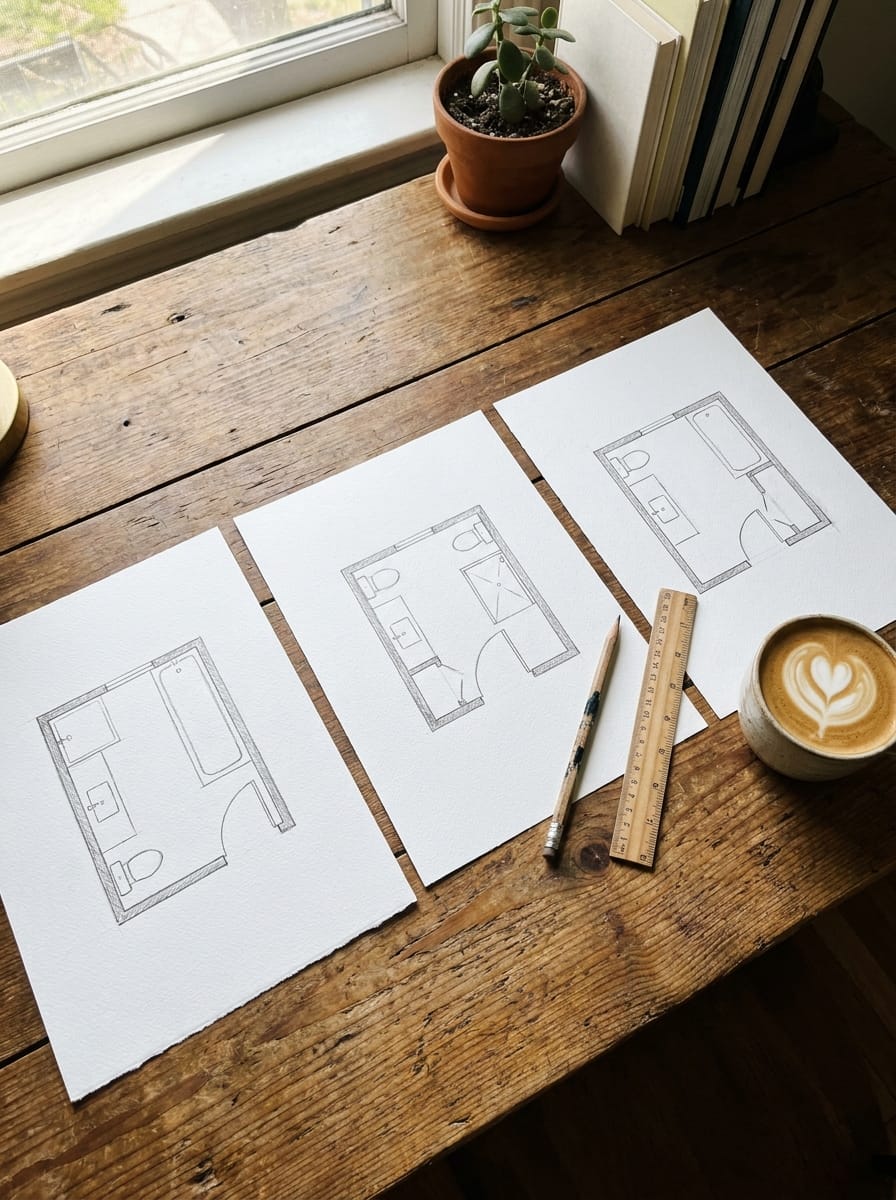
Draw it all on graph paper at half an inch per foot. A floor plan with the obstacles marked is worth more than any inspiration photo, because it shows what you are really working with.
Step 2: Find the wet wall before you draw a single fixture
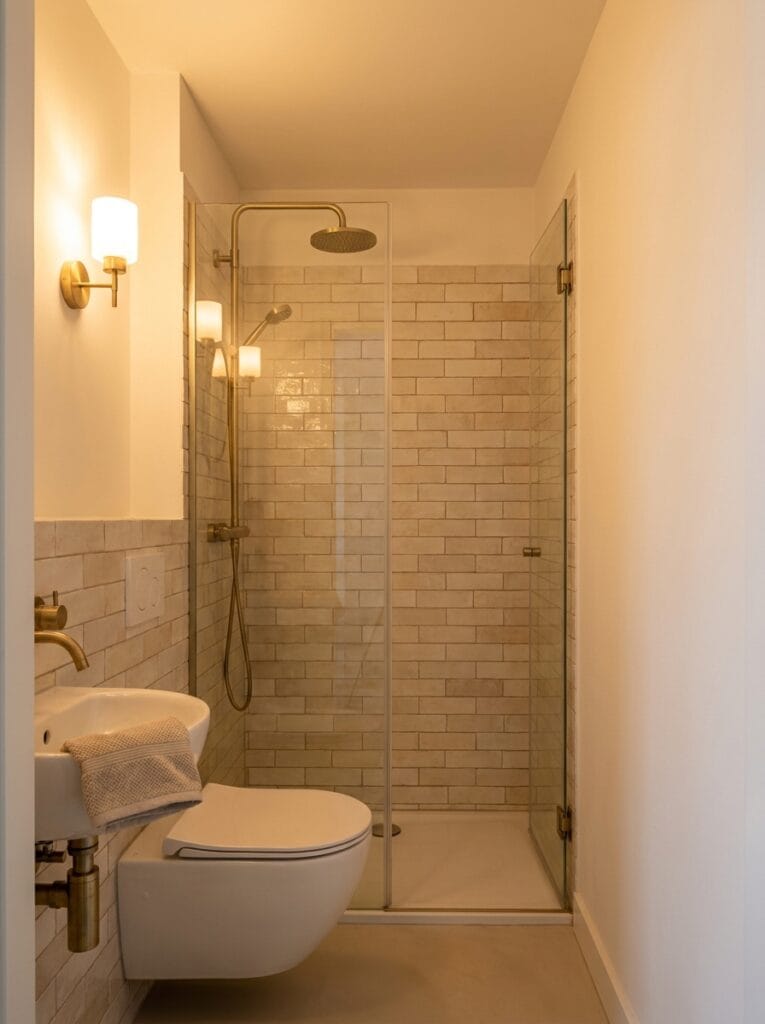
The wet wall is the one that holds the drain stack and supply pipes. Everything expensive in a bathroom connects to it, so find it before you place anything.
Look for the wall behind the existing toilet, check where the pipes come up in the basement or crawl space, and look for the vent pipe on the roof above.
In most homes the drain-waste-vent system runs up one wall, and that wall is your cheapest place for the toilet, the sink and the shower. If a kitchen or laundry sits on the other side, that shared wall is often the one.
Moving a sink a couple of feet along the same wall is usually simple, and so is swapping a tub for a shower tray on the same drain line.
Moving a toilet to a different wall means a new 3 inch drain with the right slope, which can mean cutting joists or breaking concrete. In a small bathroom, that single change is often the biggest line on the quote.
Step 3: Choose between a tub, a shower, or a wet room based on what actually fits
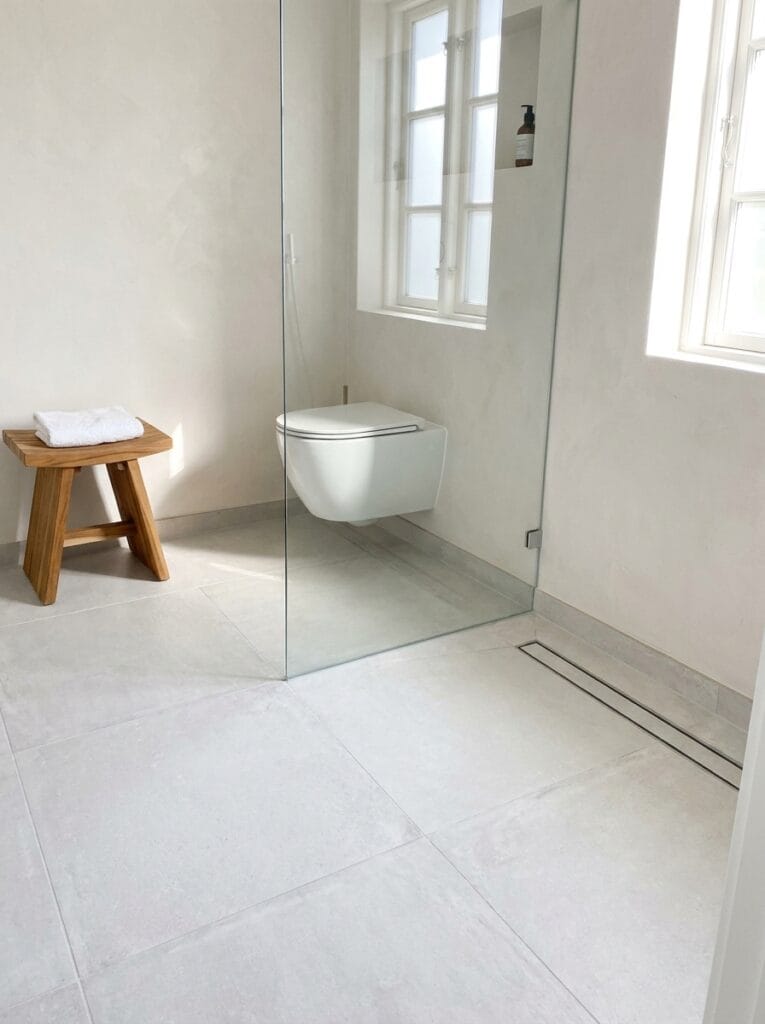
This is the biggest single decision in a tight space, so make it early and on real numbers. Most guides treat it as tub versus shower. There is a third option that often fits a small room best.
| Option | Typical footprint | Best when | Watch out for |
|---|---|---|---|
| Tub with shower | 60 x 30 in | You bathe small children or care about resale | Uses the full width of a 5 ft room |
| Shower enclosure | 30 x 30 in legal minimum, 36 x 36 in comfortable | Nobody in the home needs a bath | The door swing needs clear floor in front |
| Wet room | No enclosure; the whole floor drains | The room is too small for a door plus a tray | Every surface must be waterproofed, and the toilet paper needs protecting |
If you need a tub but the room is under 5 feet wide, look at 54 inch alcove tubs. They exist for exactly this situation and still take a standard shower head above them.
A wet room works because it drops the curb and the shower door, which are the two things that eat floor in a tiny bathroom. A single fixed glass panel keeps the spray off the toilet.
Its cost sits in the floor. The whole room has to slope toward a linear drain and be sealed like a shower pan, so budget for waterproofing across every square foot, not just the shower corner.
Step 4: Hold every clearance to the real minimums
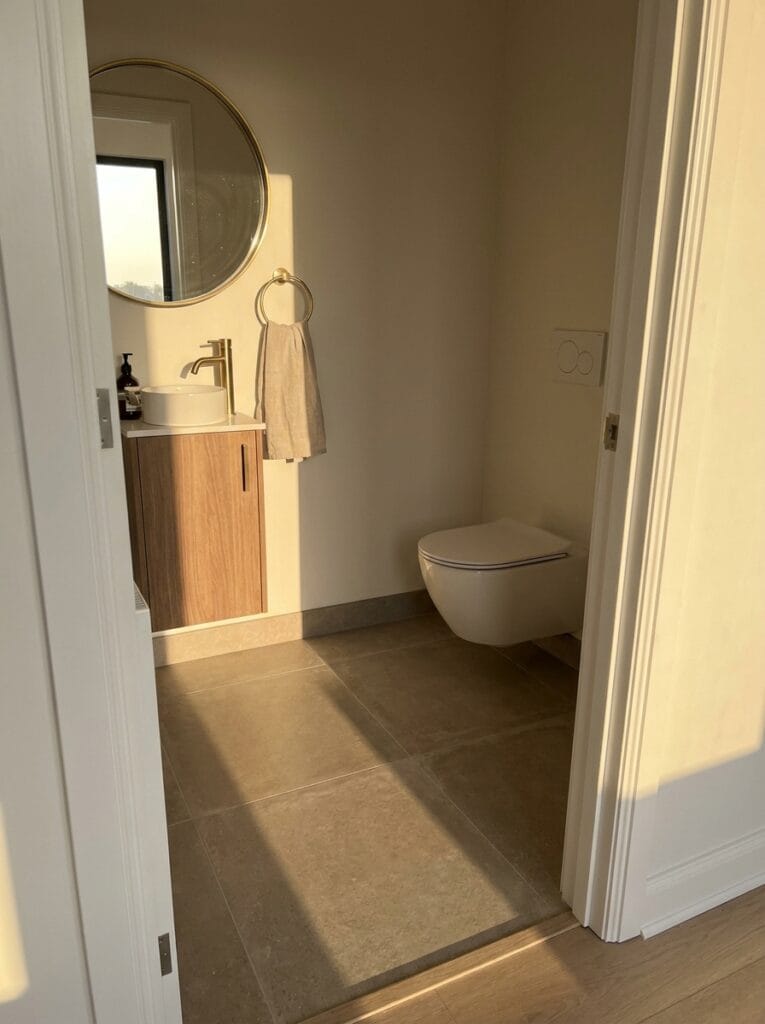
Clearances decide whether a tight bathroom feels usable or cramped, and there are two sets of numbers worth knowing. The International Residential Code sets the legal floor. The National Kitchen and Bath Association publishes what designers recommend for comfort.
The IRC requires at least 15 inches from the center of the toilet to any wall or fixture beside it, and 21 inches of clear space in front of the toilet and the sink. A shower opening needs 24 inches clear in front of it. NKBA guidance asks for more, including about 30 inches in front of the toilet.
Plan to the NKBA numbers wherever the room allows, and treat the code minimums as the line you never cross. This is exactly how the 5×8 bathroom layout guide handles a standard small room, fixture by fixture.
Step 5: Swap full-size fixtures for space-saving ones
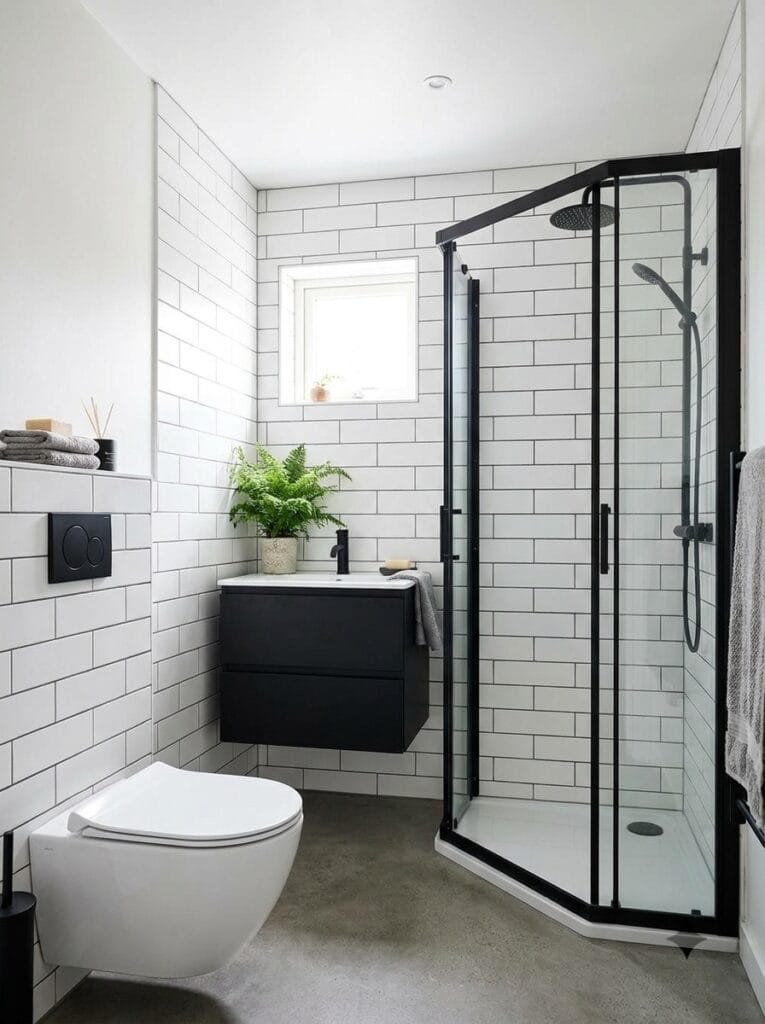
Once the clearances are protected, win space back from the fixtures themselves. Each swap below saves a few inches, and in a tight room a few inches is the difference between a door that opens and one that clips the vanity.
A wall-hung toilet with its tank hidden in the wall projects noticeably less than a floor-standing one, often freeing 6 inches or more of floor in front. A round bowl is about 2 inches shorter than an elongated one. A vanity 18 inches deep instead of the standard 21 widens the walkway without losing the drawers.
For showers, a neo-angle or quadrant tray cuts the corner off a square enclosure. The saving is modest, but it lands exactly where people walk past.
Storage can go into the walls instead of the floor. A medicine cabinet recessed between studs holds as much as a small wall cabinet without sticking out, and a niche in the shower replaces a corner caddy that would narrow the enclosure.
Step 6: Change the door before you shrink anything else
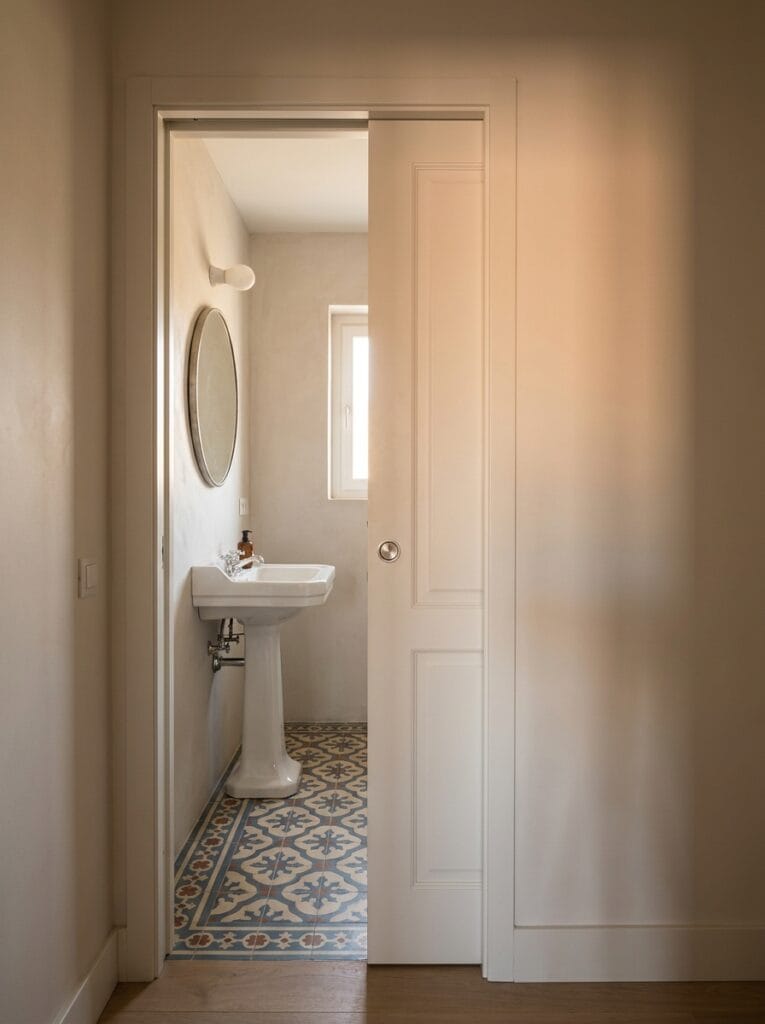
A standard hinged door swinging into a small bathroom needs an arc of floor as wide as the door itself. A 30 inch door claims a 30 inch quarter circle that nothing else can use.
A pocket door gives that whole arc back. The catch is the wall it slides into, which must be free of pipes, wiring and switches along the door’s full width. An outswing door is the other option, though it needs clear space in the hallway and should be checked against local code.
Barn doors save the floor too, but they leave gaps at the edges, which most people don’t want on a bathroom. If a pocket door is impossible, even rehanging the existing door to swing against the nearest wall can free the spot where the vanity wants to go.
Shop it on Amazon: Johnson Hardware 1500 Soft Close Pocket Door Frame
Step 7: Tape the layout on the floor at full scale
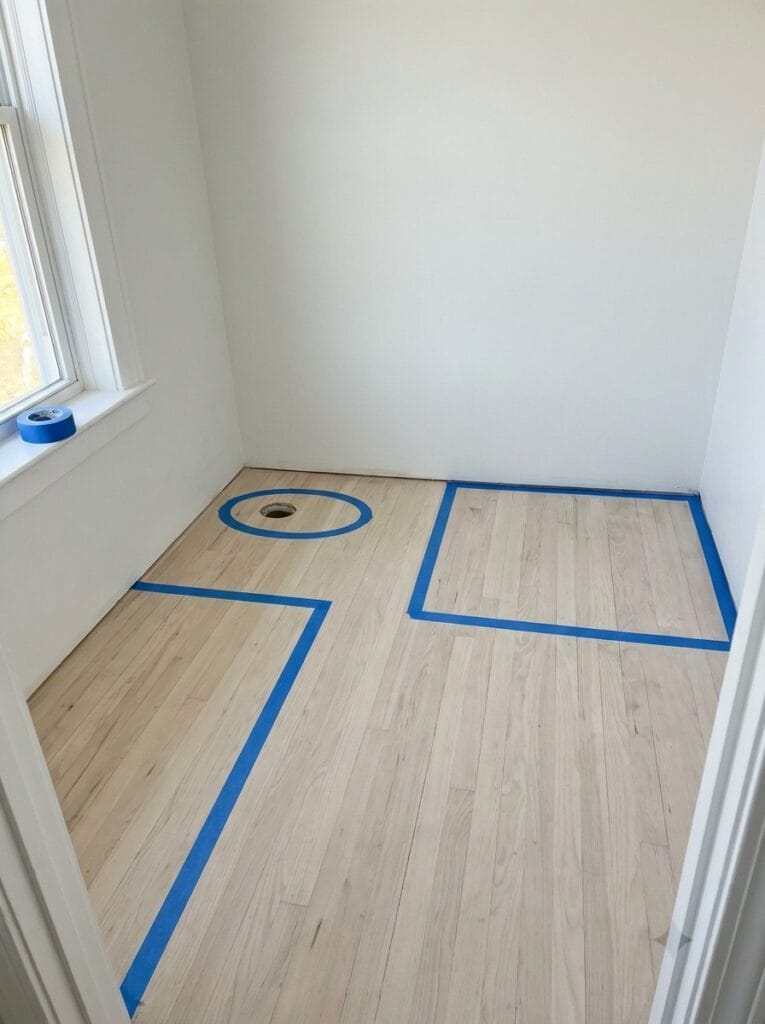
Paper plans hide how a room feels. Tape shows it in an afternoon. Mark the vanity, the toilet footprint, the shower and the door arc directly on the floor with painter’s tape, at real size.
Tape the towel bar, the toilet paper holder and the light switch too. They are small, but they are the details that end up in the wrong place when nobody marks them.
Then use the room. Stand at the sink spot and bend over as if you were washing your face. Sit on a chair where the toilet goes and check your knees against the opposite wall. Walk in and out as two people would on a busy morning.
Painter’s tape lifts cleanly from floors and walls, so move the lines as often as you need until nothing collides.
Step 8: Sketch two or three bathroom layout versions and test the door swing against the towel bar
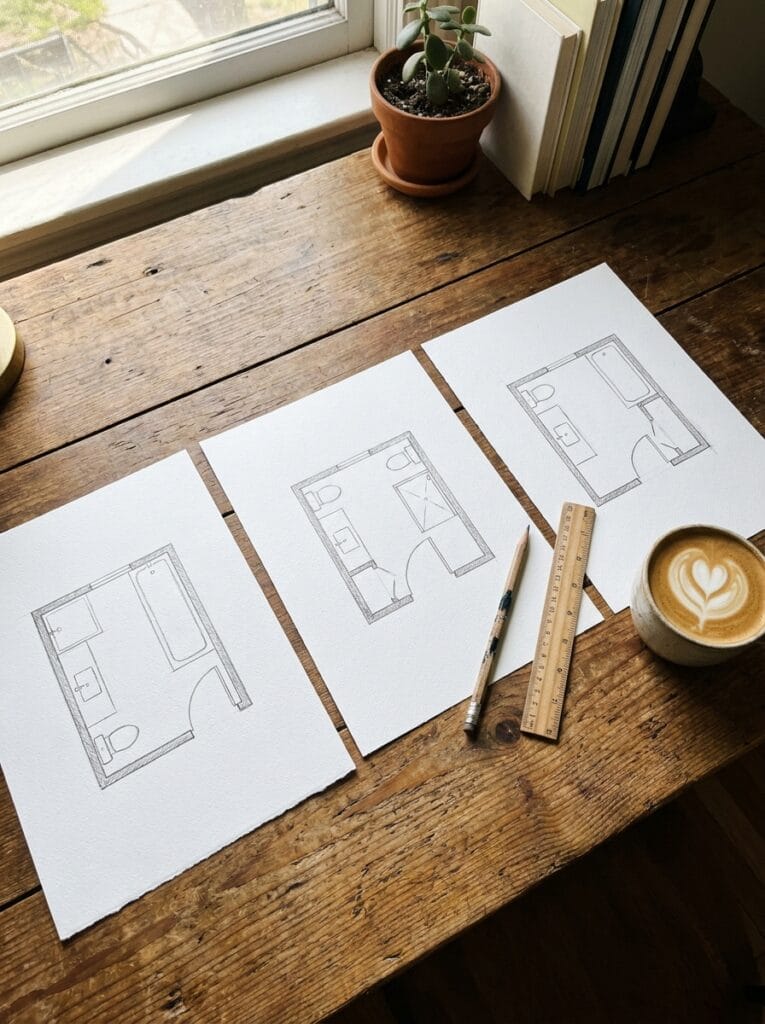
Never settle on the first plan. Draw two or three versions of the room, each with a different arrangement, and draw every moving part on each one: the door arc, the shower door, the vanity drawers, the toilet lid.
Then test the collisions nobody checks until move-in day. The most common one is a towel bar placed exactly where the door handle hits it. Close behind are a vanity drawer that can’t open past the toilet, and a shower door that swings into the towel.
Pick the version with the fewest collisions, not the one that looks best on paper. A plan where everything opens freely will feel bigger than one with an extra foot of counter.
Step 9: Plan the mirror and lighting last to make the room read bigger
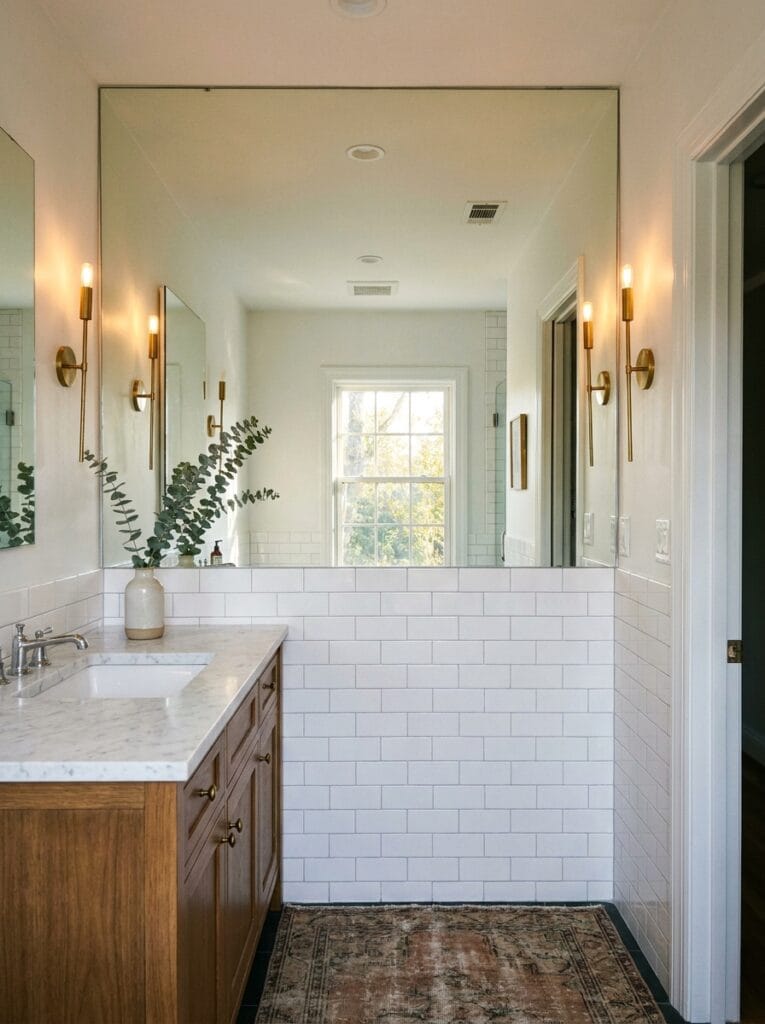
With the fixtures fixed, use the mirror and the lighting to change how big the room feels. A frameless mirror running the full width of the vanity wall reflects the whole room back and visually doubles its depth.
Mount sconces on each side of the mirror at roughly eye level, about 60 to 66 inches from the floor, rather than one fitting above it. Side light removes the shadows an overhead light throws under the eyes, and it spreads light across the mirror, so it reaches further into the room.
Keep the ceiling a pale color and light the shower separately. A dark shower corner makes a small bathroom look shorter than it is.
Warm white bulbs around 2700 to 3000K suit a small room best. Cooler light shows every grout line and makes pale tile look grey, which shrinks the space instead of opening it.
What to do if the toilet can’t move
Sometimes the drain position is fixed by a slab, a joist or the budget. Then build everything else around the toilet instead of fighting it.
The same applies when the shower drain is set in a concrete slab. Choose the shower size and shape around that drain, and move the vanity instead, since a sink’s drain is the easiest one to relocate.
Start with the clearances beside and in front of the toilet, then fit the vanity into whatever length is left, going shallow or corner-mounted if needed. An offset toilet flange can shift the bowl about 1.5 to 2 inches without touching the drain, which is sometimes exactly enough to hit the 15 inch minimum.
Why the plumbing decides a tight bathroom layout
Every step above follows from one fact: the pipes are the only part of a small bathroom that is expensive to move. Measure, find the wet wall and protect the clearances first, and the fixture choices mostly make themselves.
Tape it, sketch it twice, and test the doors before you buy a single fixture. That order is what turns a cramped room into a bathroom layout that works every morning.
Save this pin for the day you start planning your own tight bathroom.