How to Pick the Right Bathroom Vanity Height
The right bathroom vanity height comes from the people using it, not the catalog. Standard vanities put the counter 30 to 32 inches off the floor, comfort height runs 34 to 36, and accessible sinks stop at 34. Measure your elbow height first. A vessel sink changes the math, so choose the sink before the cabinet.
Most people find out their vanity is wrong the week after it goes in. Tall adults hunch over a 30 inch counter every morning. Kids can’t reach the faucet on a 36 inch one. And a vessel bowl perched on a comfort height cabinet ends up closer to chest level than waist level.
Every guide lists the same two ranges and stops there. Those numbers are averages. Your household isn’t one, and the gap between standard and comfort height is only a few inches, which happens to be exactly the difference your lower back notices.
The eight steps below run in the order you’d actually do them. Measure the people, pick a band, account for the sink and the counter, check the floor, test it in tape, mount it, then move everything above it to match.
This post contains affiliate links. If you buy through them, I may earn a small commission at no extra cost to you.
Table of Contents
Step 1: Measure the elbow height of everyone who uses the sink
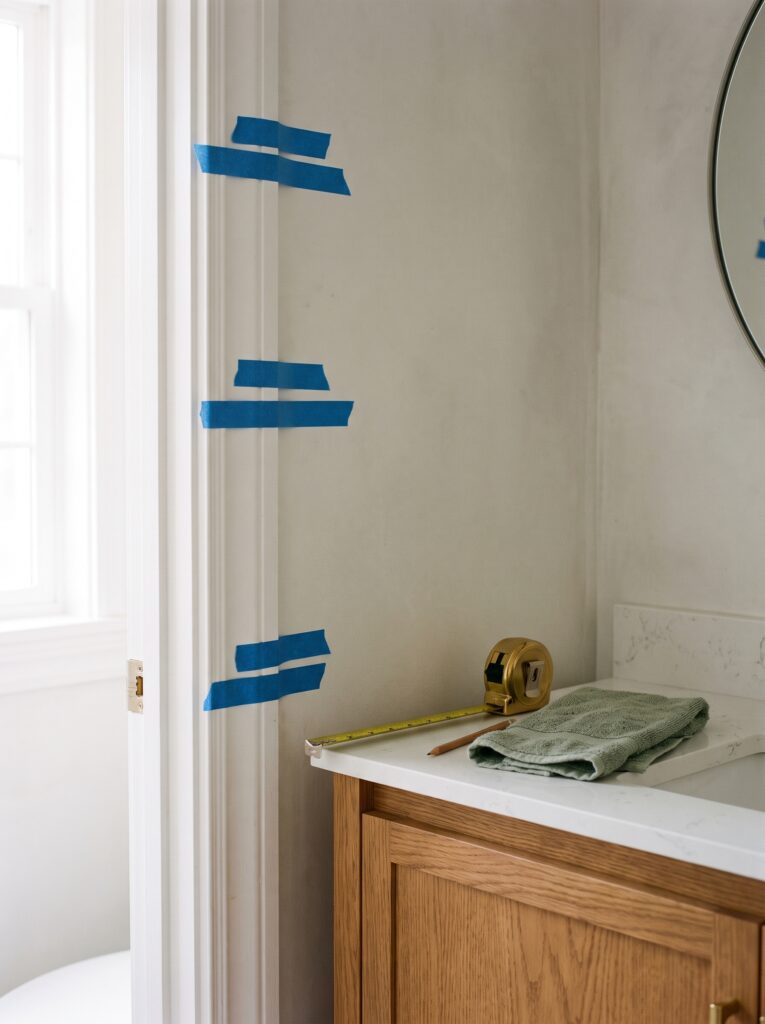
Stand each person barefoot next to a door frame, arms relaxed and bent at a right angle. Put a strip of painter’s tape level with the underside of their elbow, then measure each strip from the floor. Kids too.
Those marks are your real data. Average standing elbow height for US adults lands near 40 inches for women and 43 for men. One household can easily span 8 inches or more between its shortest and tallest member.
Barefoot matters. Most people brush their teeth in socks or slippers, not work boots, and a 1 inch heel skews every number that follows.
Write down the number for whoever uses the sink most. That person sets the height, not the average. Shared kids’ bathrooms are the exception. Children grow, so plan for the height they’ll be in three years and keep a sturdy step stool for now.
Anyone who washes seated needs a different measurement. Sit them in their usual chair or wheelchair and measure elbow height from there, then jump straight to the accessible row in Step 2.
Think ahead as well. A vanity usually outlasts several phases of family life. Parents moving in, a knee operation or simply getting older can all change who needs the sink and how, so note any household member who may need to sit down to wash within the next ten years.
Step 2: Match your elbow to a standard, comfort or accessible bathroom vanity height

A comfortable washing height sits about 3 to 6 inches below your elbow. At that level your hands drop slightly into the water instead of reaching up or stooping down. Subtract, then see which band your answer falls in.
| Band | Counter height | Fits |
|---|---|---|
| Standard | 30 to 32 in | Elbows under about 37 in, kids, most powder rooms |
| Comfort | 34 to 36 in | Elbows 39 in and up, which covers most adults |
| Accessible | 34 in max | Anyone who washes seated, with 27 in knee clearance below |
Worked through, a 43 inch elbow minus 6 gives 37, so a 36 inch comfort vanity fits. Someone with a 38 inch elbow lands near 33 or 34. Both numbers sit comfortably inside the bands.
Accessible sinks follow the 2010 ADA Standards. The rim or counter, whichever is higher, stays at or below 34 inches from the floor. Underneath you need at least 27 inches of knee clearance, and in front a 30 by 48 inch clear floor space.
Split household? Two sinks at two heights beat one compromise that suits nobody. Even a 3 inch difference between two tops is enough to feel every morning.
Guest bathrooms and powder rooms are the one place to aim for the middle. Visitors come in every size, so a bathroom vanity height of 33 or 34 inches serves the widest range of people without anyone having to stoop or stretch for long.
Step 3: Choose the sink type before the cabinet

Sink type decides where your hands actually work. Undermount basins sit below the stone, so the counter surface is the working height. Drop-in basins add a rim of roughly a quarter to half an inch. Vessel bowls sit fully on top.
That last one changes everything. A vessel’s rim becomes the working height, usually 4 to 6 inches above the counter. Drop one onto a 36 inch comfort vanity and the rim lands at 40 inches or more.
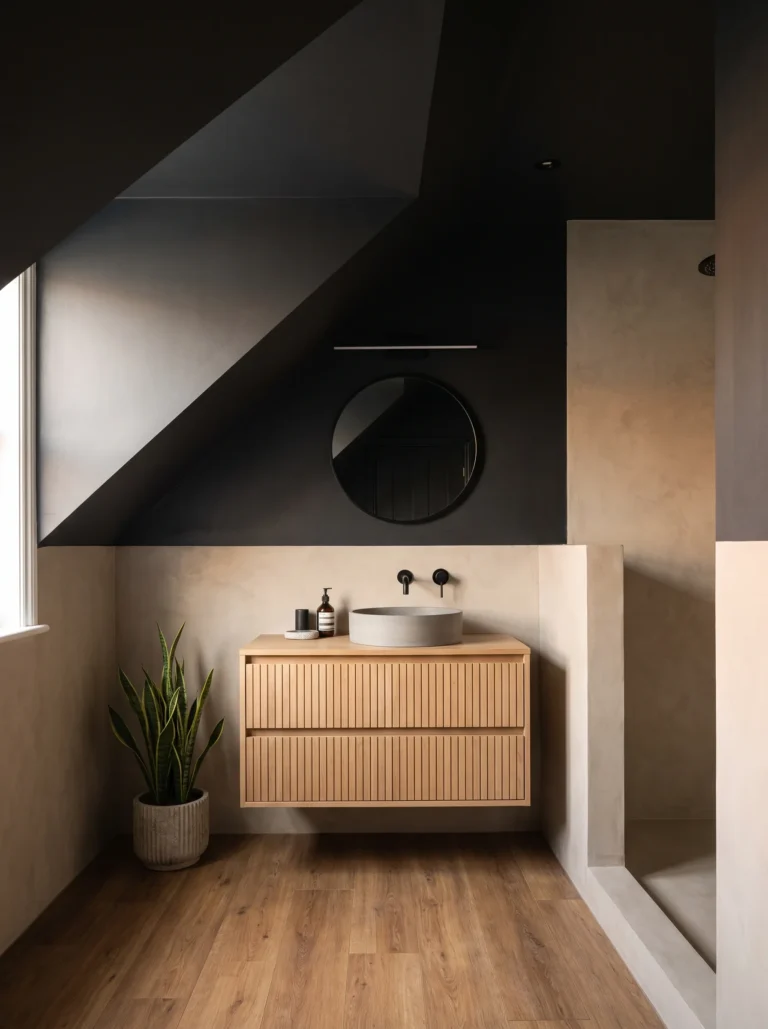
Wall-mounted basins work differently again. With no cabinet at all, the bracket height sets the rim directly, which makes them the easiest type to fit to one specific person.
Semi-recessed basins sit halfway. Part of the bowl drops into the counter and part rises above it, so they add roughly 2 to 3 inches rather than a vessel’s full height. They suit a standard height cabinet that feels a touch too low.
Bowl depth matters alongside height. Shallow, wide vessels look elegant but splash more, and people tend to lean in closer over them. Deeper bowls around 5 to 6 inches let you keep a slightly lower rim without water landing on the counter every time you rinse your hands.
Decide the basin first and order the cabinet around it. Waste pipe position, bowl depth and tap reach all feed into the same choice, and this guide to getting your bathroom basin design right walks through those checks before you commit.
Step 4: Subtract the bowl and the countertop to get the cabinet height
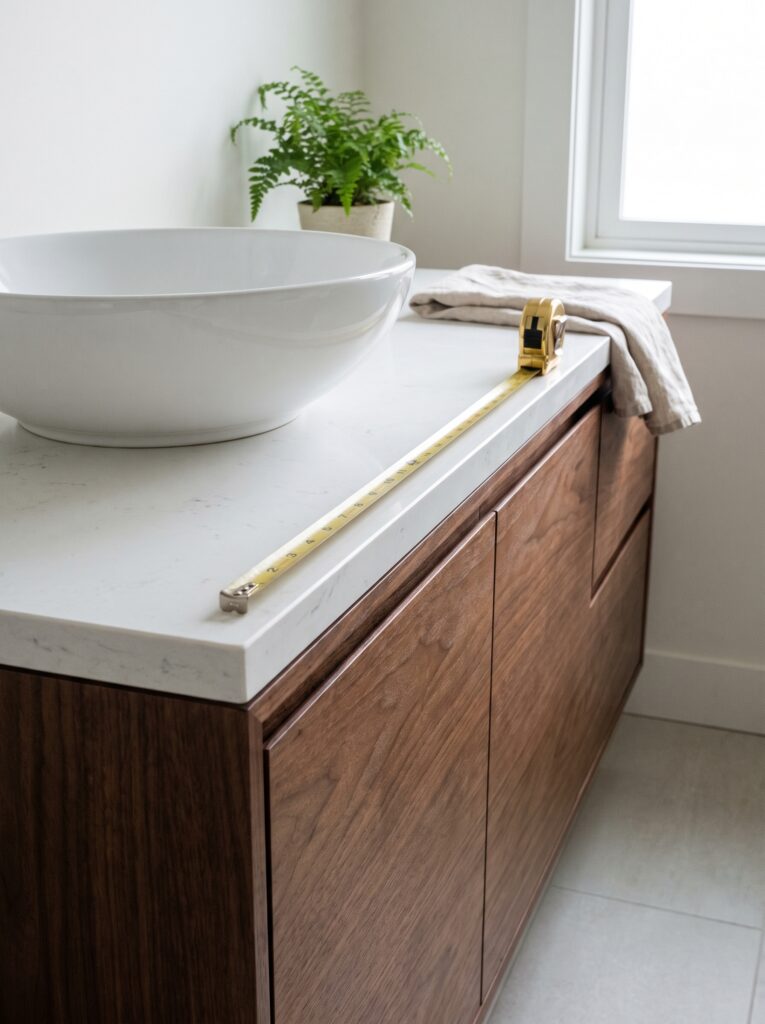
Work backward from the rim you want. Start with your target from Step 2. Subtract the bowl’s height above the counter, then the countertop thickness. What’s left is the cabinet height to shop for.
Here’s a real example. Target rim: 36 inches. A 16 inch round vessel sink standing 4.7 inches tall leaves 31.3 inches to the counter surface. Take off a 3 cm quartz top, about 1.25 inches, and you need a cabinet close to 30 inches tall.
Undermount math is simpler. For a 35 inch counter with the same 1.25 inch quartz, the cabinet box needs to be 33.75 inches. Adjustable leveling feet or a shimmed toe kick cover the last fraction of an inch.
Countertop thickness varies more than people expect. Stone and quartz usually come in 2 cm (about 0.75 inch) or 3 cm (about 1.25 inch) slabs. Laminate tops run around 1.5 inches. Always read the spec sheet for your exact top and bowl.
Vessel bowls also carry the drain higher, which is worth a moment of thought when the cabinet gets shorter. The tailpiece and trap need room inside the box, so a very low cabinet under a very tall bowl can leave the plumber working in a cramped space with little room for a drawer.
Write the three numbers on the tape strip from Step 1: target rim, bowl height, top thickness. When you’re standing in a showroom comparing a dozen cabinets, that one subtraction is the only bathroom vanity height math you need to remember.
Shop it on Amazon: Davivy 16 Inch Round Ceramic Vessel Sink with Pop Up Drain, White
Step 5: Measure from the finished floor, not the subfloor

Every vanity height is measured from the finished floor. That means the tile or vinyl you’ll stand on, not the plywood beneath it. Skip this during a remodel and you can lose an inch without noticing.
Porcelain tile over cement board adds roughly 3/4 to 1 1/4 inches. Heated floor mats add a little more. Luxury vinyl plank is thinner, about a quarter inch, though some floating floor makers won’t allow a fixed cabinet on top of their planks at all.
Check the floor for level too. Lay a 4 foot level where the vanity will stand. Old bathroom floors often drop a quarter inch or more toward the drain, and the cabinet has to be shimmed from the high side to sit true.
Measure at the front edge. That’s where you stand. A floor that slopes toward the back wall can make the counter feel lower than the tape says.
If the floor isn’t down yet, add its full build-up to your numbers now. For comparing surfaces across the whole room, the site’s materials, fixtures and layout section covers flooring and fixtures side by side.
Step 6: Mock up the height with tape and a crate before you buy
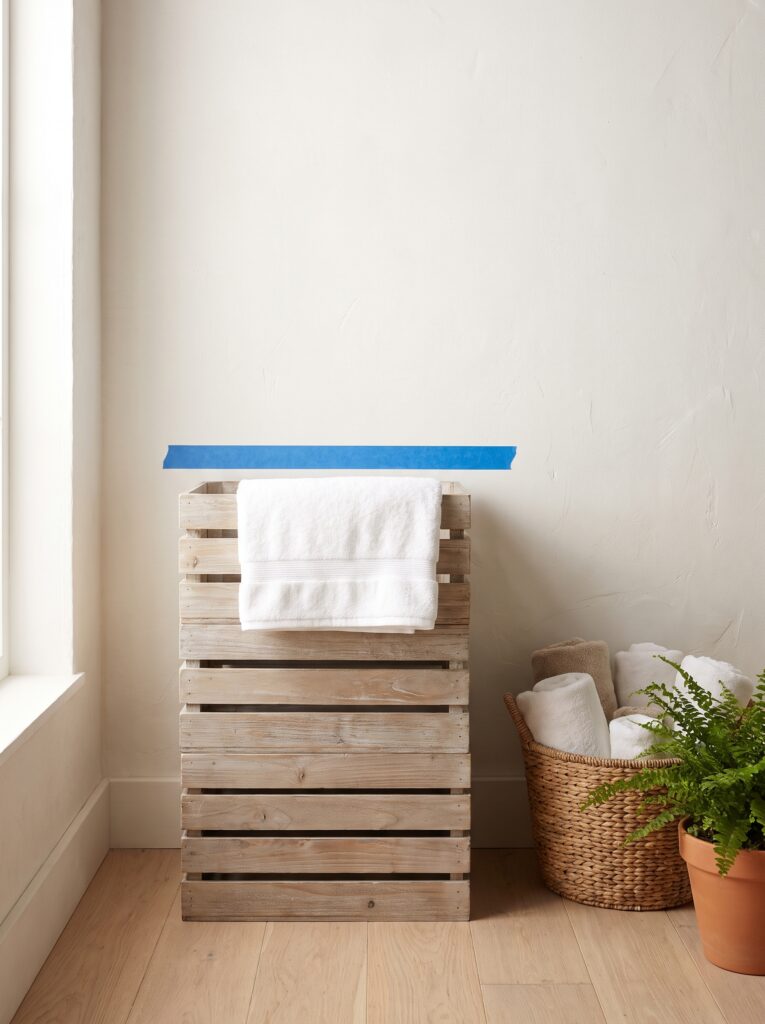
Run a level line of painter’s tape across the wall at your target counter height. Stack crates, boxes or books under it until the top lines up with the tape. Lay a towel across. Now use it.
Stand at it barefoot and pretend to brush your teeth. Wash your face. Rinse a razor. Lean in with your head over the imaginary bowl. Five minutes of this tells you more than any chart, and moving tape costs nothing.
Every regular user should try it, including the tallest and shortest person from Step 1. If someone hunches or reaches, move the tape an inch and test again. Two or three rounds usually settle it.
While the tape is up, check the depth as well. Stand where your feet will be and reach to the back of the counter. Anything past about 21 inches deep starts to feel like a stretch over a sink.
Leave the mock-up in place for a day or two if you can, because a bathroom vanity height that feels fine for one quick test can start to bother you by the third morning of brushing your teeth, shaving or washing your face at it.
Photograph the tape line with a tape measure held against it before you take it down, so the exact number you settled on travels with you to the store or into the order form.
Shop it on Amazon: ScotchBlue Original Multi-Surface Painter’s Tape, 1.88 in x 60 yd, 2 Rolls
Step 7: Set a floating vanity’s mounting height and add blocking

Floating vanities give you total control over height, since no toe kick fixes it for you. Mark the finished counter height, subtract the top’s thickness, and that line is where the top of the cabinet box goes.
Snap the line with a laser level rather than a bubble level. Grout lines are rarely true. Following them can tip a long vanity by a quarter inch from one end to the other.
Most floating boxes are 18 to 22 inches tall. Hung for a 34 inch counter, that leaves roughly 12 to 15 inches of open floor underneath, enough for a bin or a basket and easy mopping.
Behind the drywall, the cabinet needs solid wood blocking, usually a 2×6 or 2×8 fitted between the studs at the height of the mounting rail. A full vanity, a stone top and someone leaning on it add up to far more than drywall anchors can hold.
Check the drain before you commit. Most drains stub out of the wall 18 to 20 inches off the floor, and the trap has to fit inside the box.
Toe space is the quiet bonus of a floating cabinet. With nothing at floor level, your feet slide under the front edge and you stand a couple of inches closer to the basin. That small shift makes a counter feel about an inch lower than a freestanding one at the same height, worth remembering if you sit between two bands.
Weight adds up fast. A 36 inch cabinet, a quartz top and a ceramic sink can pass 100 pounds before anyone leans on it. Use the bolts the maker specifies. Hit every stud you can.
Shop it on Amazon: HUEPAR Self-Leveling Laser Level, 1×360 Green Beam Cross Line
Step 8: Move the mirror, sconces and outlets to match

Change the vanity height and everything above it shifts. Mirrors, sconces and outlets were placed for the old counter, and they look off if they stay put.
Keep the bottom of the mirror 5 to 10 inches above the counter or backsplash. Sconces go on either side of the mirror at roughly eye level, around 60 to 66 inches to the center. Set both at exactly the same height. Even half an inch shows.
Outlets need to stay within reach of the basin. Electrical code calls for at least one receptacle within 3 feet of each basin’s outer edge, GFCI protected. Around 4 to 6 inches above the backsplash keeps cords off a wet counter.
Faucets change too. A taller counter or a vessel bowl needs a faucet whose spout clears the rim by at least an inch and reaches past the drain, or water hits the back of the bowl and splashes out.
Recessed medicine cabinets are the hardest to move, since they sit in a framed opening between studs. If you’re raising the counter by more than 2 or 3 inches, check that the cabinet’s bottom edge still clears the faucet and the backsplash before you order anything else.
Plan these moves before the new vanity goes in. Patching a wall is far easier with the cabinet out of the way.
What to do if your vanity is already too low
Plenty of homes have a vanity that’s an inch or three short for the adults using it. Builders fitted 30 and 32 inch cabinets as standard for decades, so an older house almost always has one. Replacing it isn’t always necessary. Work down this list, since each fix costs more than the one before:
- Swap to a vessel sink. A bowl on the existing counter raises the working height by 4 to 6 inches without touching the cabinet. You’ll need a taller faucet and a new drain, and it only works if the result stays under your target from Step 2.
- Replace the top with a thicker one. Swapping a thin laminate top for a 3 cm stone slab, or a thick solid wood top, buys about an inch. Small gain, but sometimes an inch is all that’s missing.
- Build a base under the cabinet. A 3 to 4 inch platform of 2x4s, faced to match the toe kick, lifts a freestanding vanity into comfort height. Supply and drain lines usually have enough slack. Check before you start.
- Remount a floating vanity higher. If the blocking extends high enough, or the wall is open anyway, move the rail up. Cleanest fix, most work.
- Replace the vanity. When nothing above lands within an inch of your target, a new comfort height cabinet is the honest answer.
Why the elbow comes before the catalog
Catalogs sort vanities into standard and comfort because that’s easy to sell. Your back doesn’t care about categories. It cares whether your hands drop into the water or reach up for it.
The standard 32 inch counter was never designed around anyone in particular. It suited shorter adults, lower sinks and a time when bathrooms were fitted out once and forgotten. Comfort height caught up with taller users, but it’s still just another average.
Measure the people first, then work down through the sink, the counter and the floor. In that order, the right bathroom vanity height stops being a guess between 32 and 36 inches and becomes a number you already know.
Save this pin so the elbow rule and the subtraction are with you when you’re shopping for a vanity.